Making a Custom Ball Maze

Tools & Materials
Project Description
How can we design and make a custom ball maze puzzle with a laser cutter?
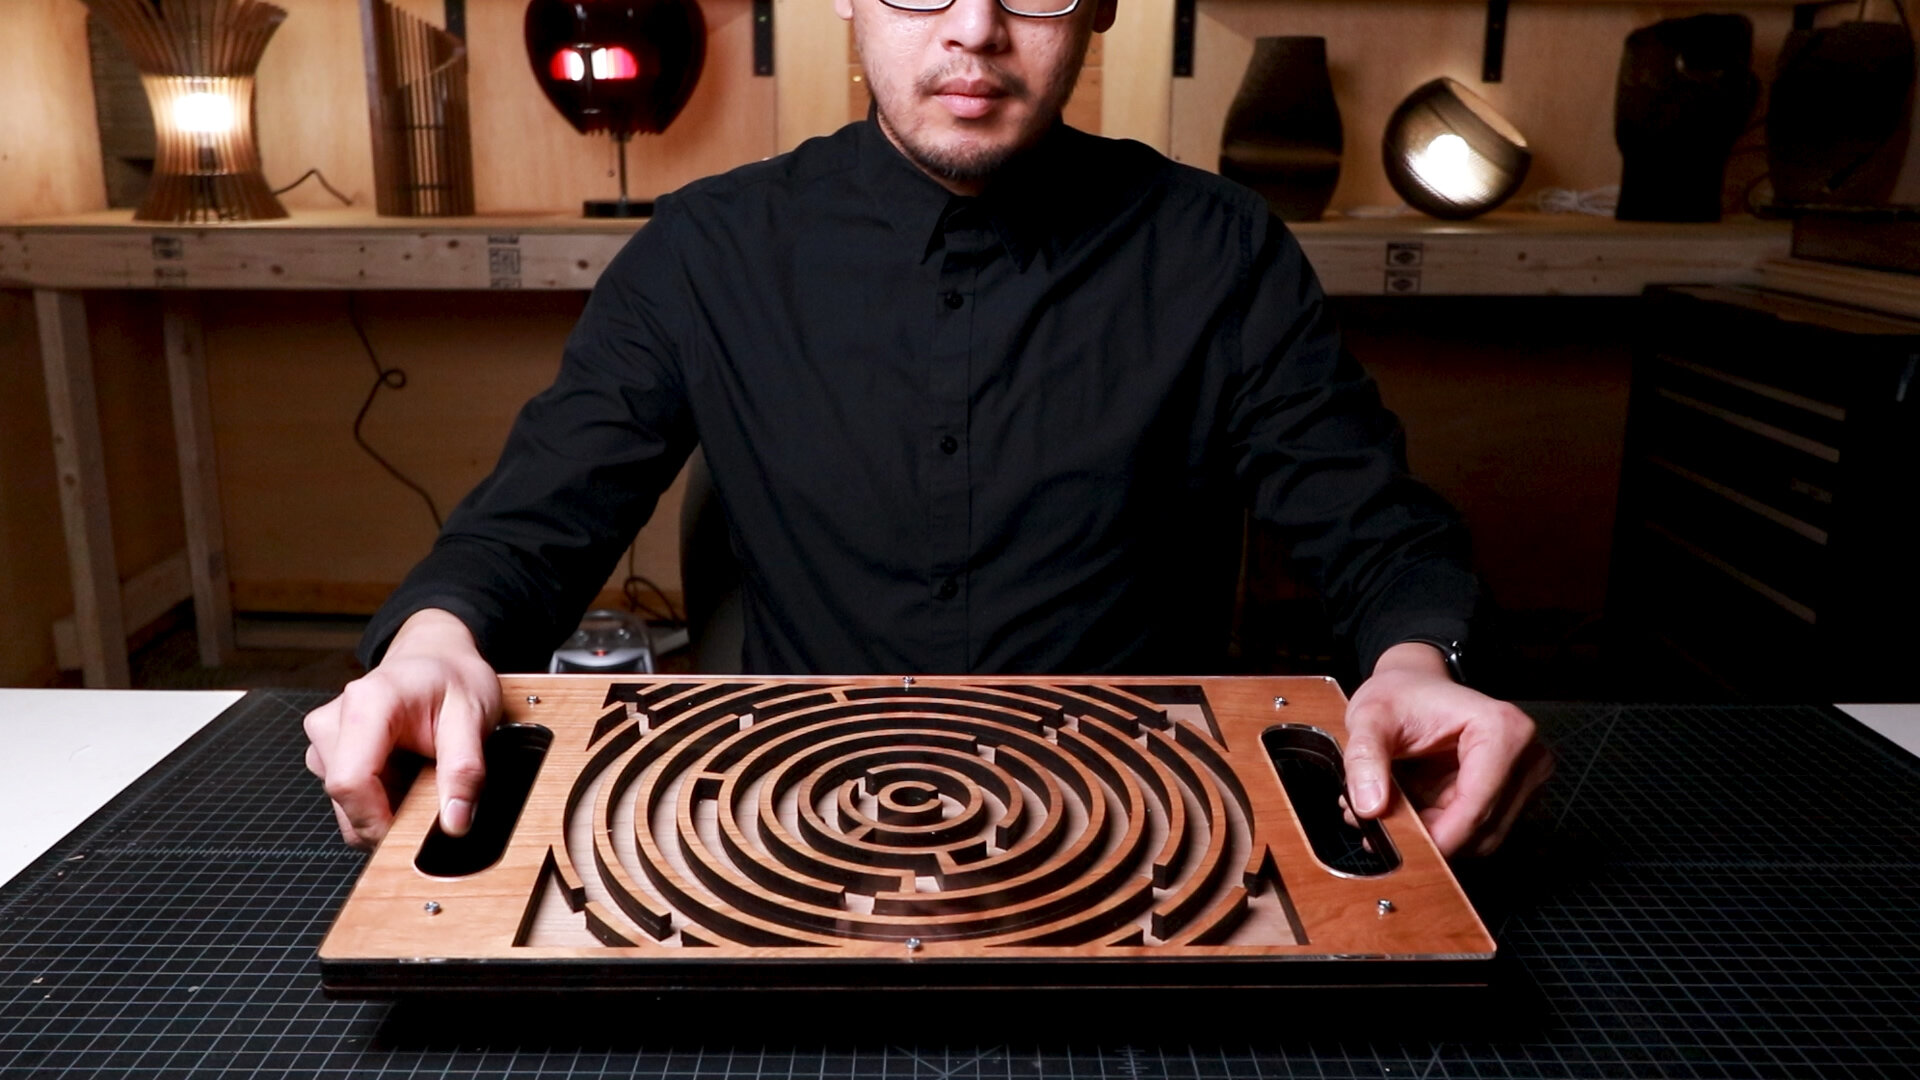
A simple project that combines both spatial planning with detailing is a custom ball maze puzzle that requires the creator to brainstorm paths that guide and block a ball from a start point to an end point. At first, this project might appear simple, but working within the parameters of the size of a laser cutter and physically constructing this small object can be difficult to juggle.
However, this is a project that can help people develop a stronger sense of spatial organization. It’s not just about how a ball moves from one point to another, but it’s also similar to thinking about movement at different scales. The ways that people move throughout a city or building and how water travels around the world.
What’s truly fascinating about this project is that it combines different ways of thinking about a toy with a simple objective with various design and construction methods to achieve its purpose.
Process
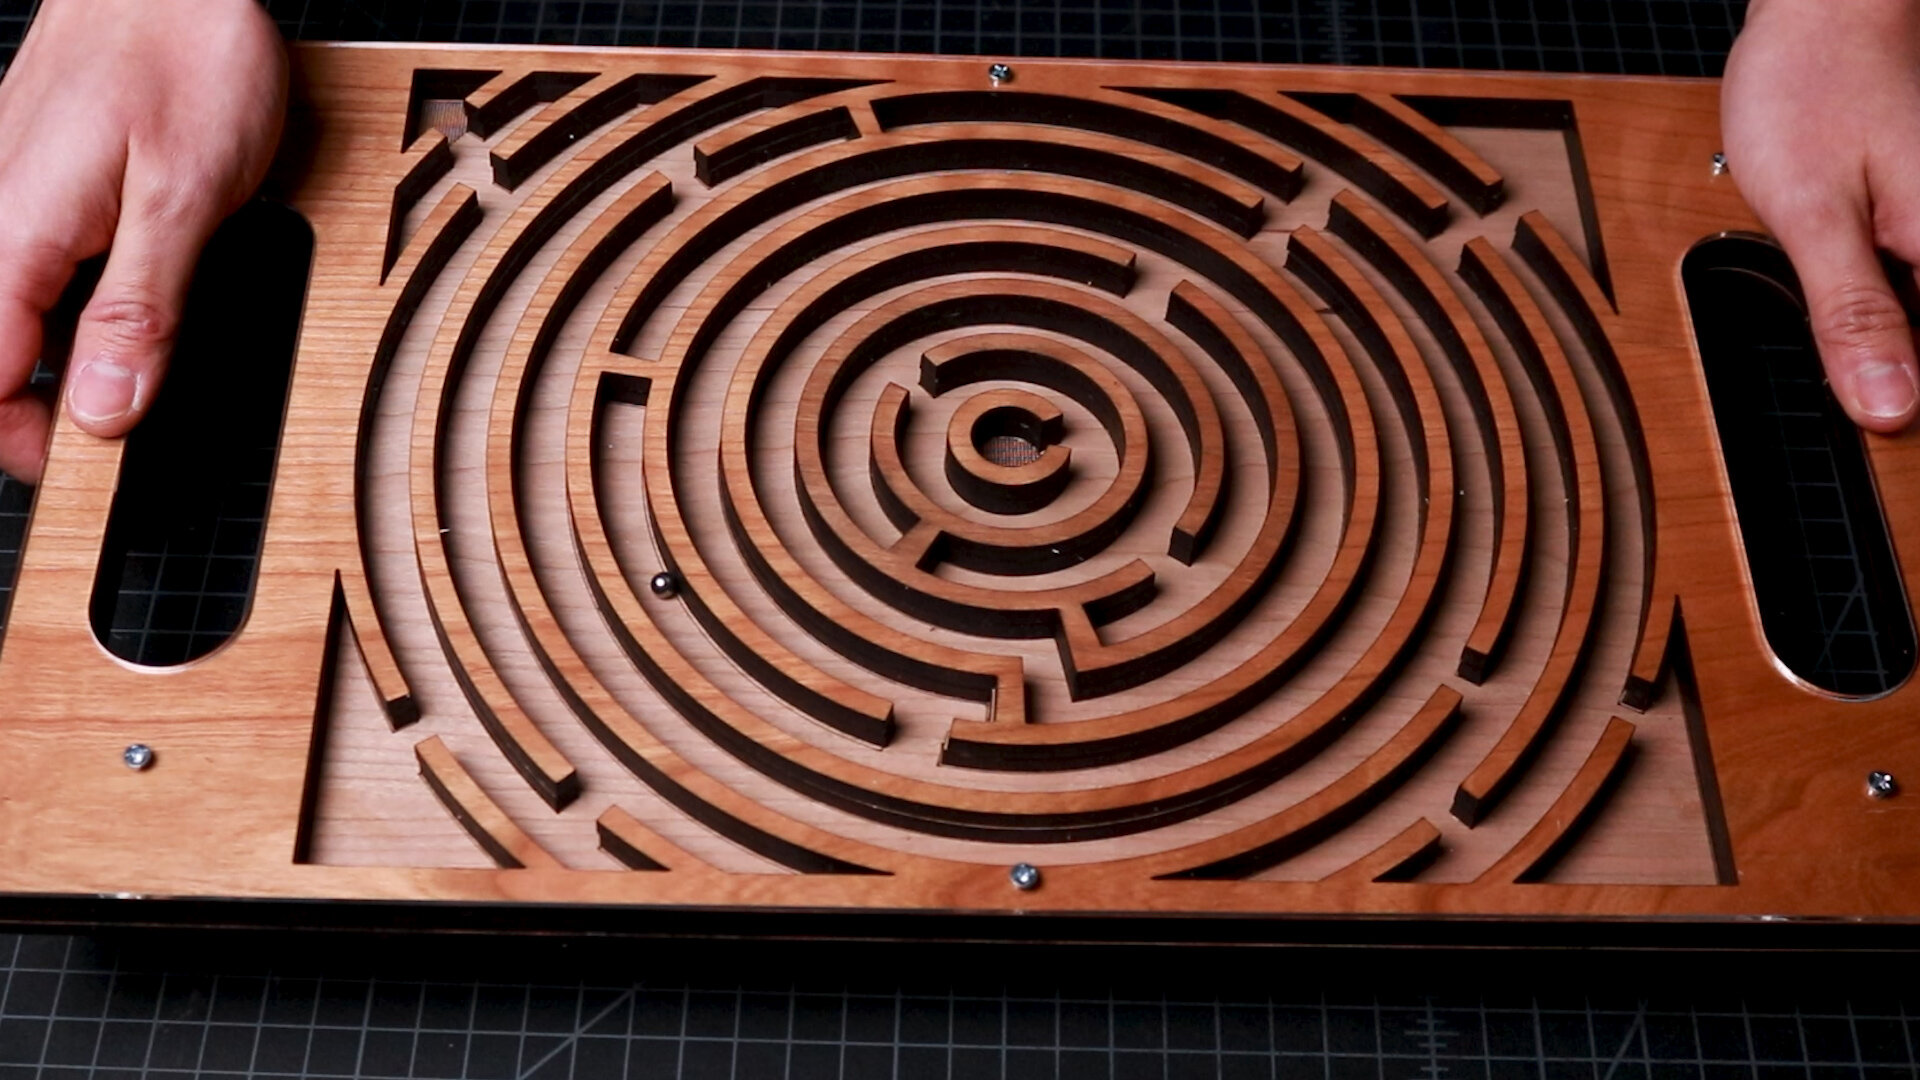
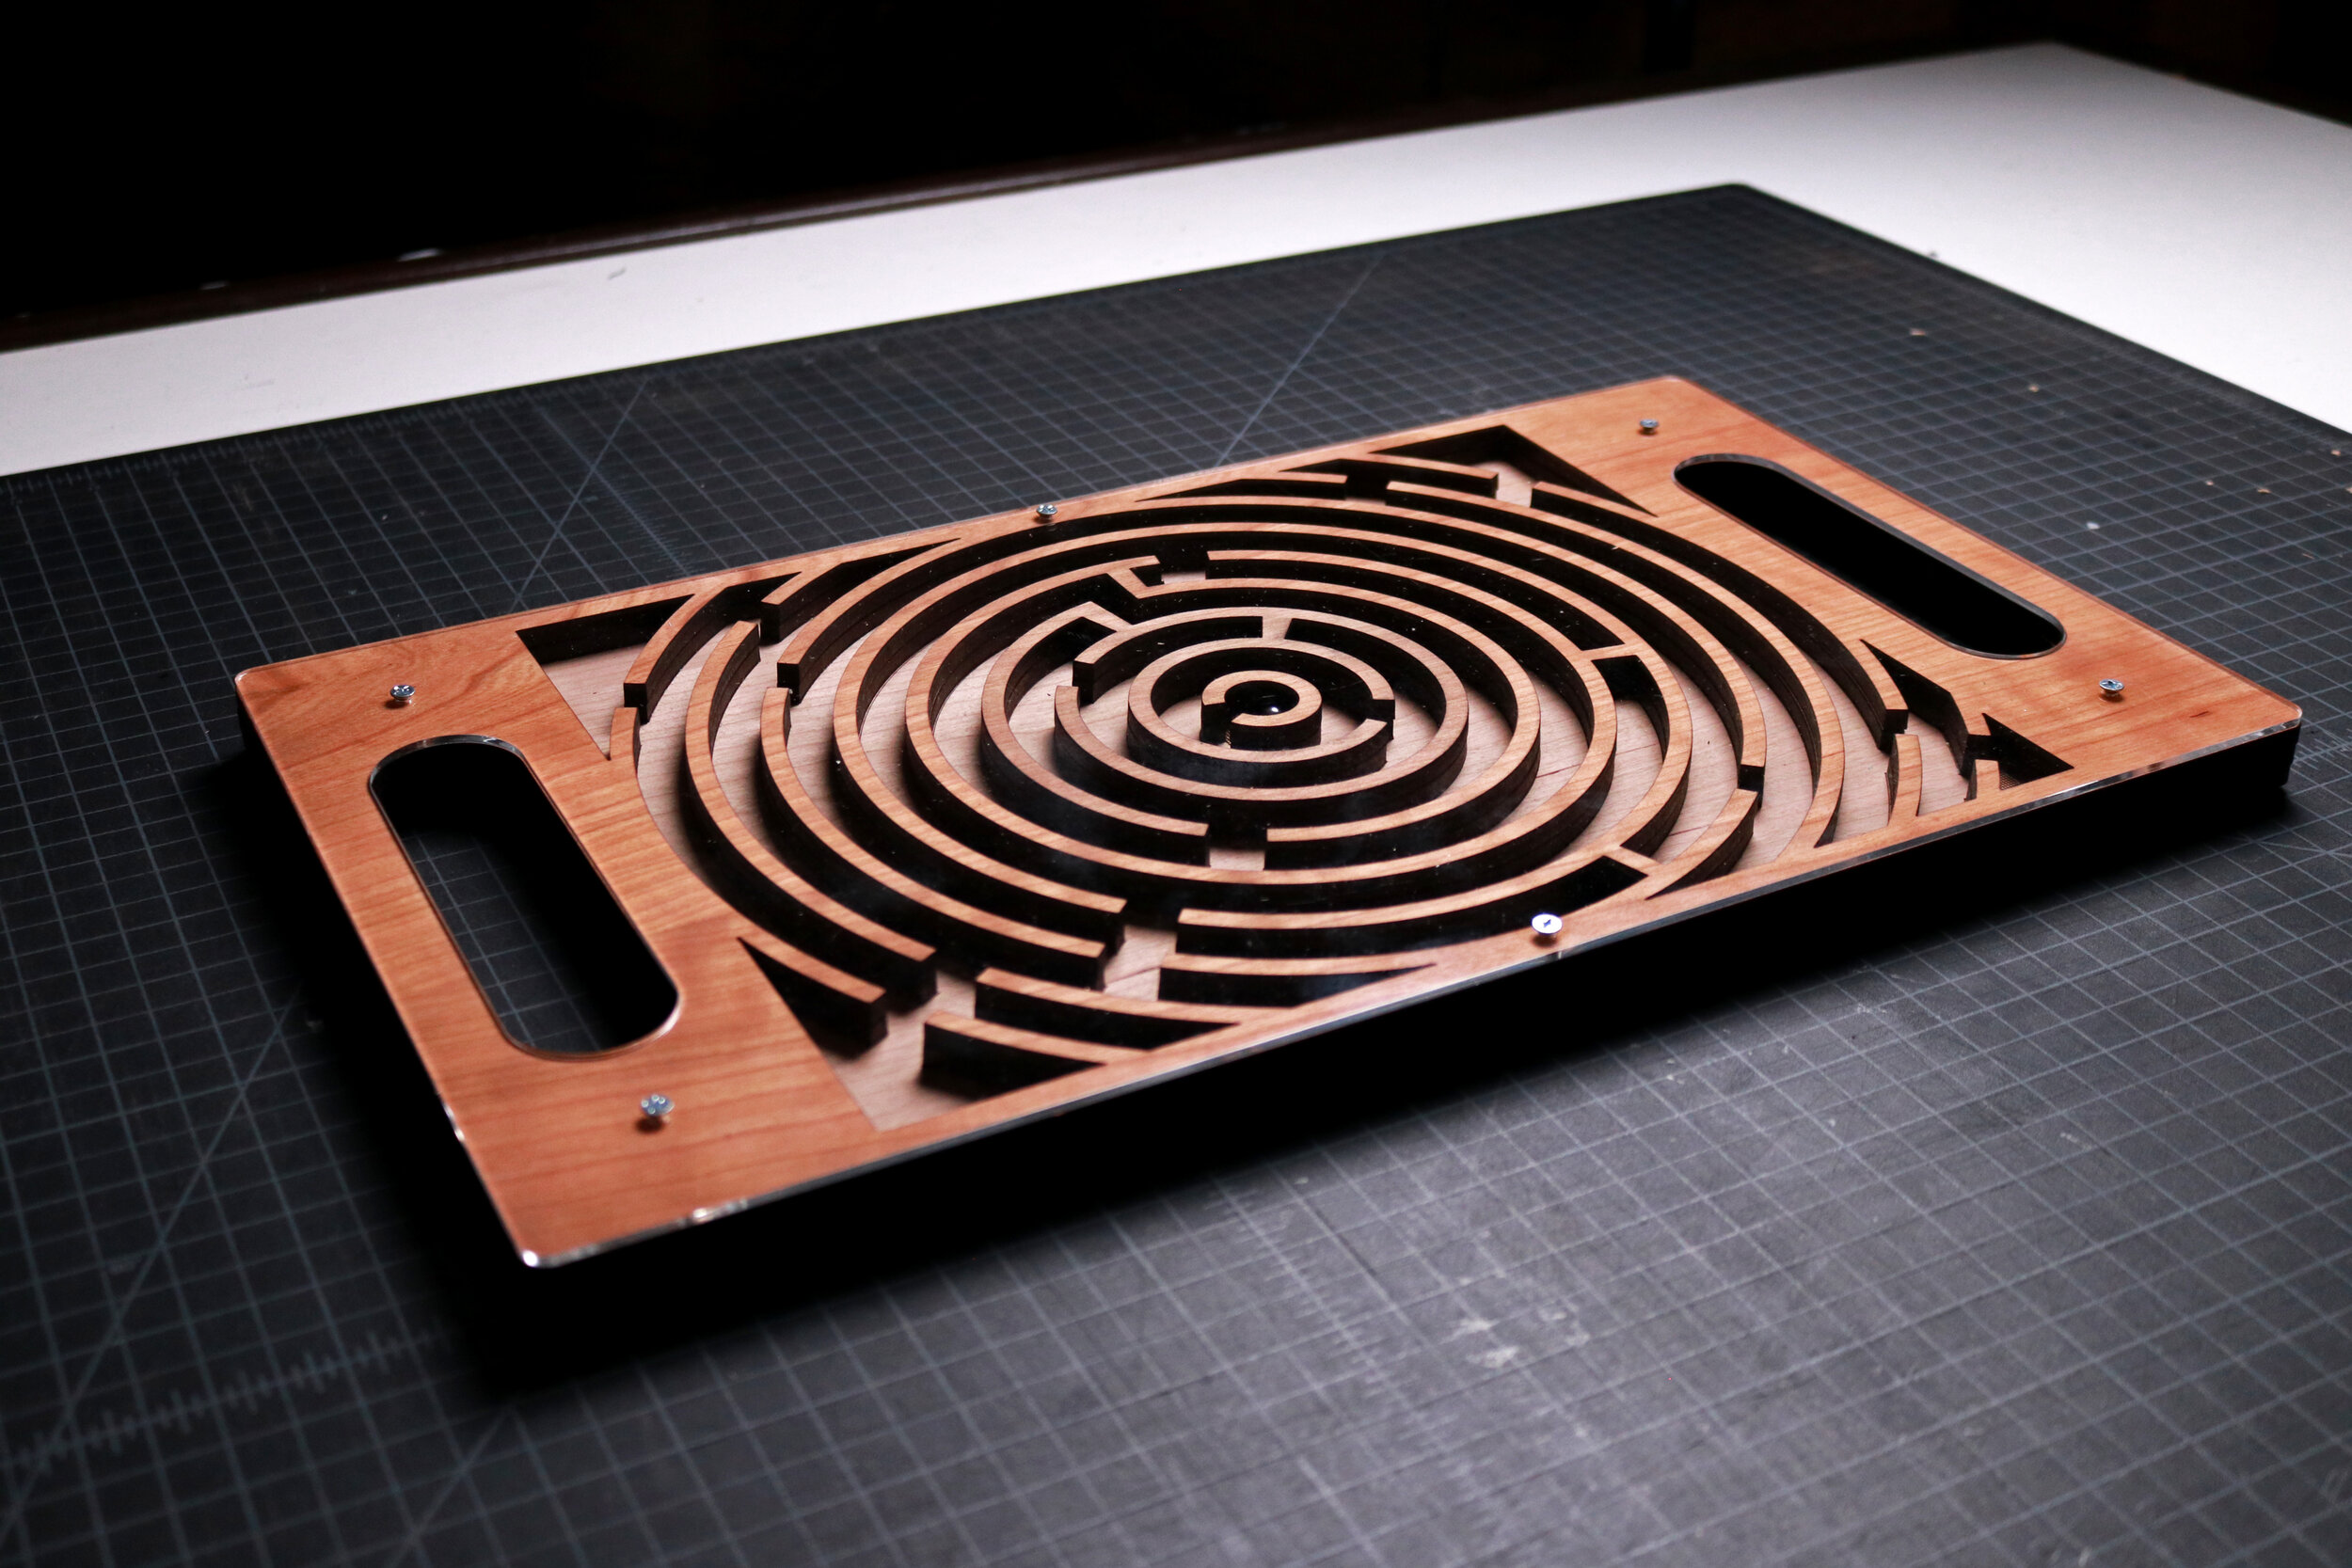
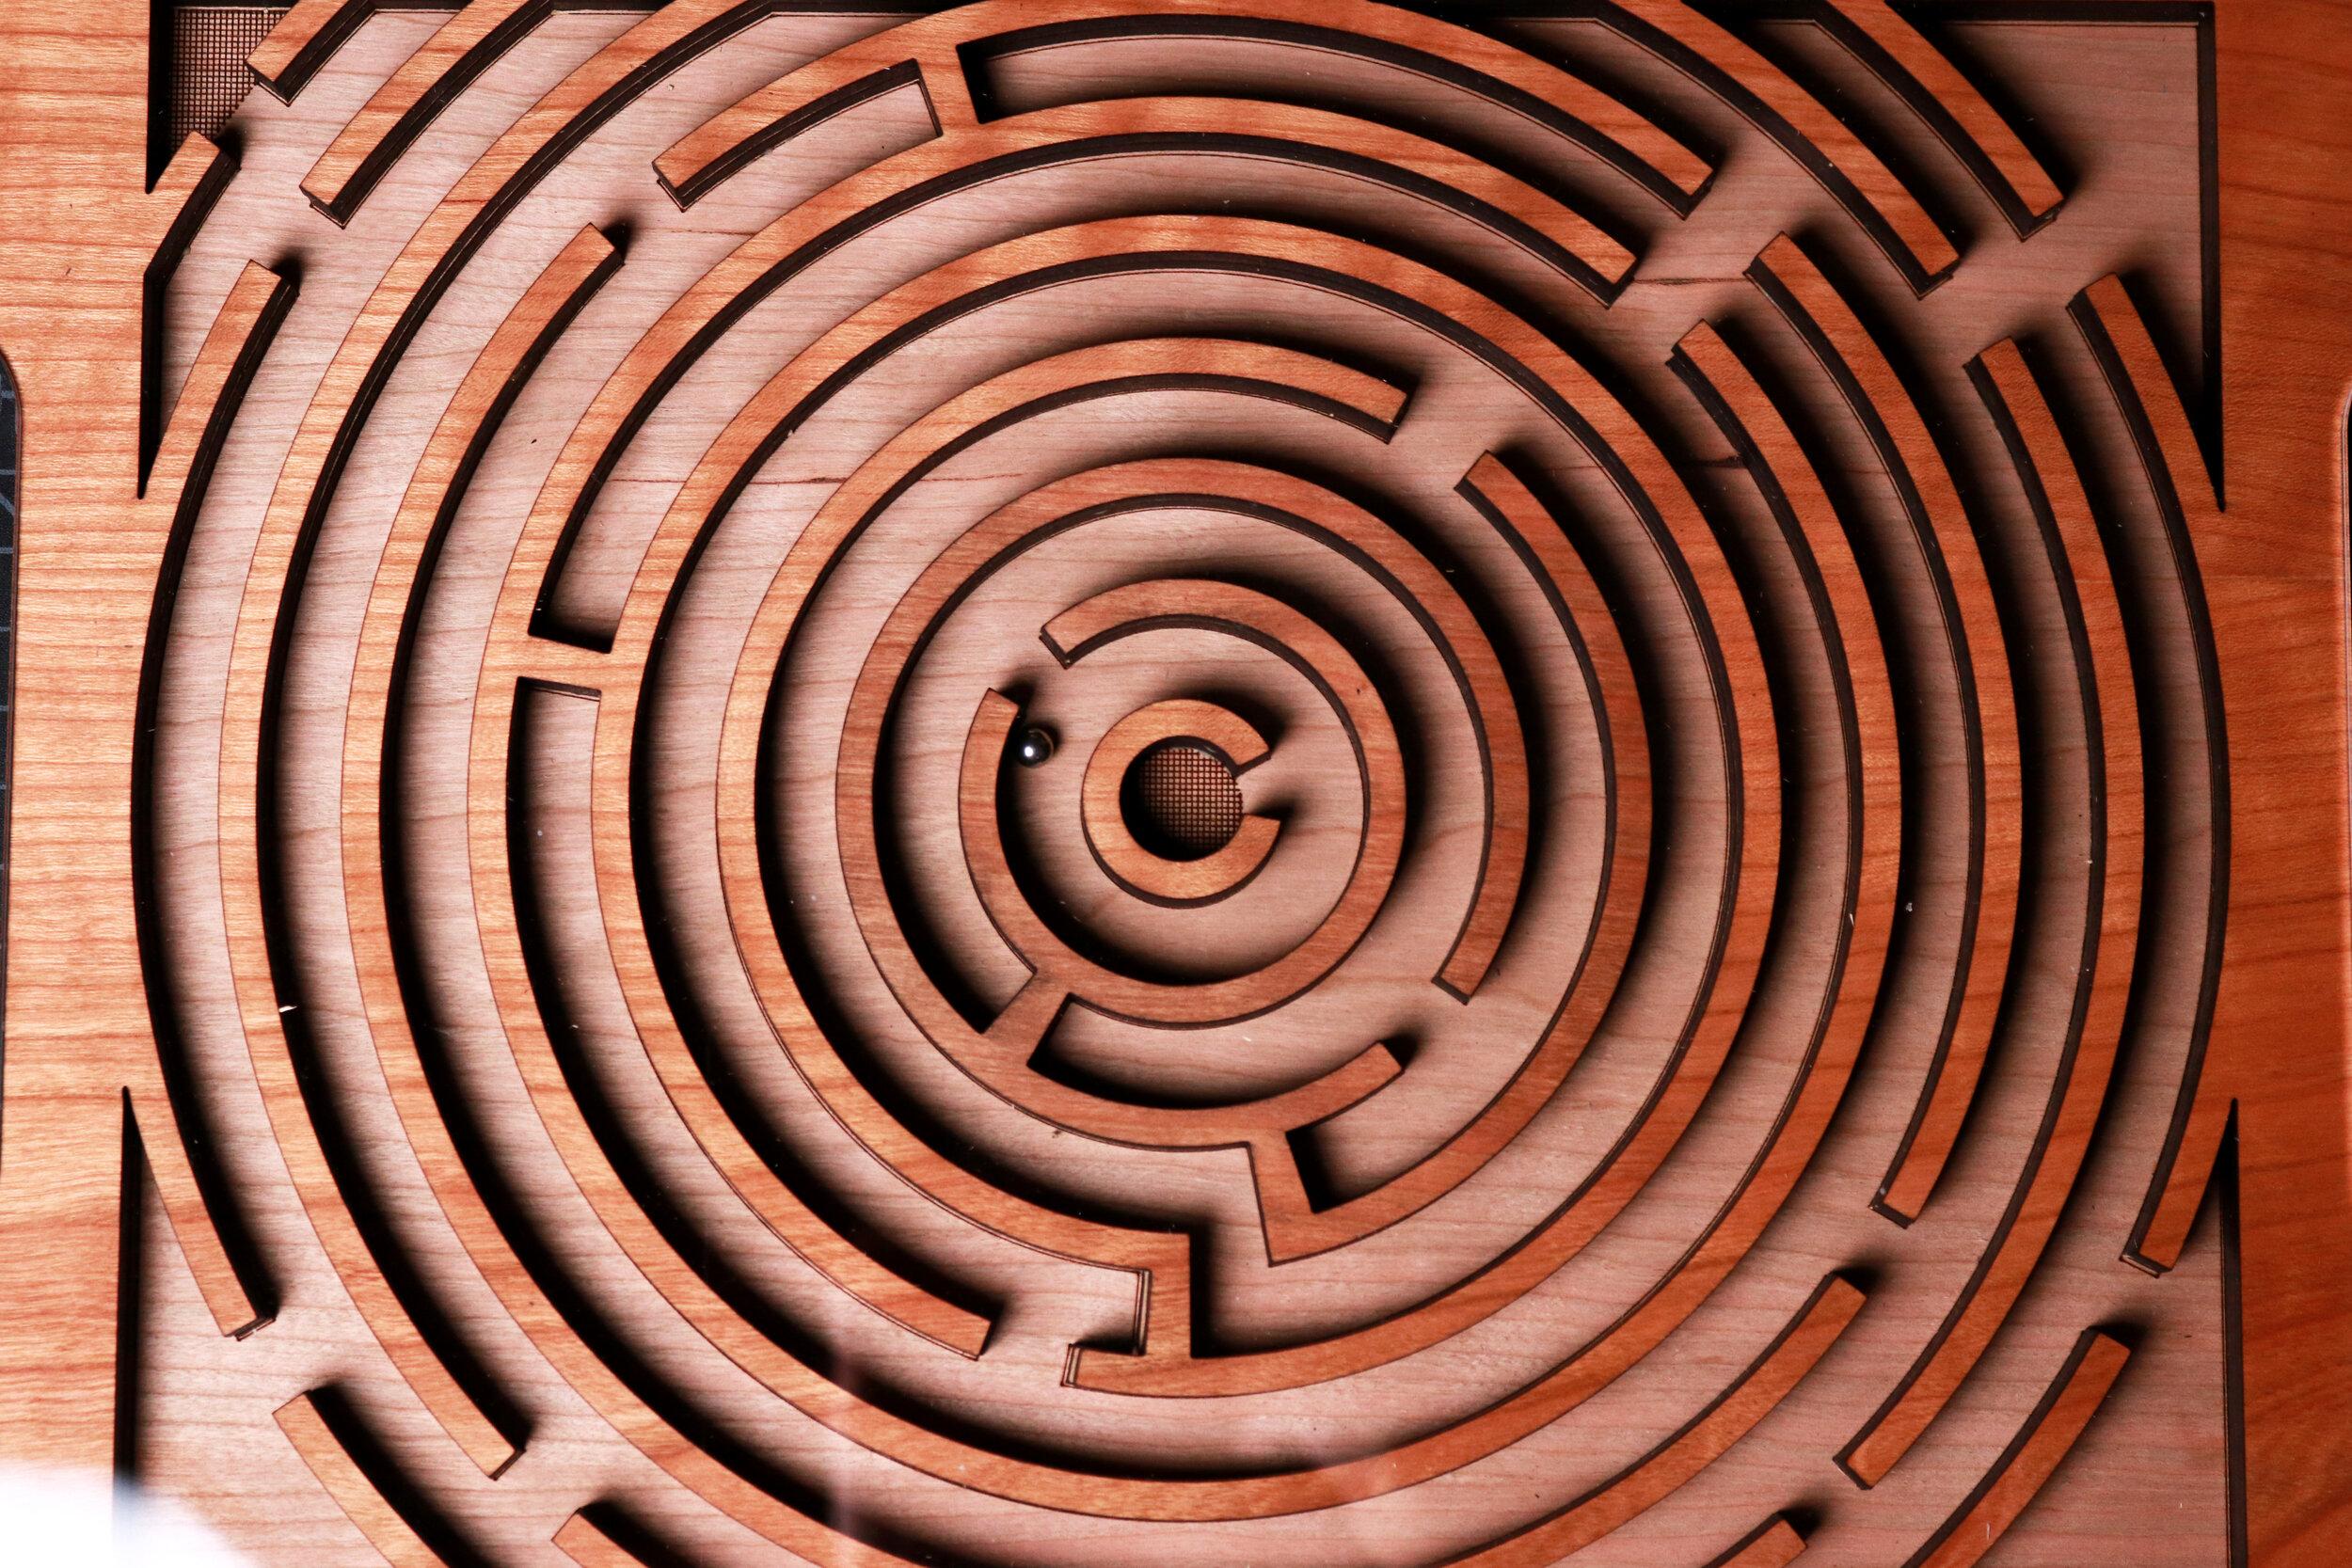
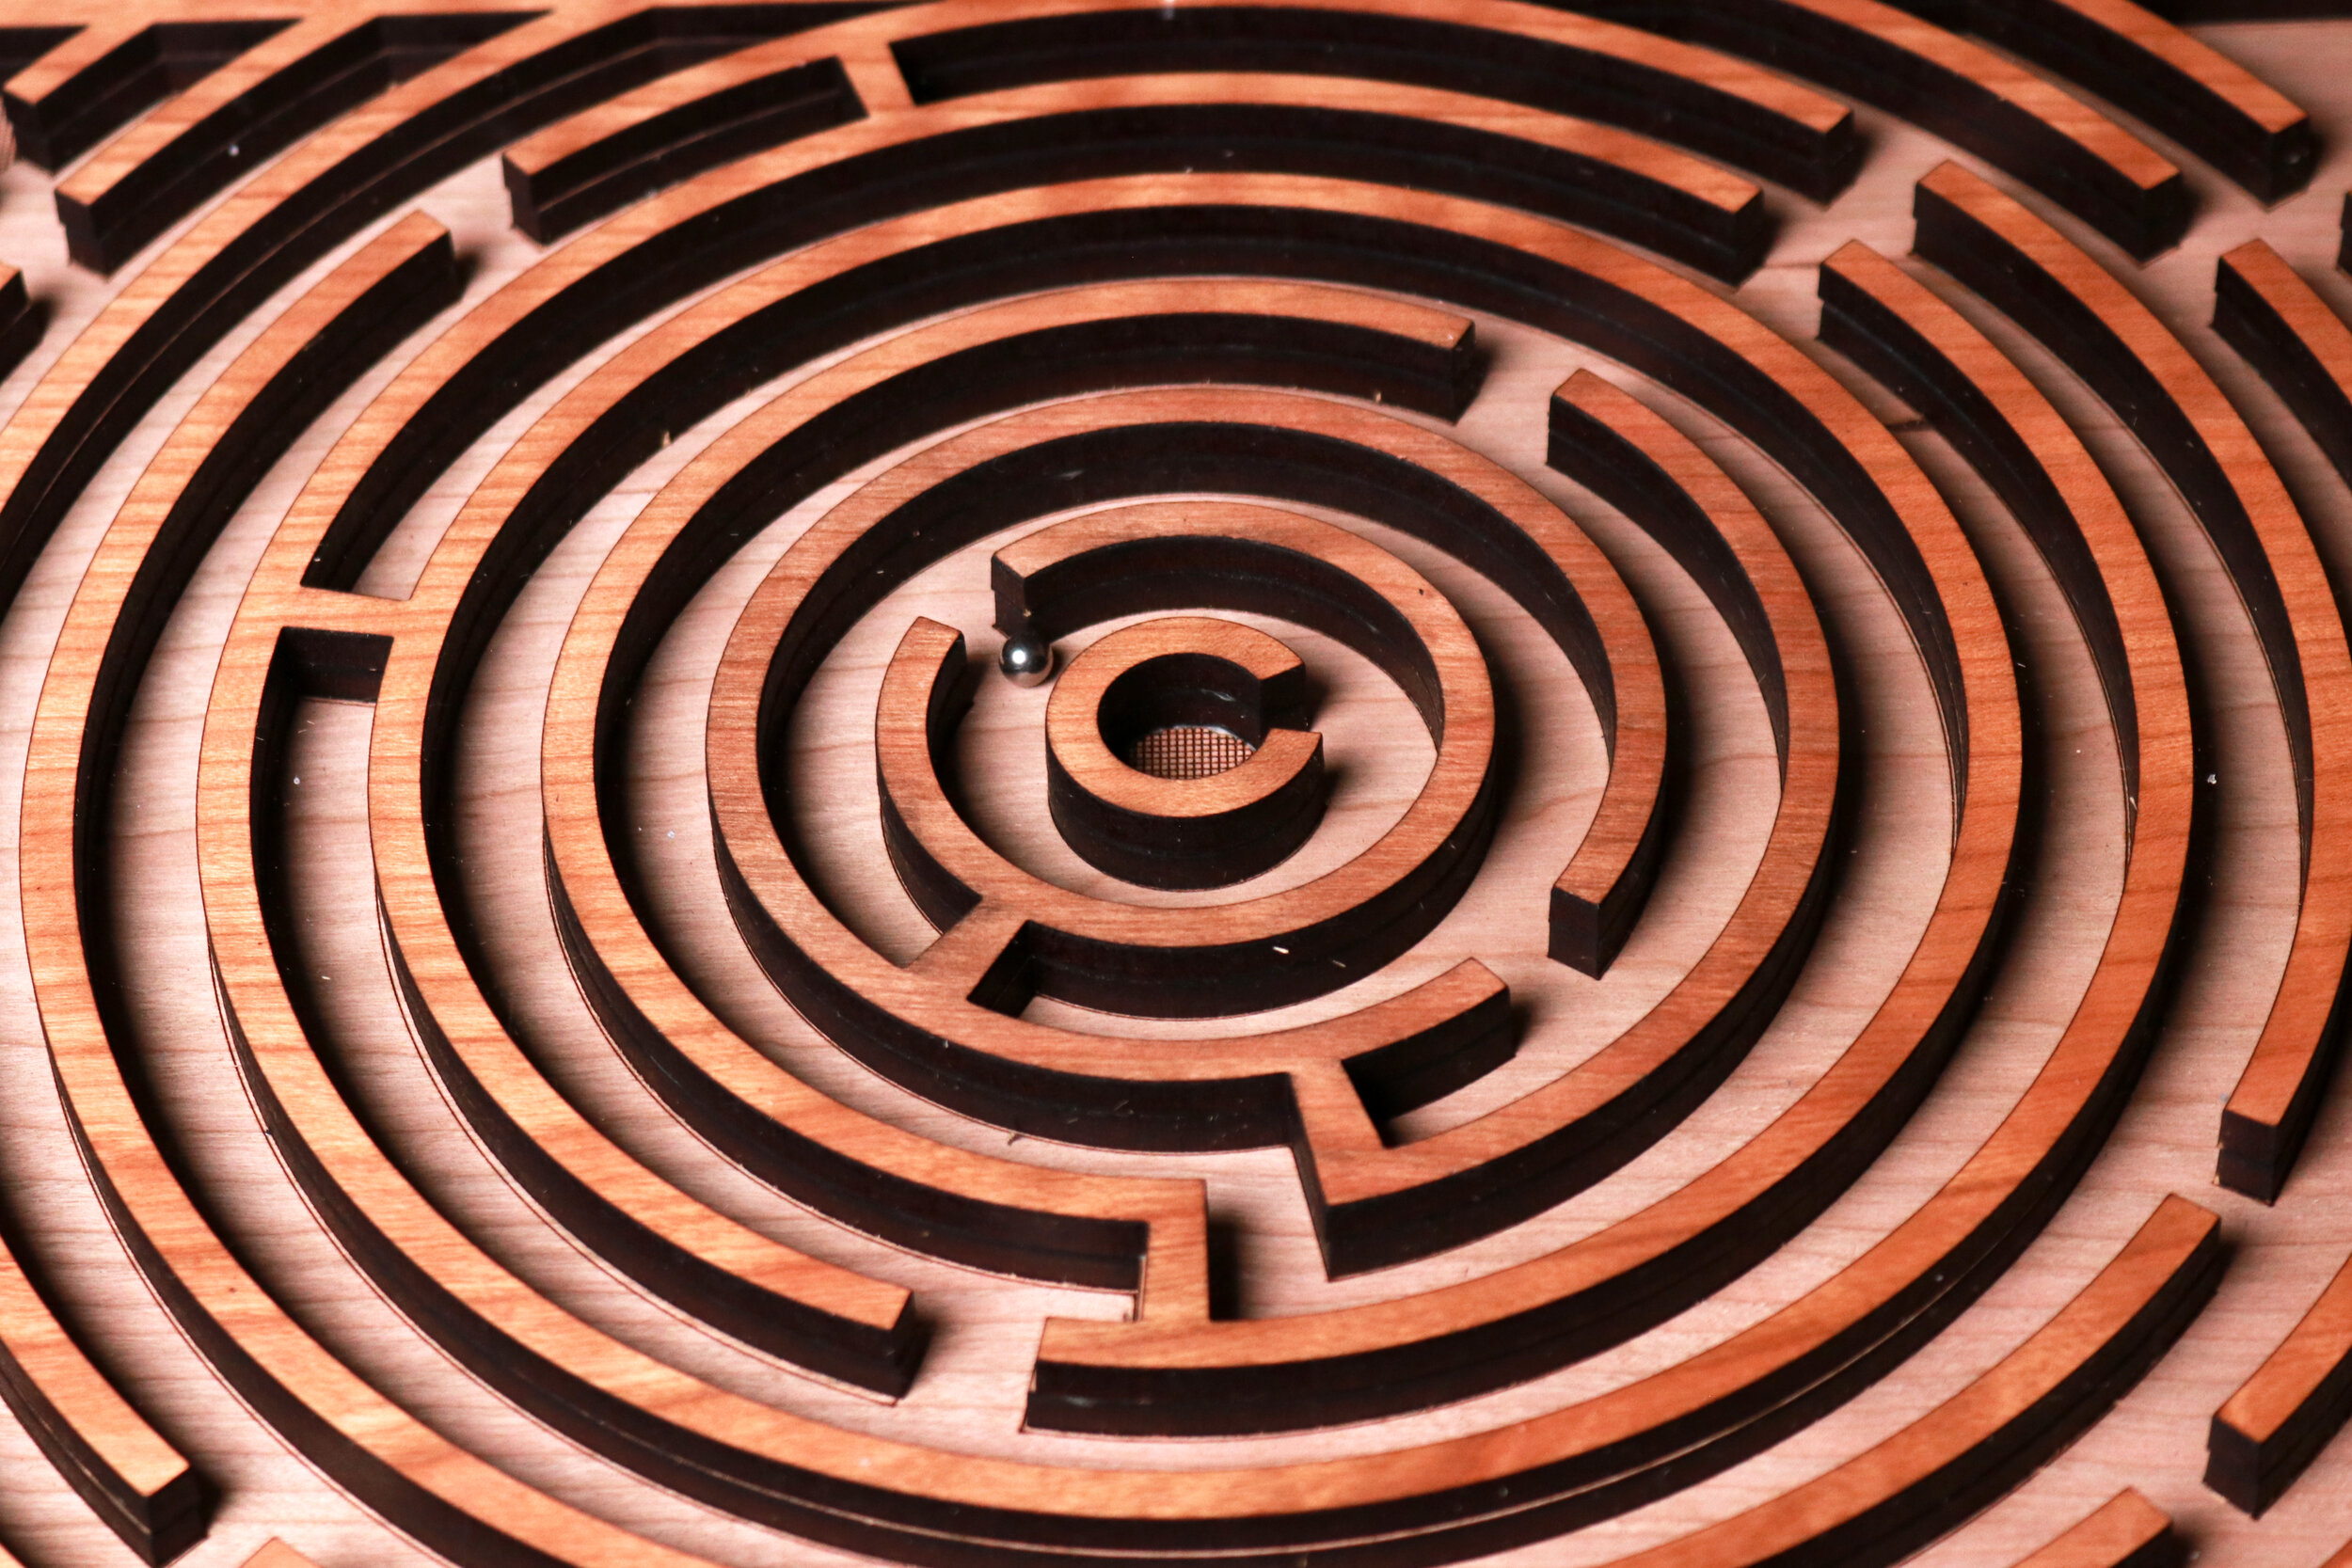
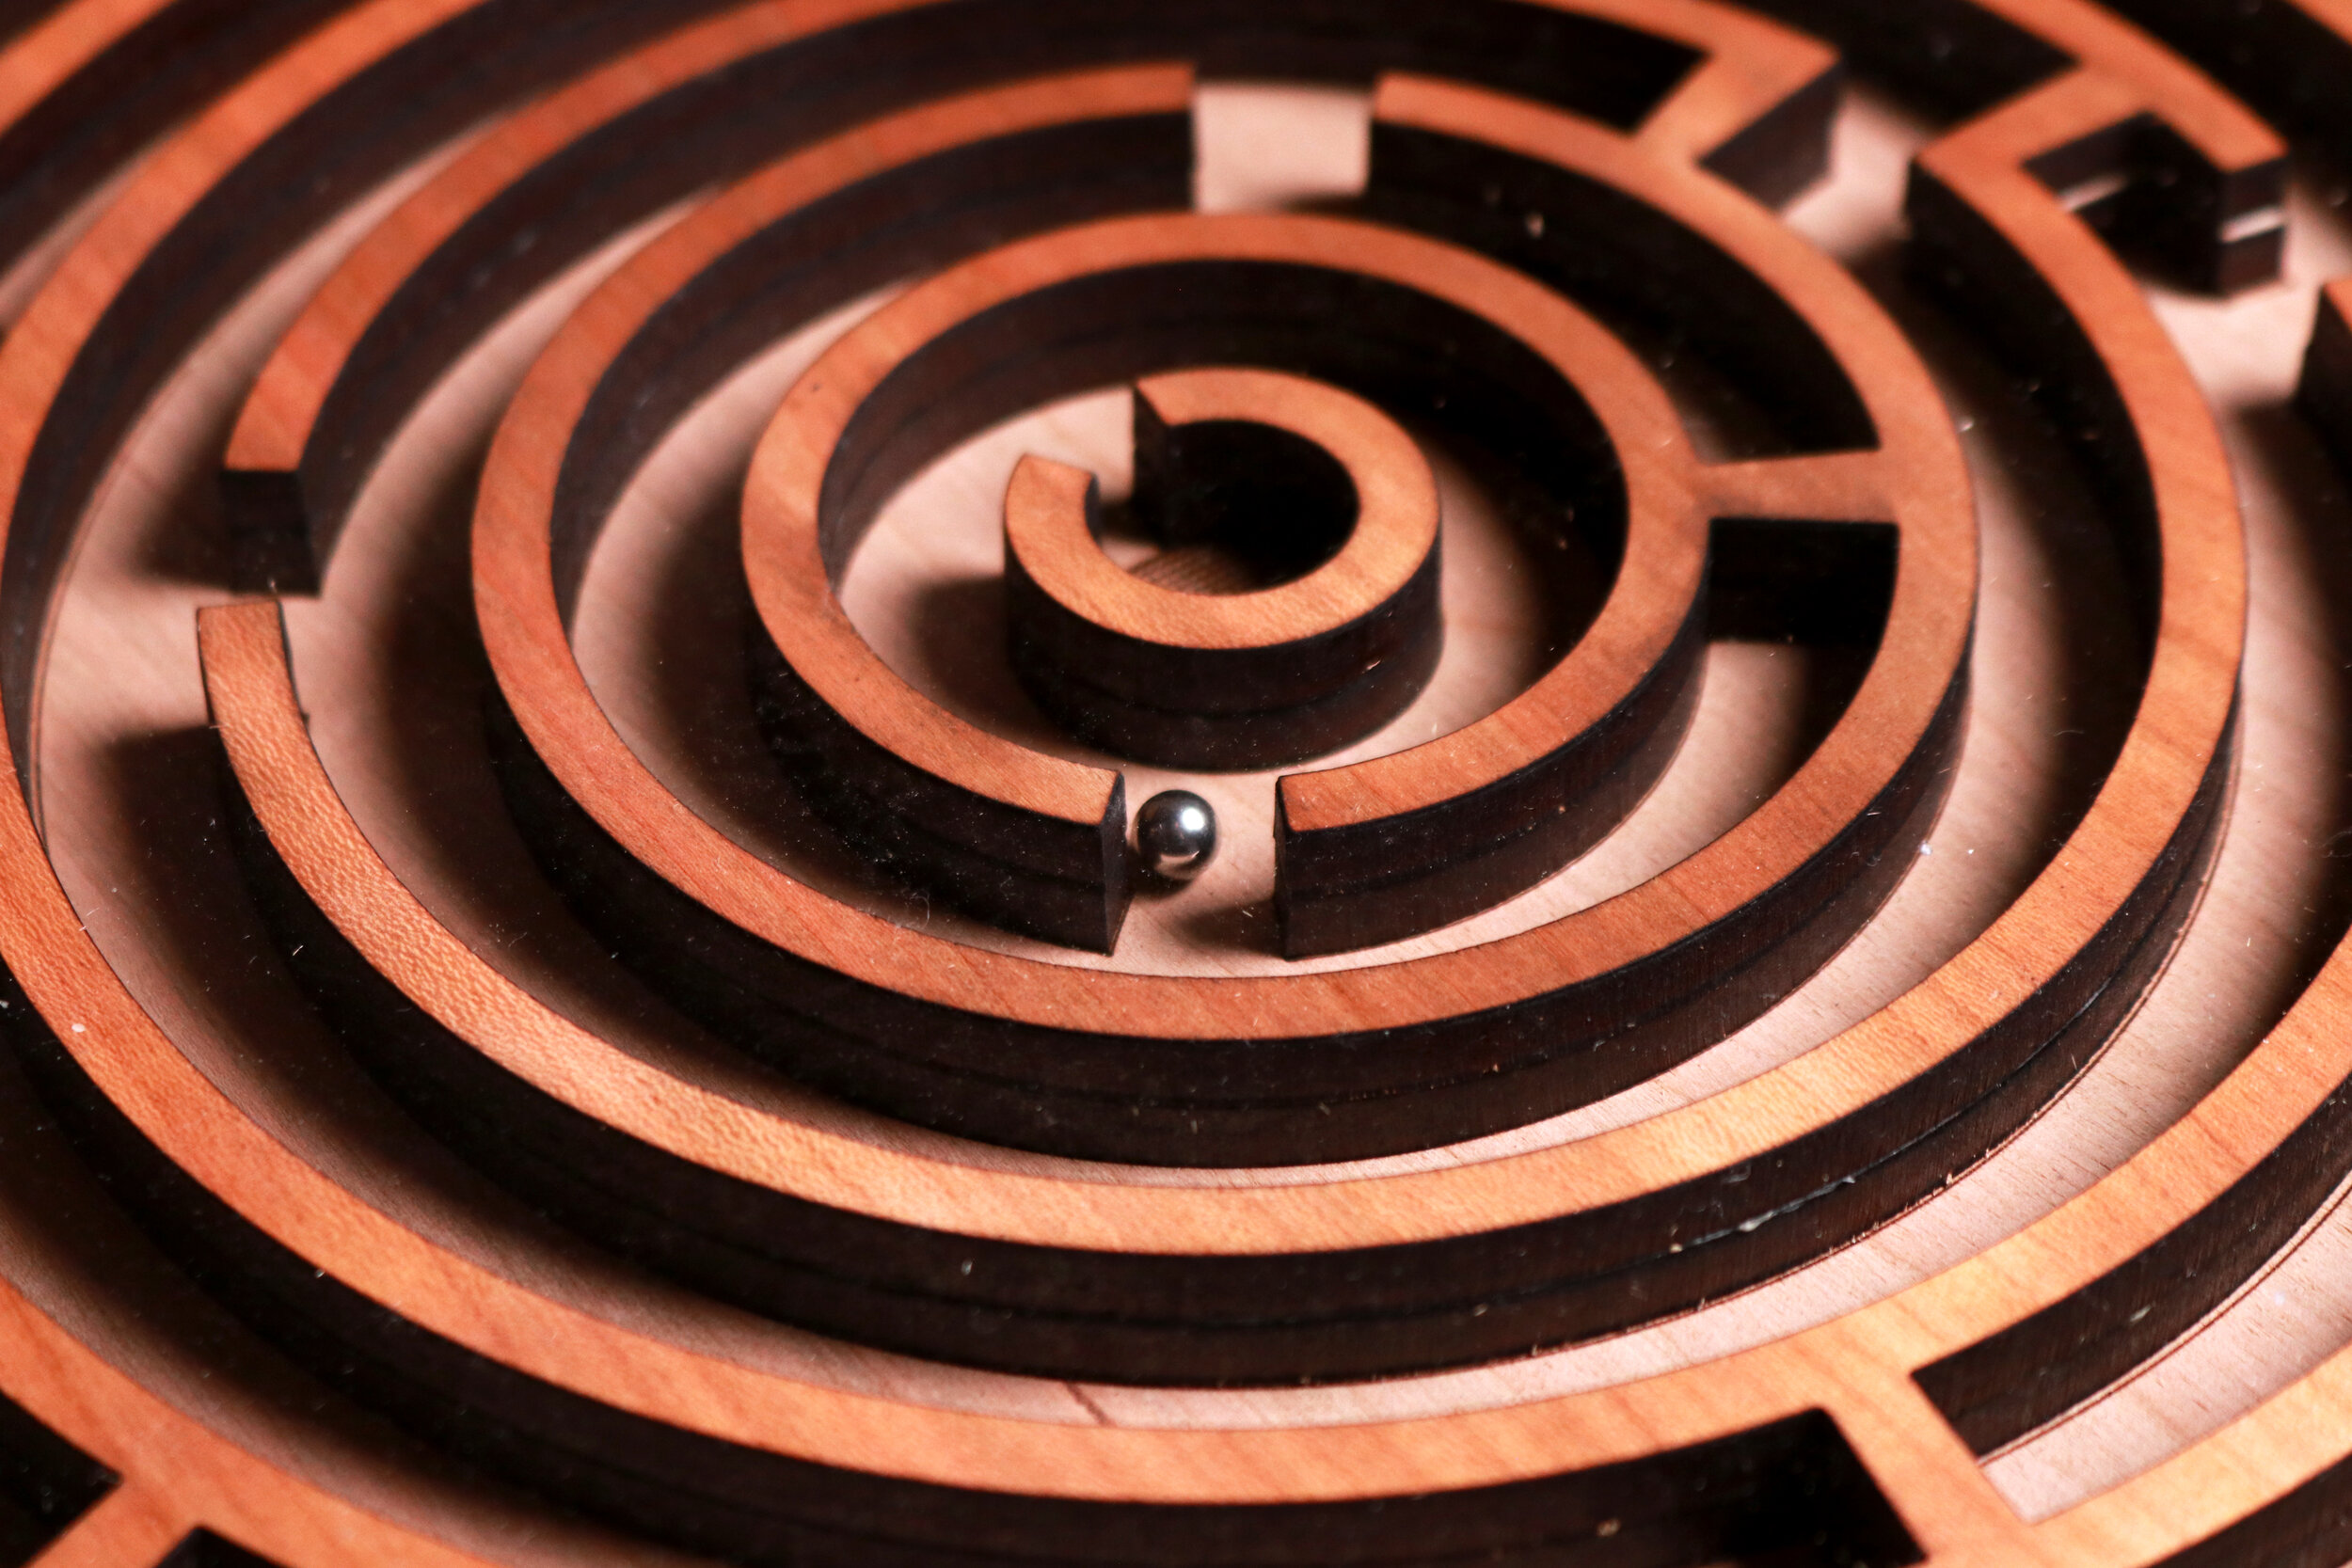
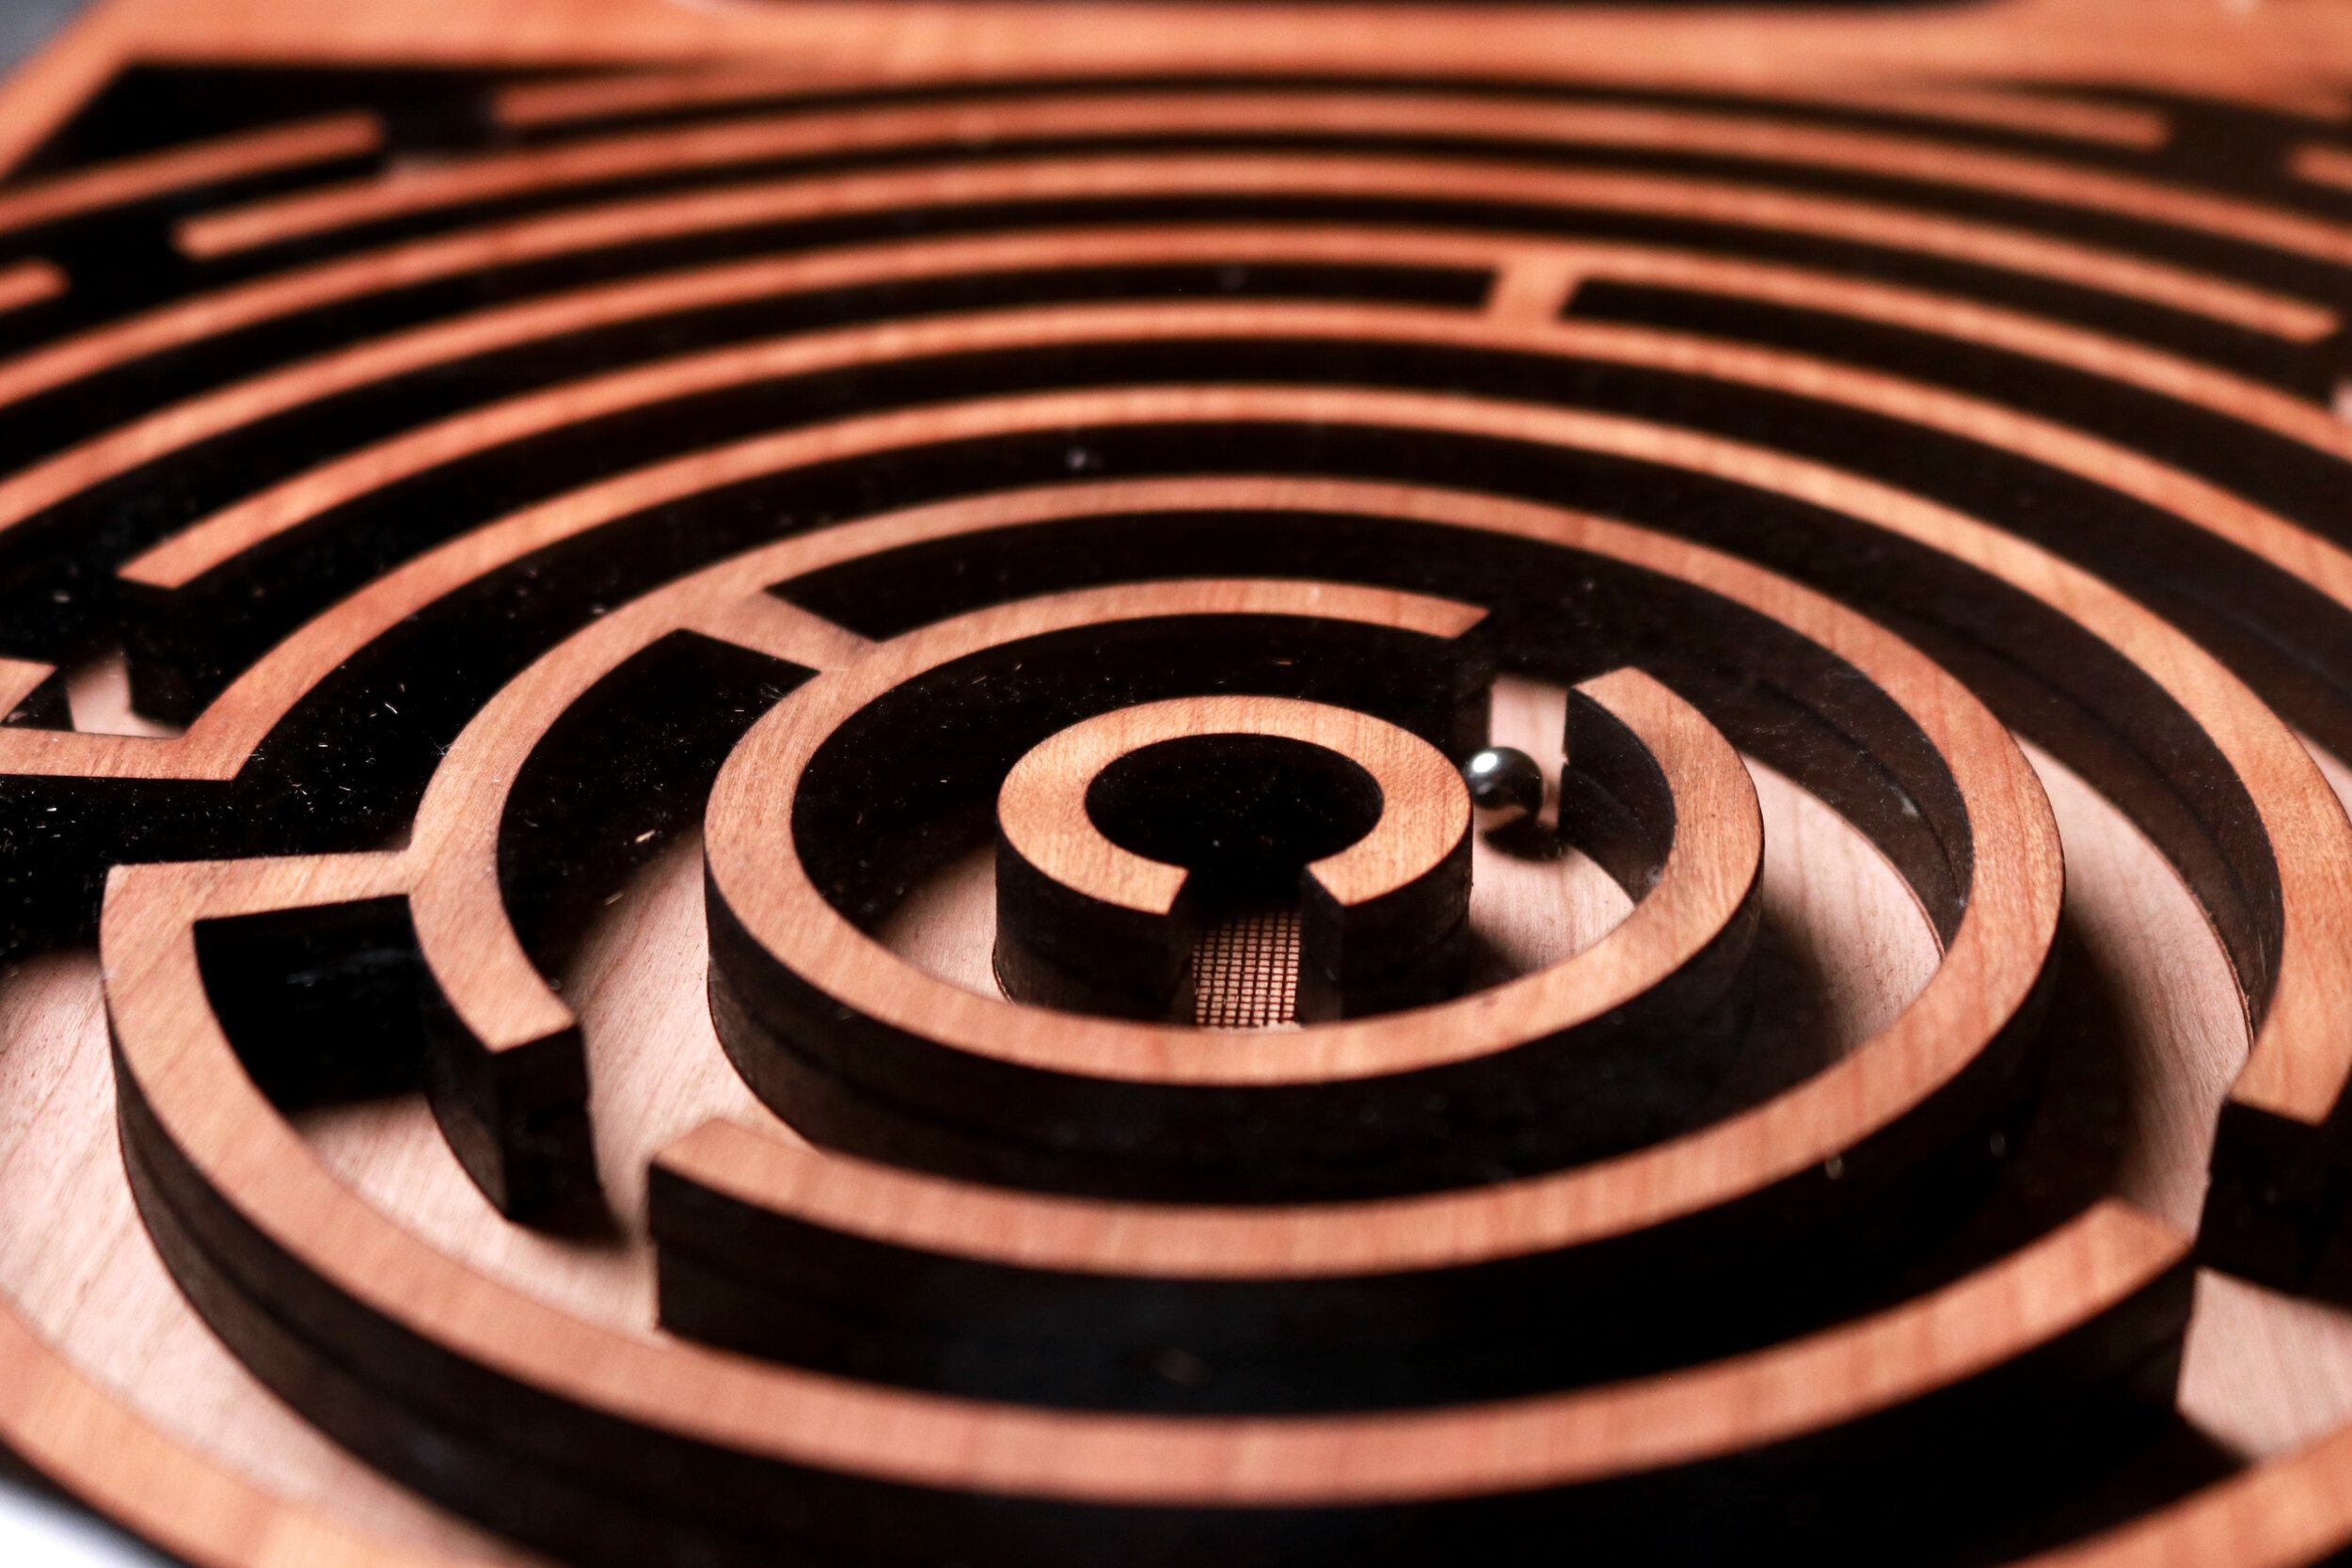
This project was designed using a software called Rhinoceros where polylines were used to draw the maximum size rectangle that a Glowforge laser cutter can cut. I drew a circle at the center of the rectangle to a size of roughly 10 inches and begin designing the maze. The idea was to maintain a continuous width of approximately 1/2 inch so that the ball bearing can easily move through the maze. Openings were also designed at 1/2 inch so that the ball can move between the layers. The last part of the design was including holes for machine screws and designing a simple clear acrylic cover.
After laser cutting the layers with my Glowforge, I applied wood glue to the underside of each piece, aligned them with the engraved maze on the base layer and glued them into place. When the layers were together, I applied a natural oil finish to the surfaces of the plywood. Then, I placed the ball bearing into the maze, the acrylic cover on top, and screwed the machine screws and nuts into place.