Making a Minimal Side Table

Tools & Materials
Project Description
How do we design a minimal side table made with a Glowforge laser cutter and assembled with wood glue and finger joints?
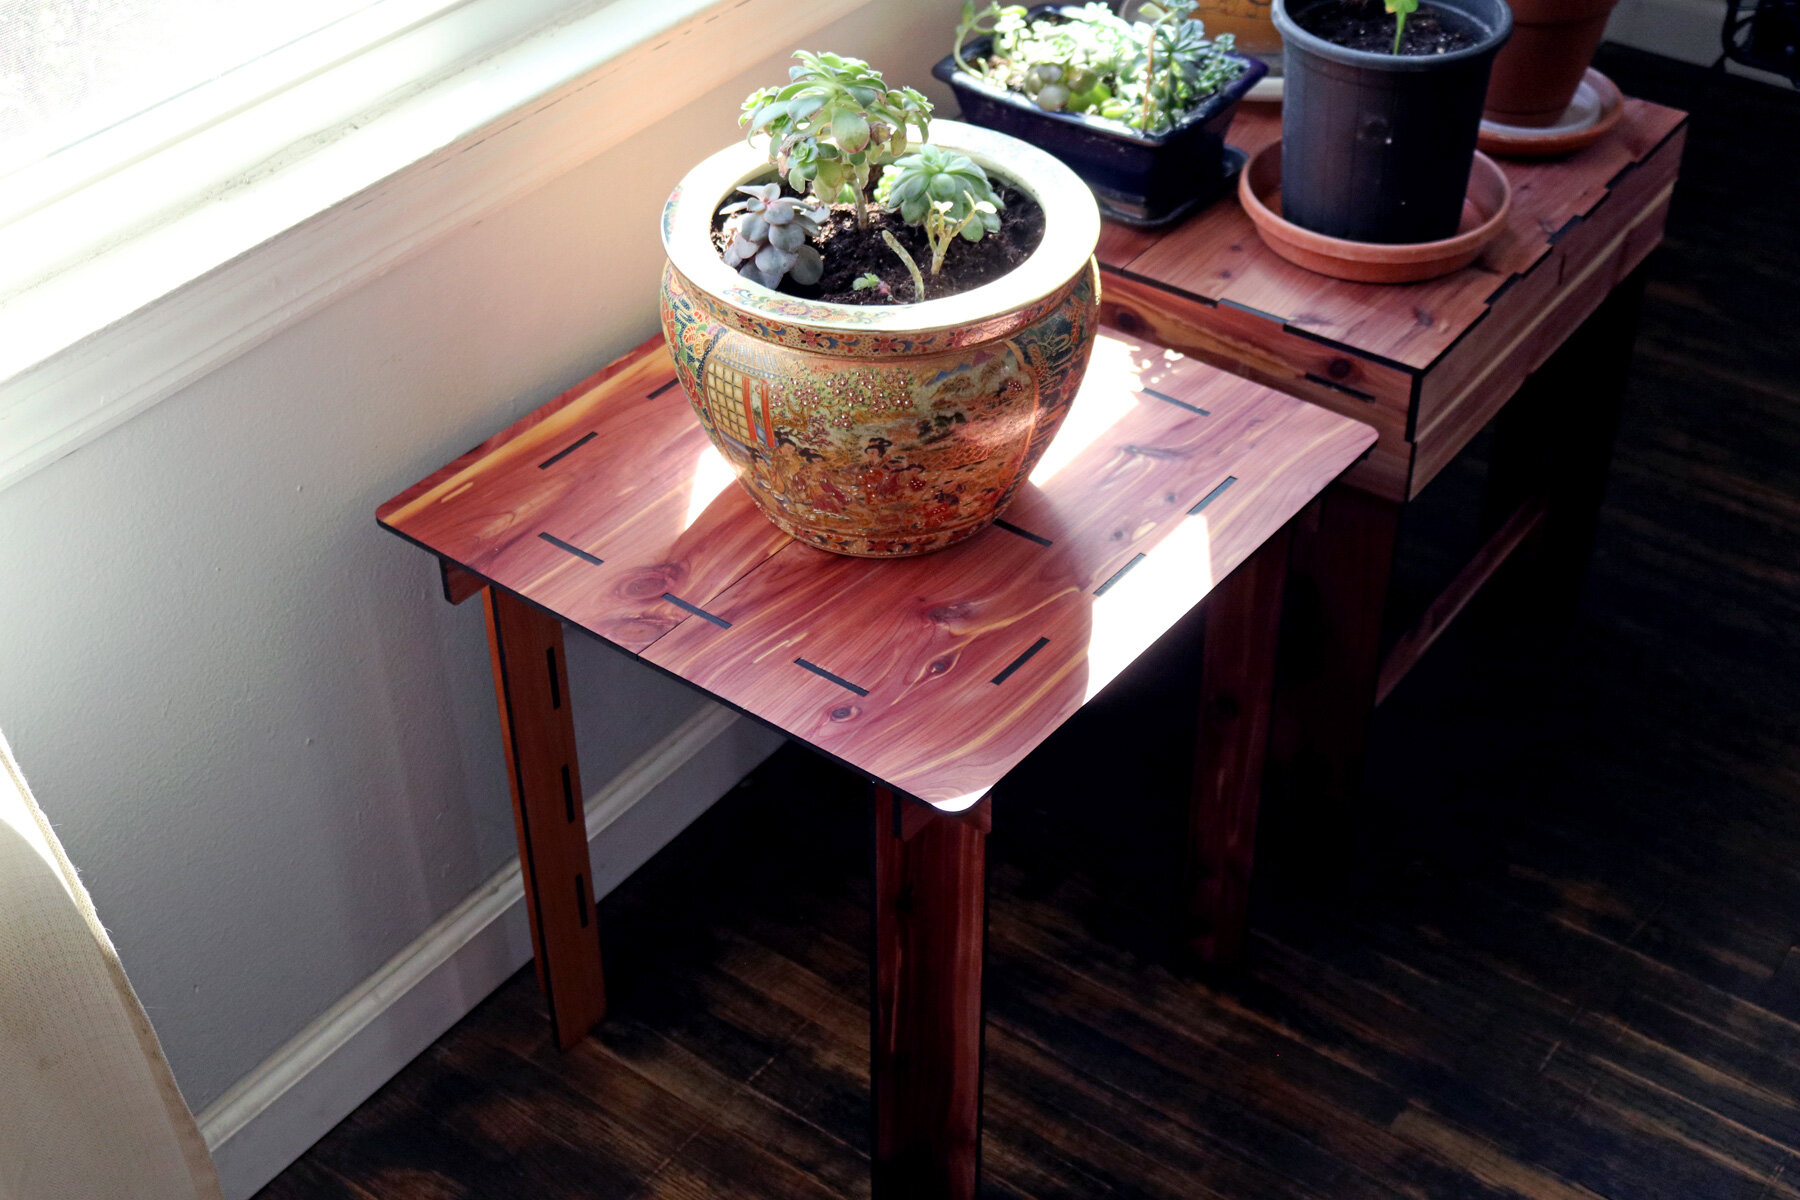
Building on my previous side table projects, the goal of this one was to design one with as few pieces as possible and reducing the size of each support member. The table top was also refined to have a slight overhang at its perimeter, which hides a portion of the frame. This project was inspired by Japanese furniture and architecture where the top of the frame that’s connected to the table top is combined through finger joints and overhang beyond the vertical support.
Process
This project was designed using a software called Rhinoceros with simple commands. I started with the overall dimensions of the table top, which came out to 18 inches square and would take two laser cut sheets of plywood to accomplish. The next step was to design the legs of table and create slots and tabs for every component to come together and provide structural stability to the table.
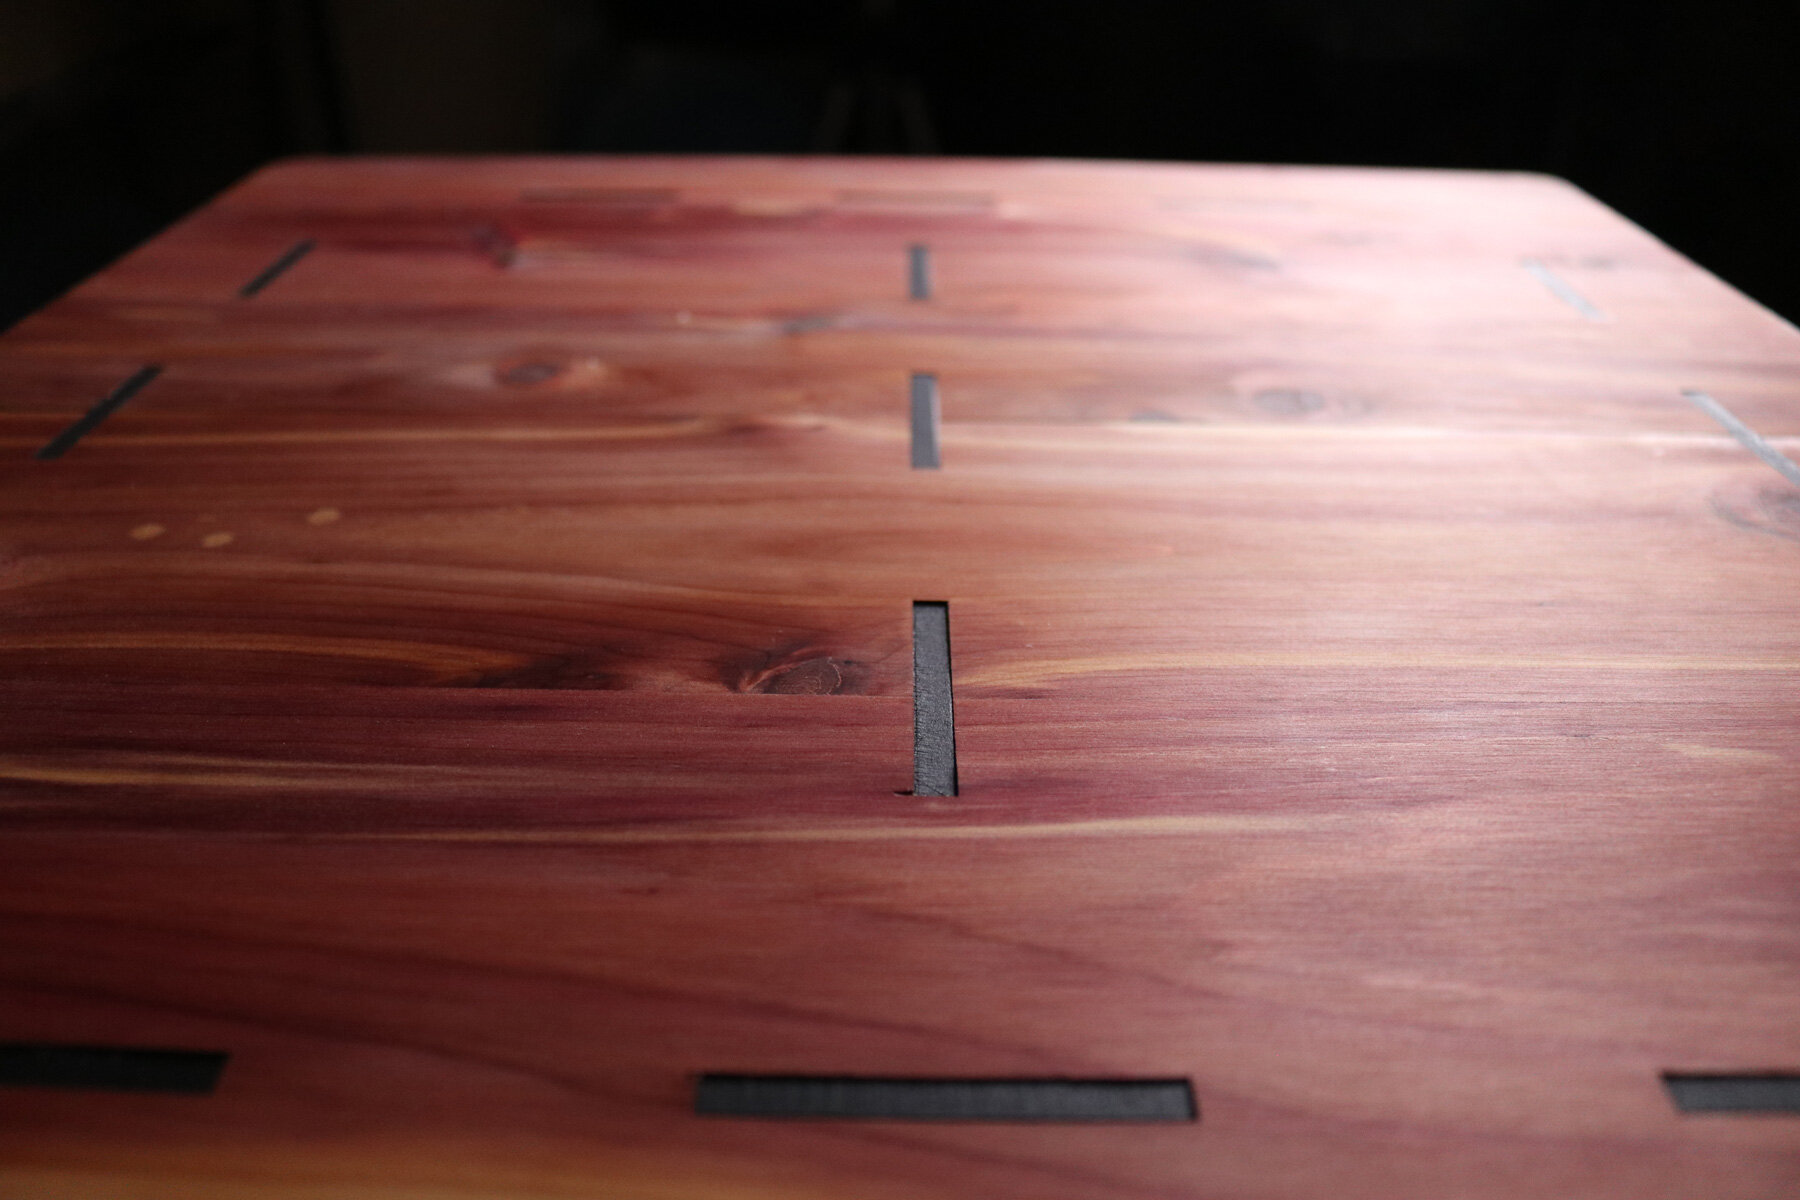
Once I verified that the pieces would fit together, I imported it into the laser cutting interface and cut every piece. I applied wood glue to the joints, aligned the pieces, and joined the pieces with their associated slots using a rubber hammer. Using a lint free cloth, I applied a natural oil finish to the surface of the plywood and wiped off any excess oil.