Making a Minimal Leather Apple Watch Strap

Tools and Materials
You can find all the tools and materials for this project as well as a link to my in-depth Skillshare course here: https://www.ungstudio.com/leather-apple-watch-strap-course
Project Description
What is a leather product that’s both functional and simple to make?
One of the leather projects that I’ve always enjoyed making is a custom leather watch strap because they’re the most functional product that most people tend to wear and look at every day. There are various types of watch strap designs that range in complexity and skill level, but among them all, there’s the minimal leather watch strap, which is the easiest type to make.
After working on several types ranging from custom relief and engraved watch straps to simple single layer bands, I’ve found that I prefer making minimal straps. There are subtle differences in its design that one can choose to make, but it all comes down to the basic principles of a watch strap; clasp, connector, and adjustment holes. The shape and style could affect comfort, but without these components, there is no watch strap.
The beautiful part of learning to make one of these products is that it takes time and careful practice to get to a point where the final product looks clean and professionally made. I’ve gone through lots of pieces of leather testing different shapes and techniques. The first product is generally full of flaws, but each one gives so much valuable knowledge of how to do it better each successive time the product is made.
Process
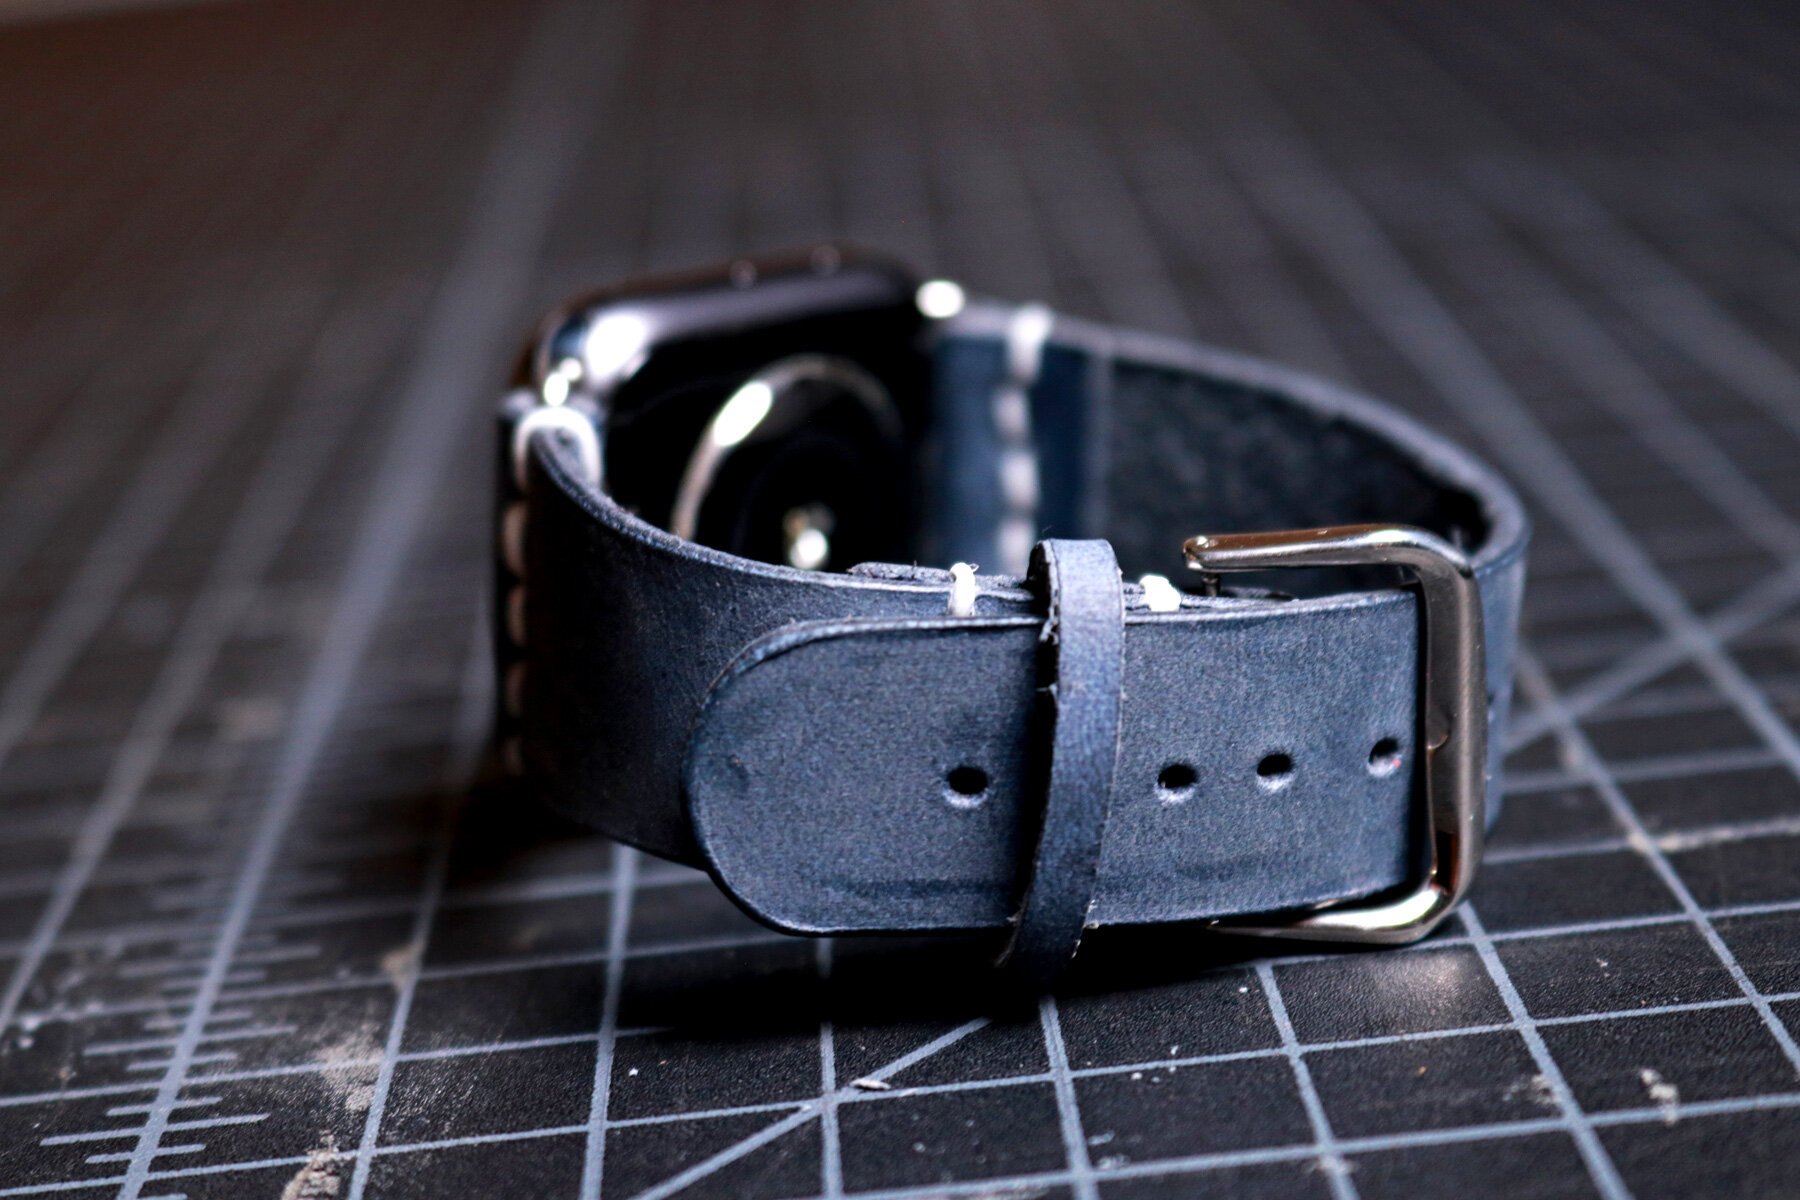
When I began this project, I started by laser cutting a template of the two sides of the watch band that I designed a year ago. Using this template as a guide, I held it down firmly on my blue leather hide and used my X-Acto blade to cut out the exact shape of the template. I marked the adjustment holes on one strap with my scratch awl and traced the rectangular area where the watch strap latch would go through.
Once the pieces were cut, I moved onto beveling and sanding the edges with 150 grit sand paper followed by 220 grit. This smooths the edges of the leather and rounds the profile so that I could apply my Tokonole burnishing agent and use my wood burnisher to finish the edges. After that, I applied more burning agent to the edges and used my canvas cloth to give the watch strap a shiny sealed finish.
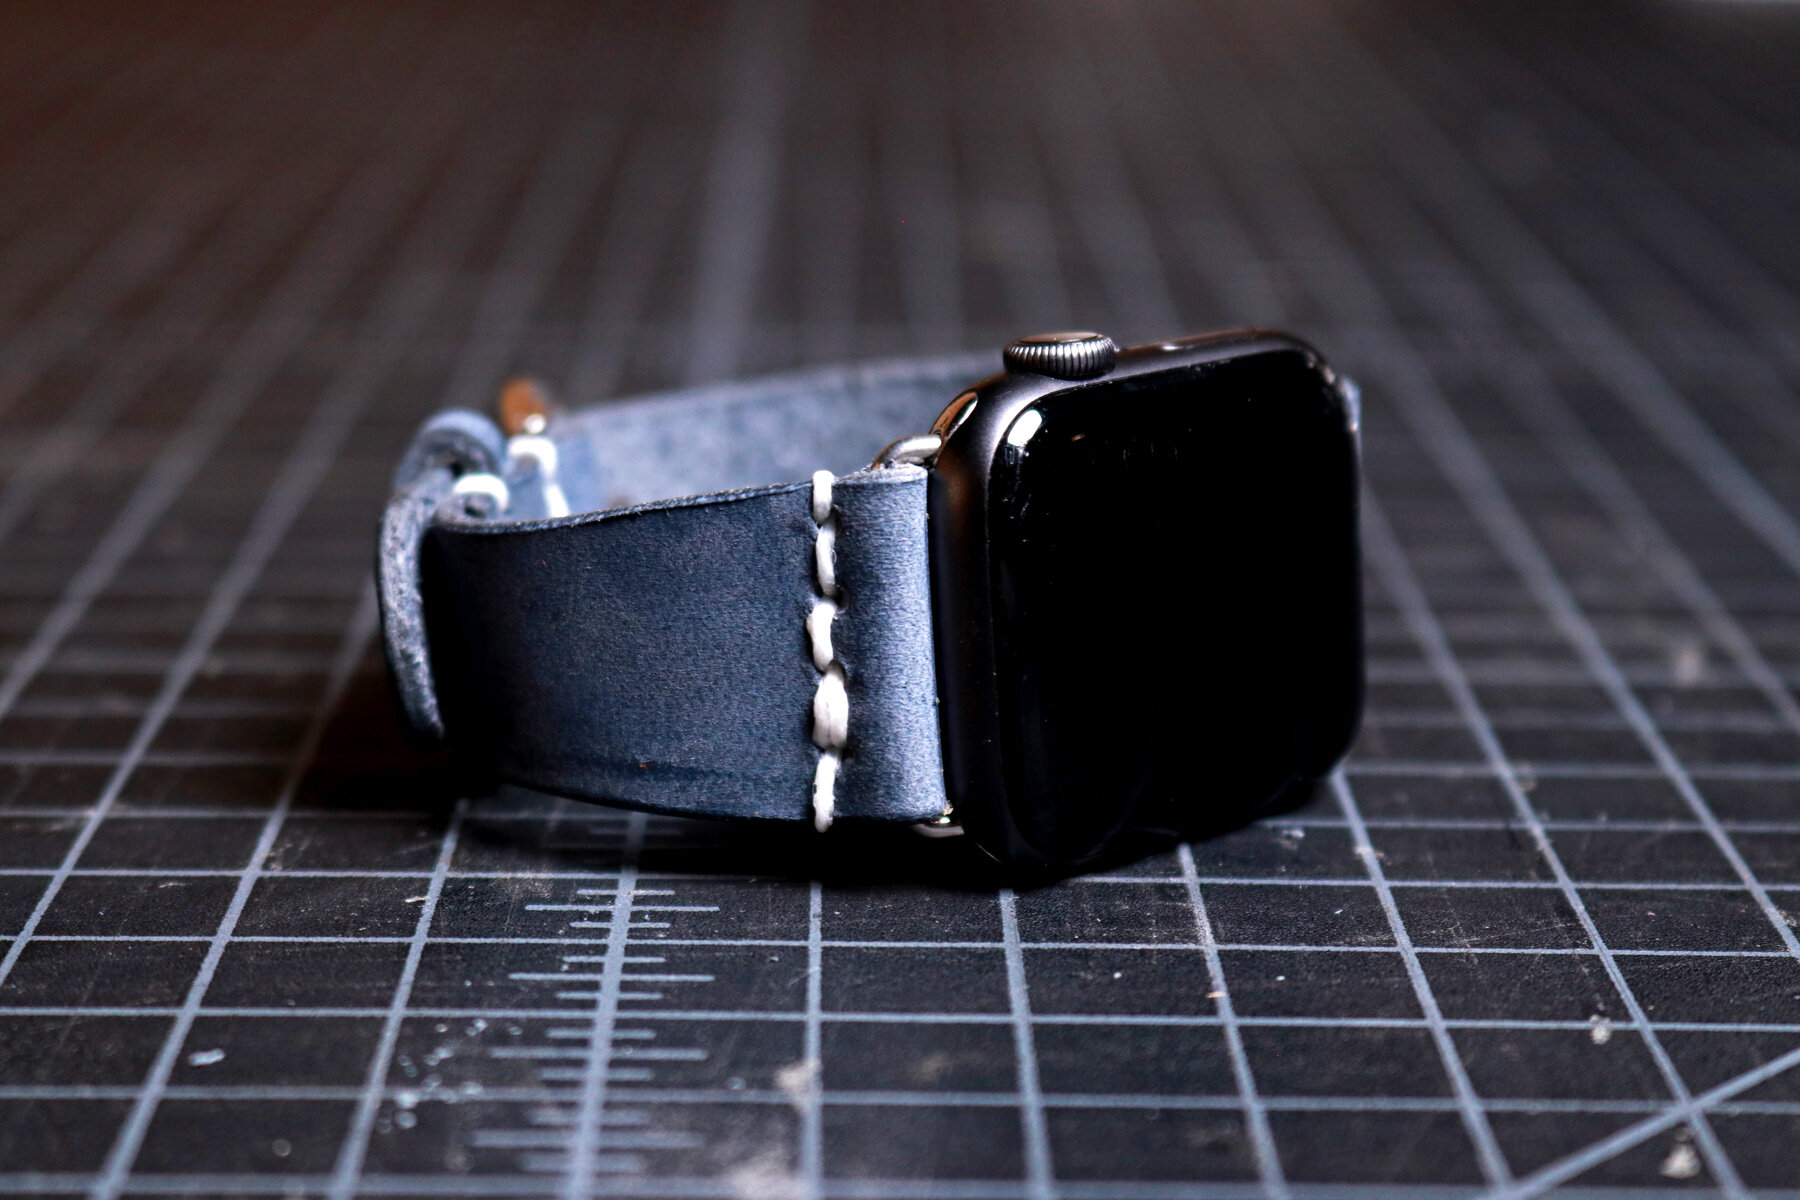
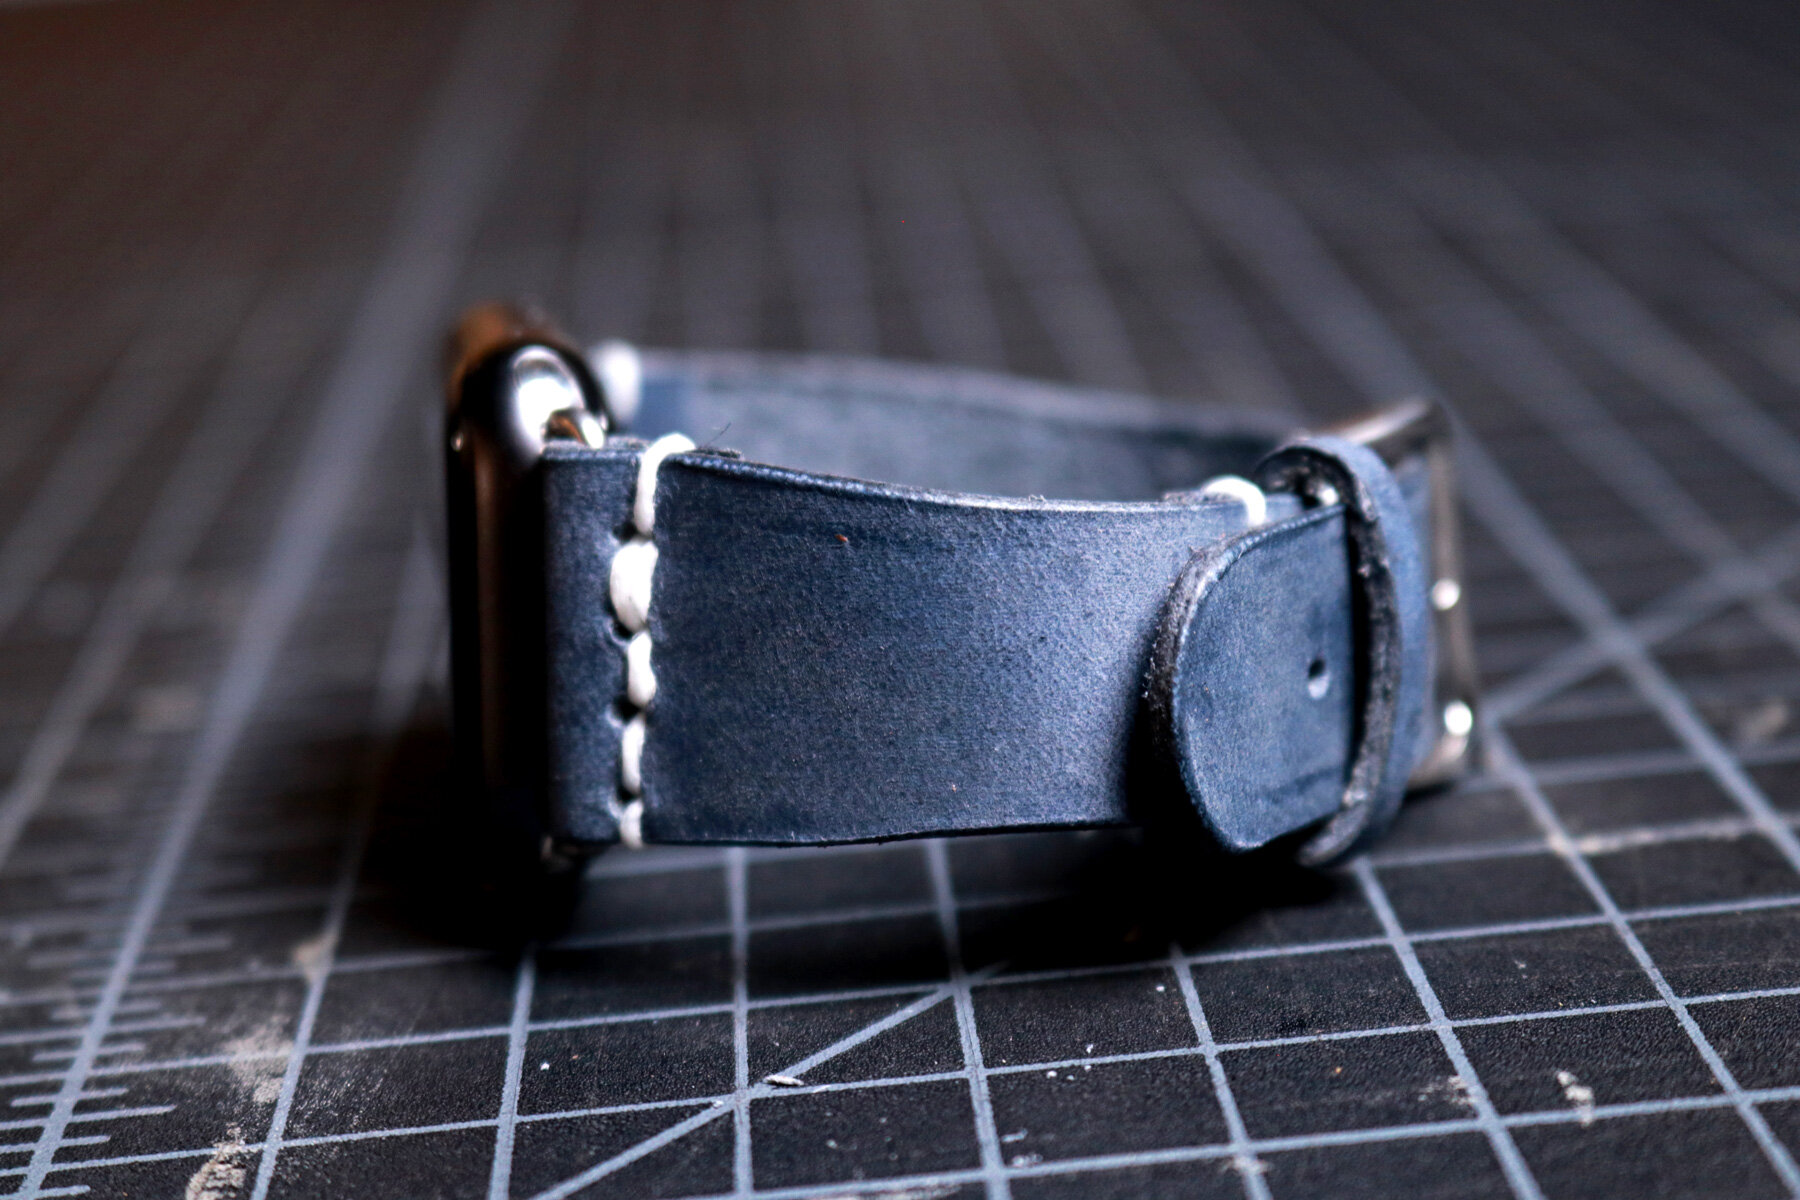
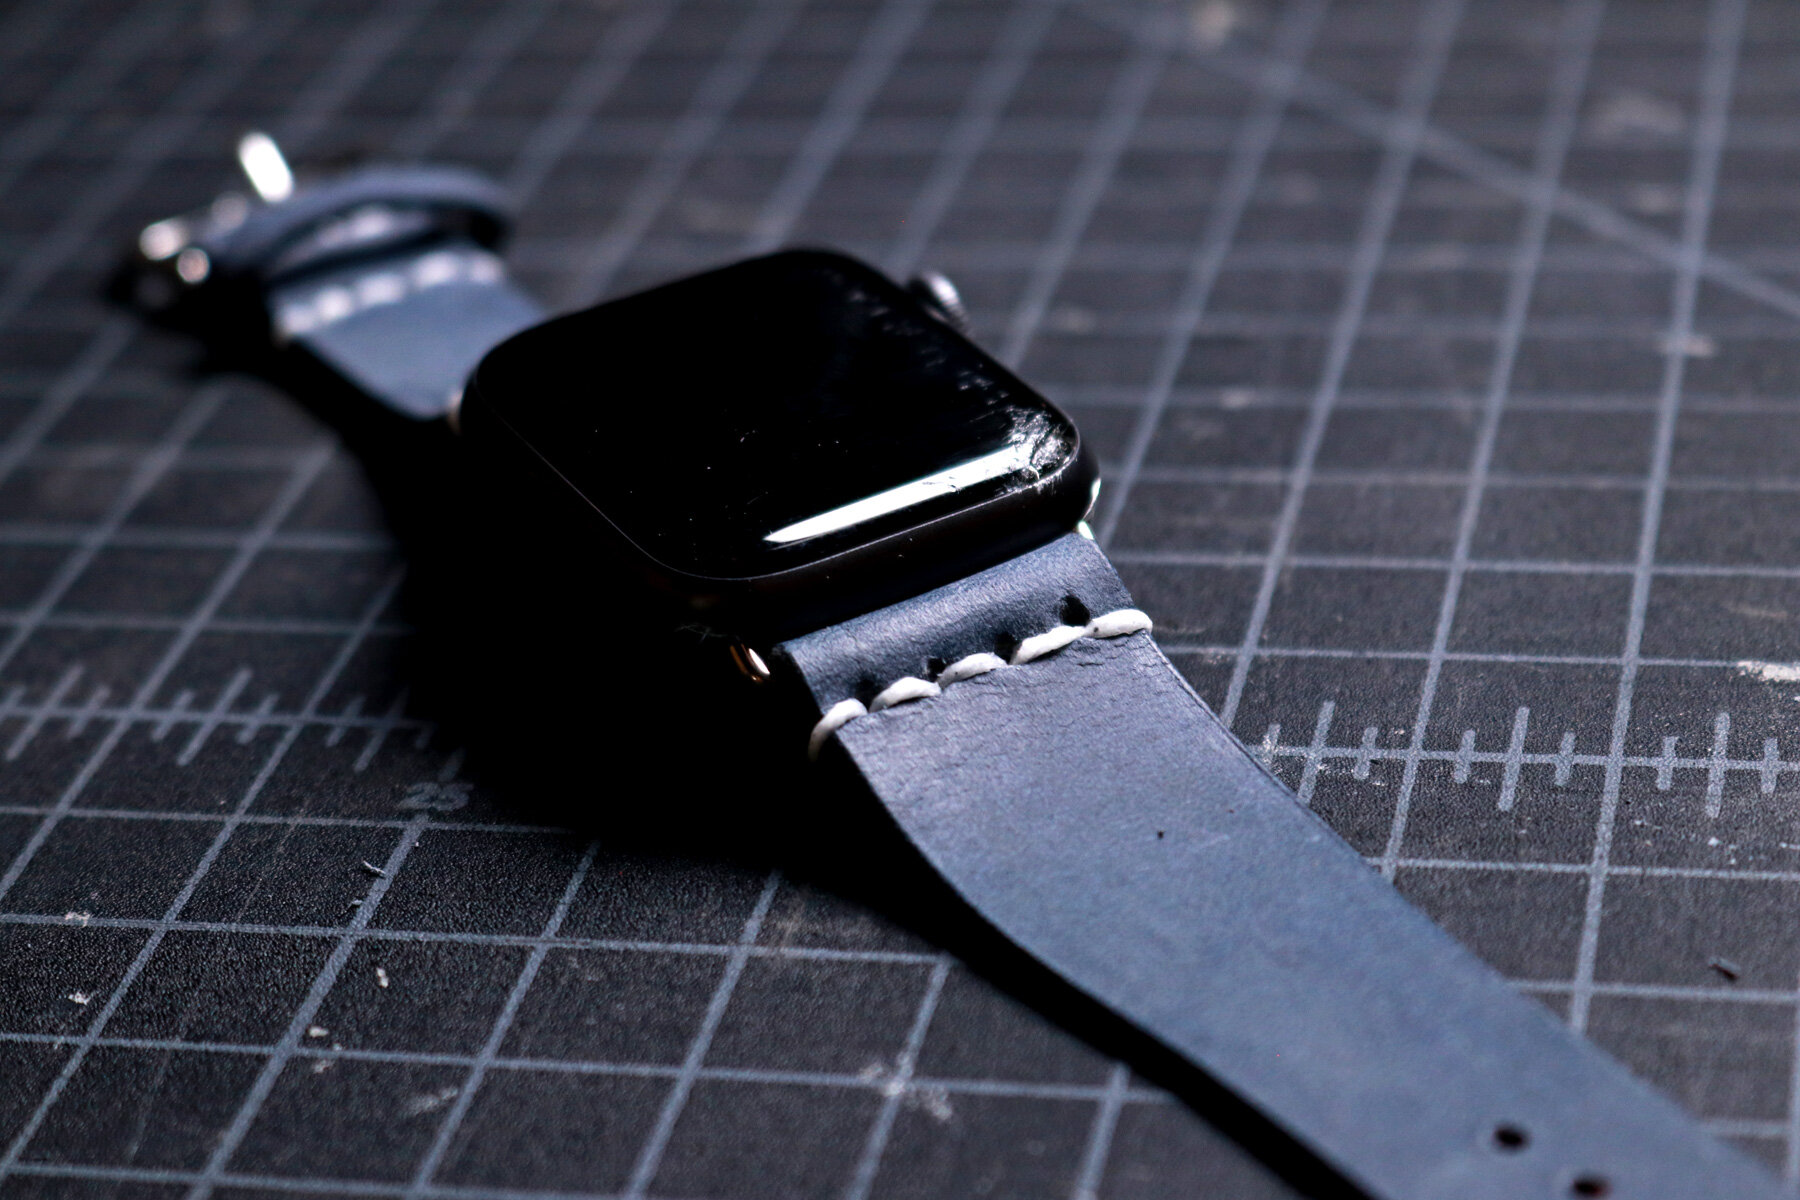
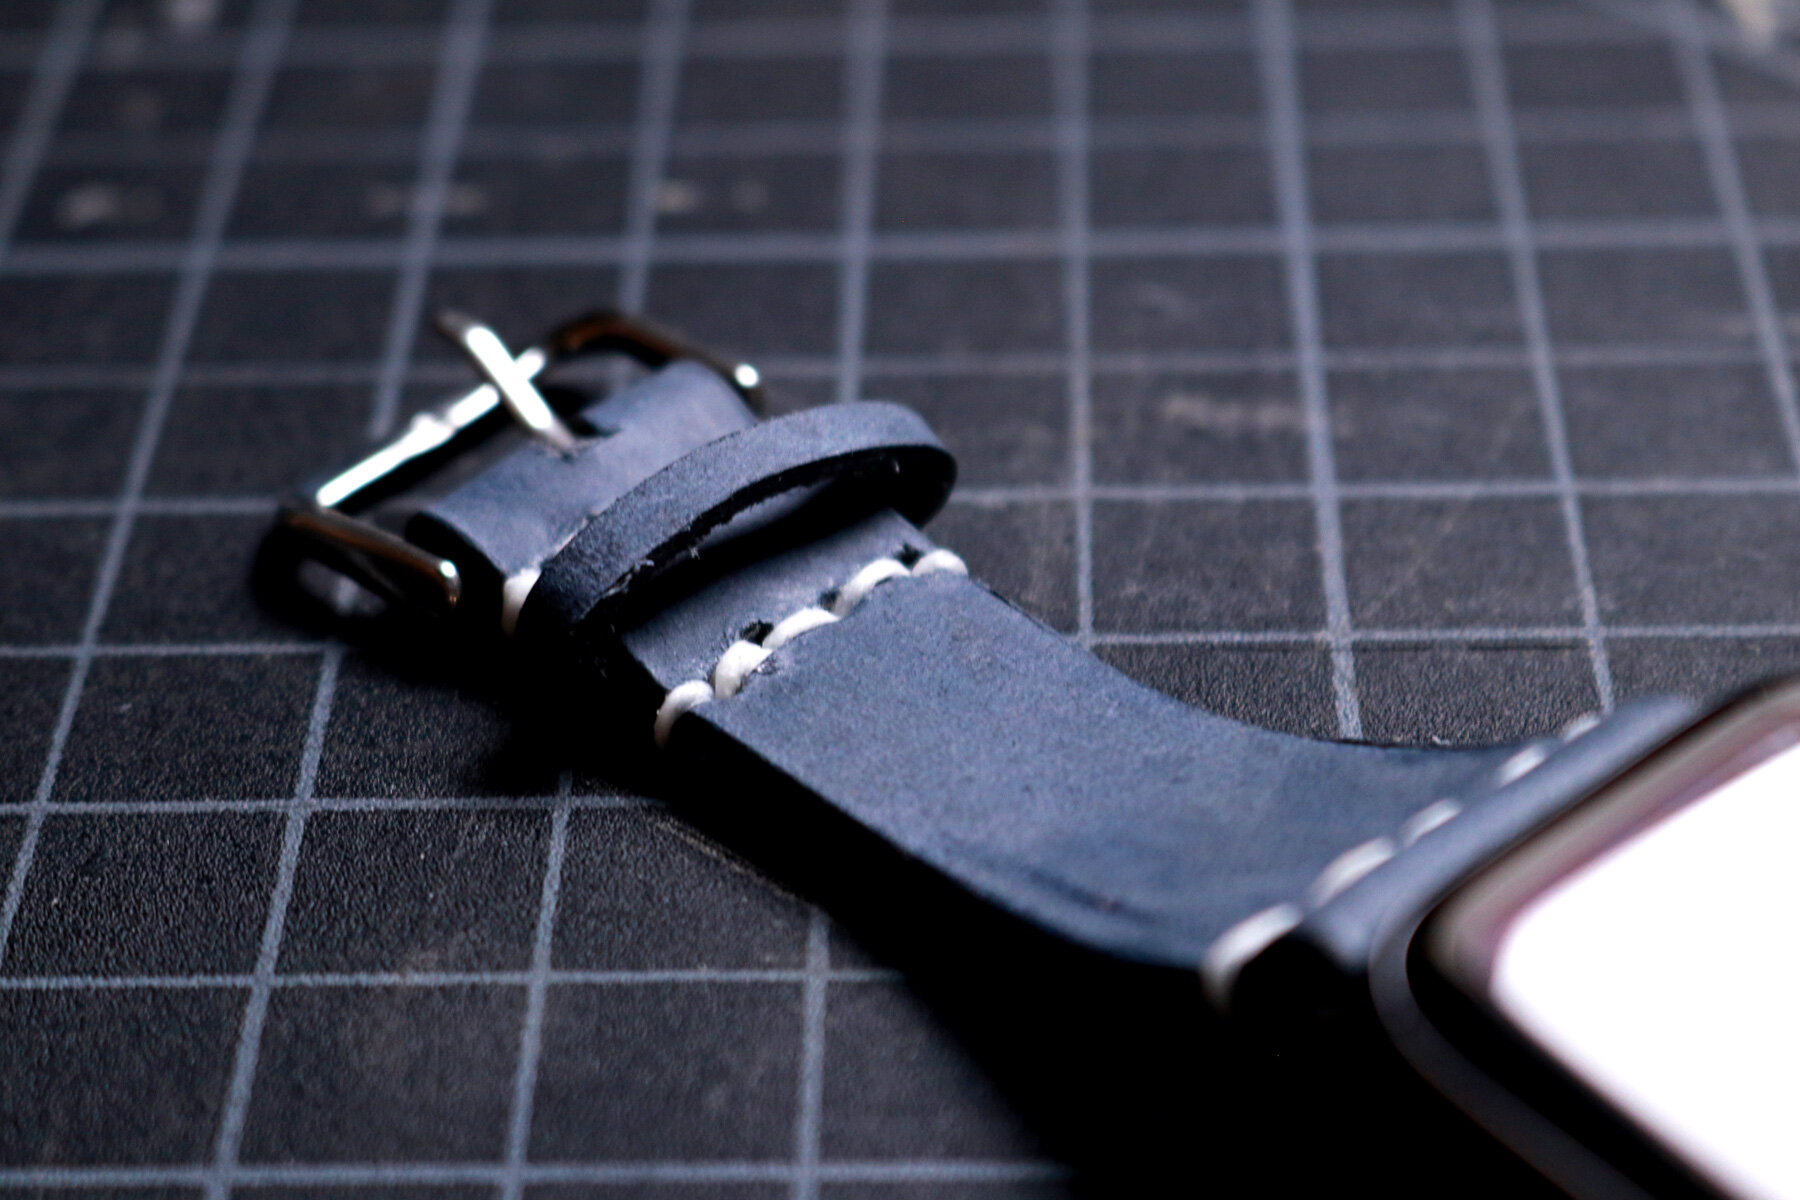
Then, it was time to cut thin strap keepers, which hold one strap in place to keep it from dangling around. This was also the moment where I used my X-Acto knife to skive the leather down to thin out the areas that would be folded over another piece of leather and stitched in place. The next step was to install the watch band connectors, fold the top of the leather straps down, glue it to hold the strap connector piece in place, punch stitching holes, and stitch the leather together.
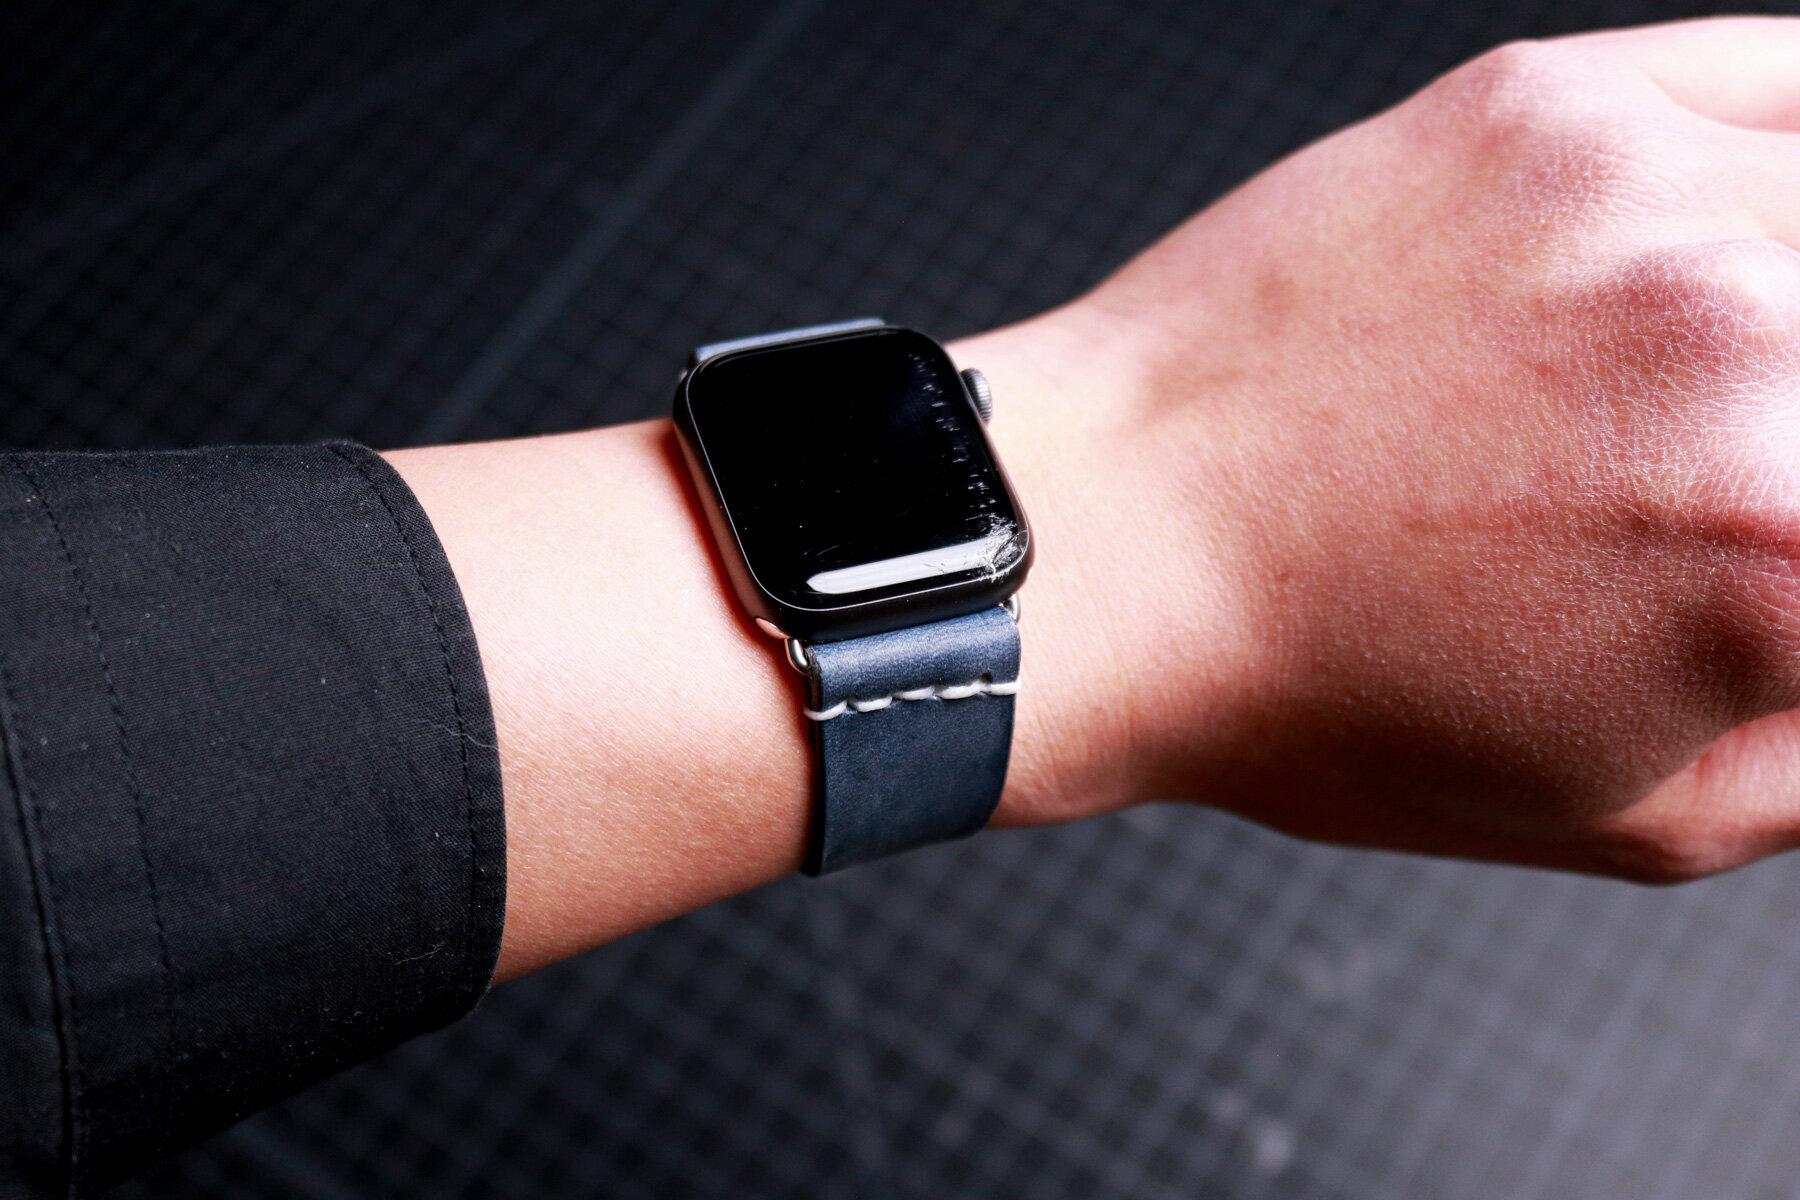
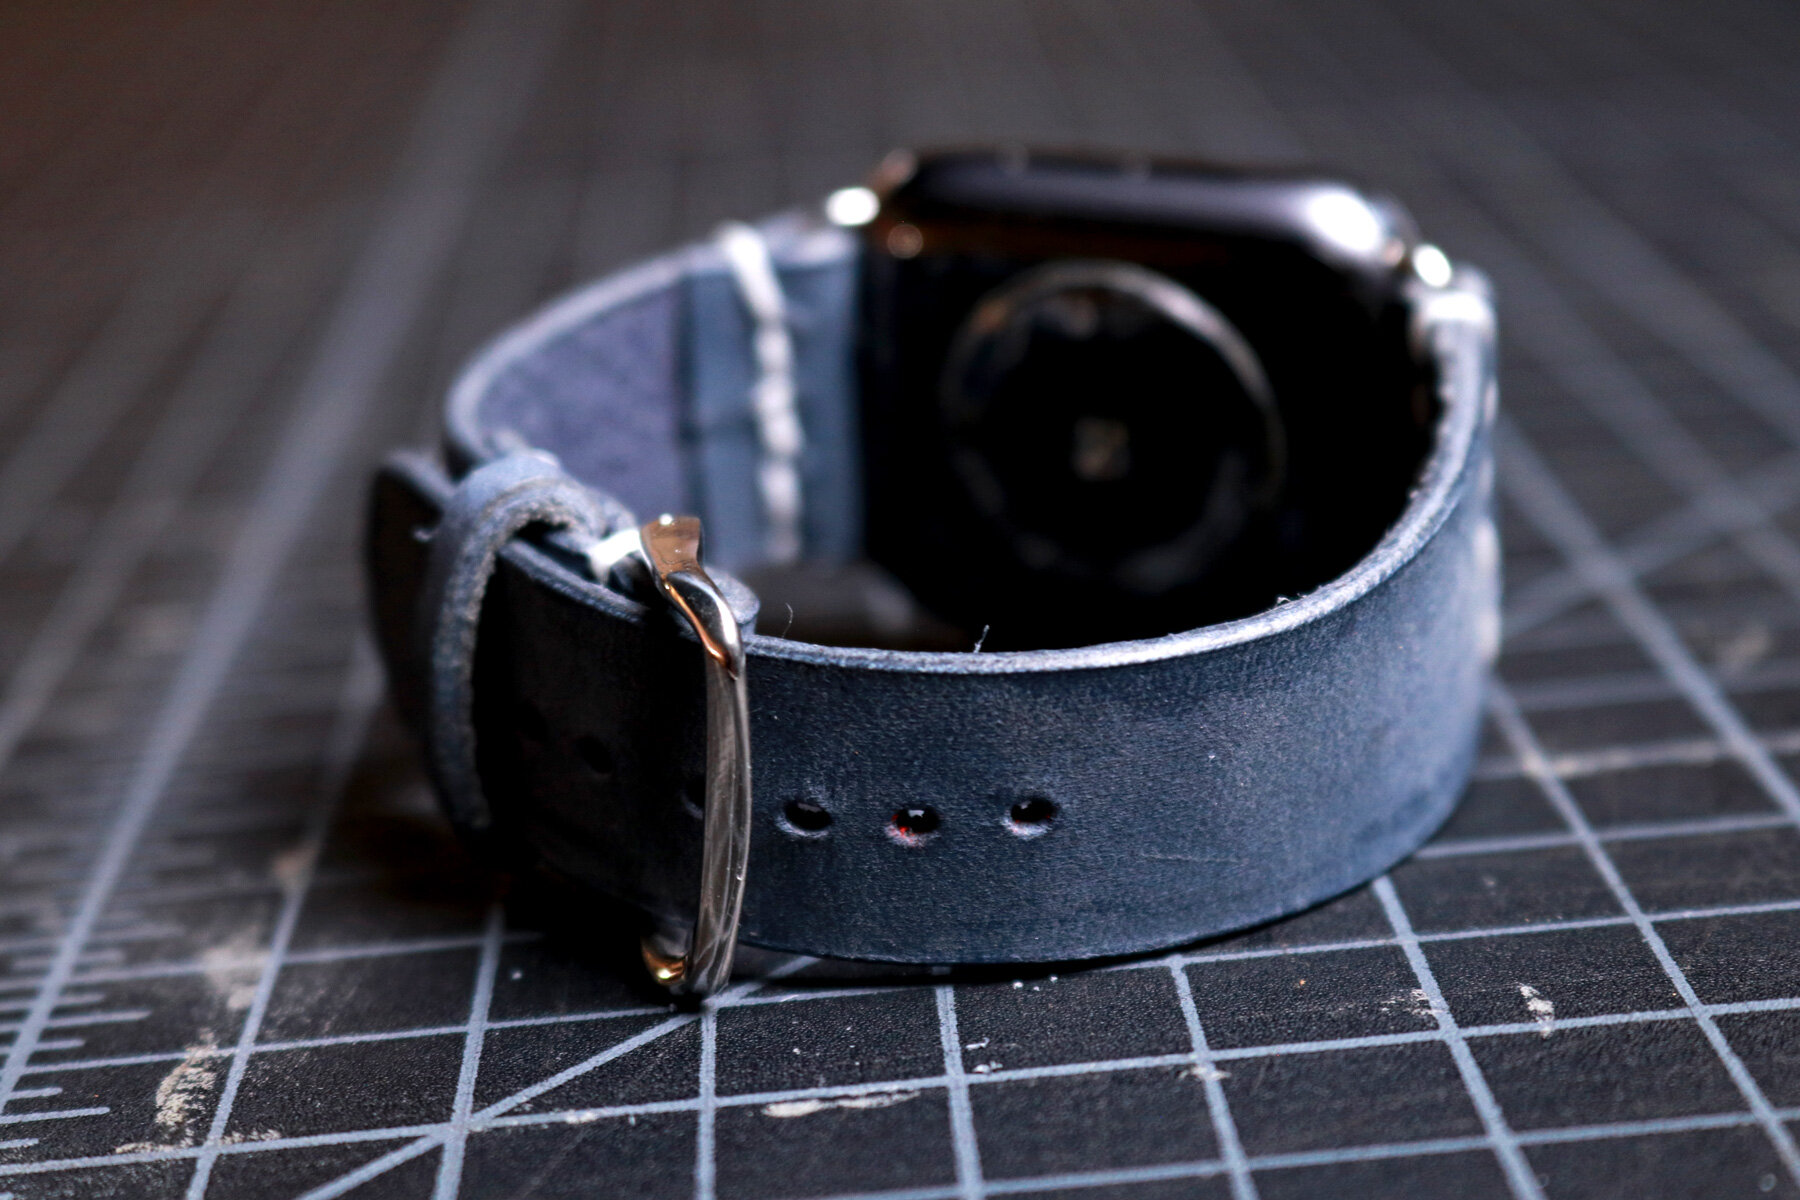
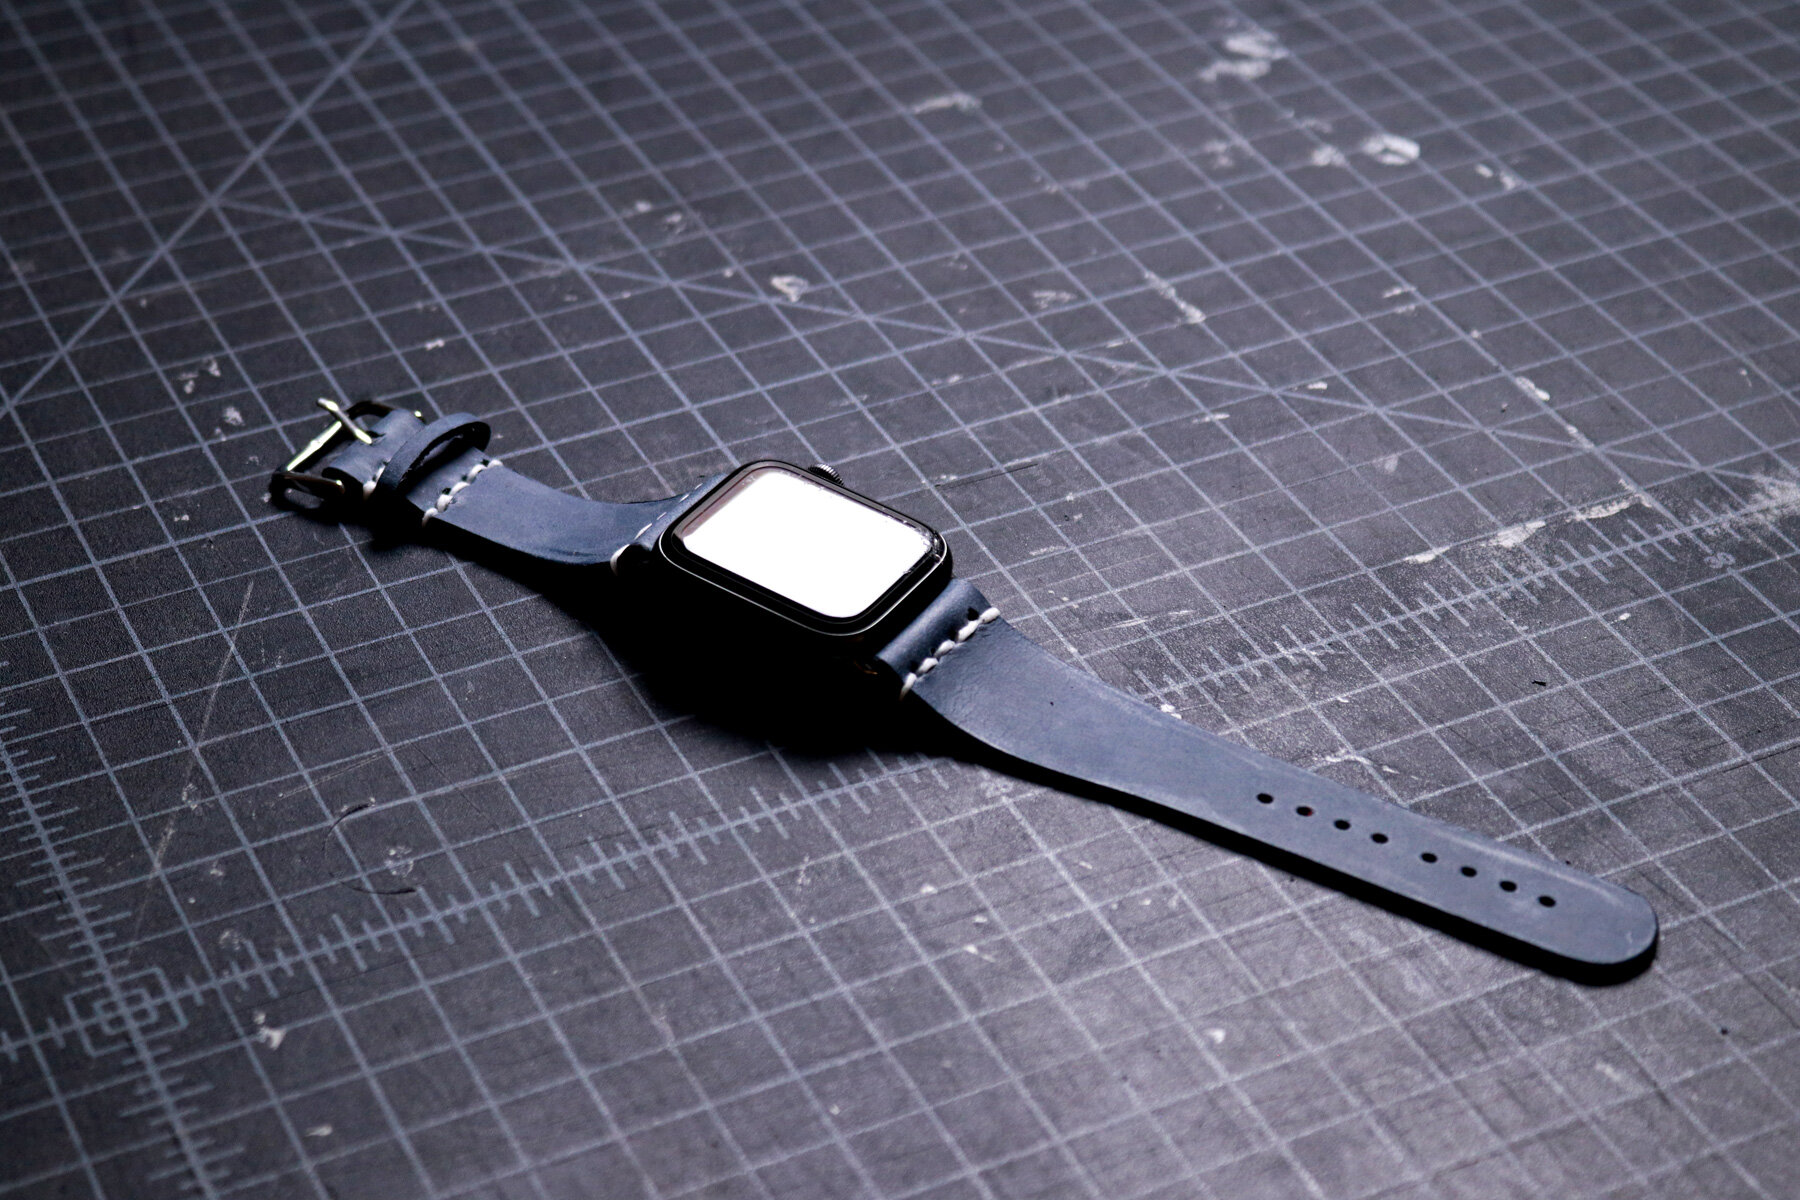
With both connectors in place, the next step was to install the watch keeper and clasp, fold the bottom edge of one watch strap over the watch keeper, glue it into place, use my punching iron to create stitching holes, and stitching the leather in place. Lastly, I installed the leather watch band onto my Apple Watch and the product was complete.
Product Completion