Making Layered Geometric Art with a Laser Cutter

Tools & Materials
Project Description
How can we create a beautiful 3 dimensional geometric pattern?
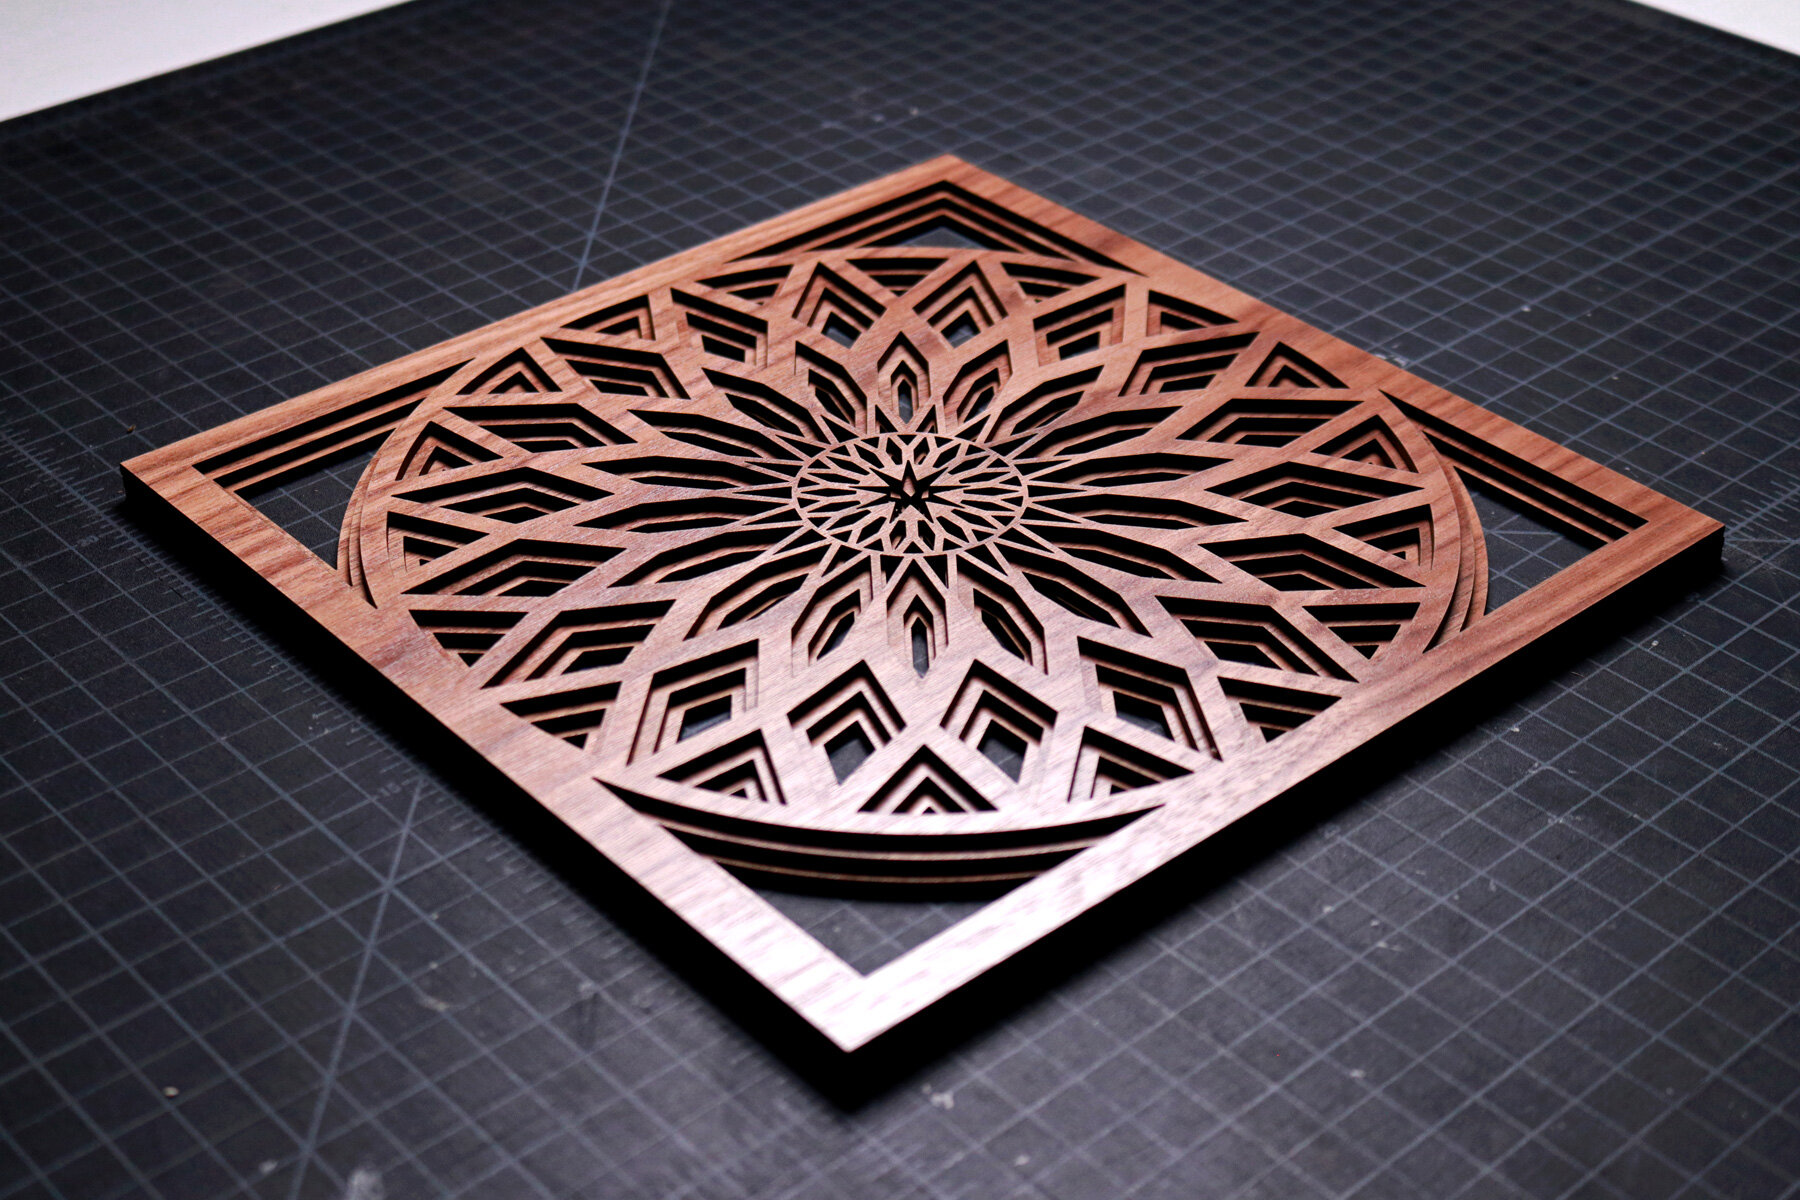
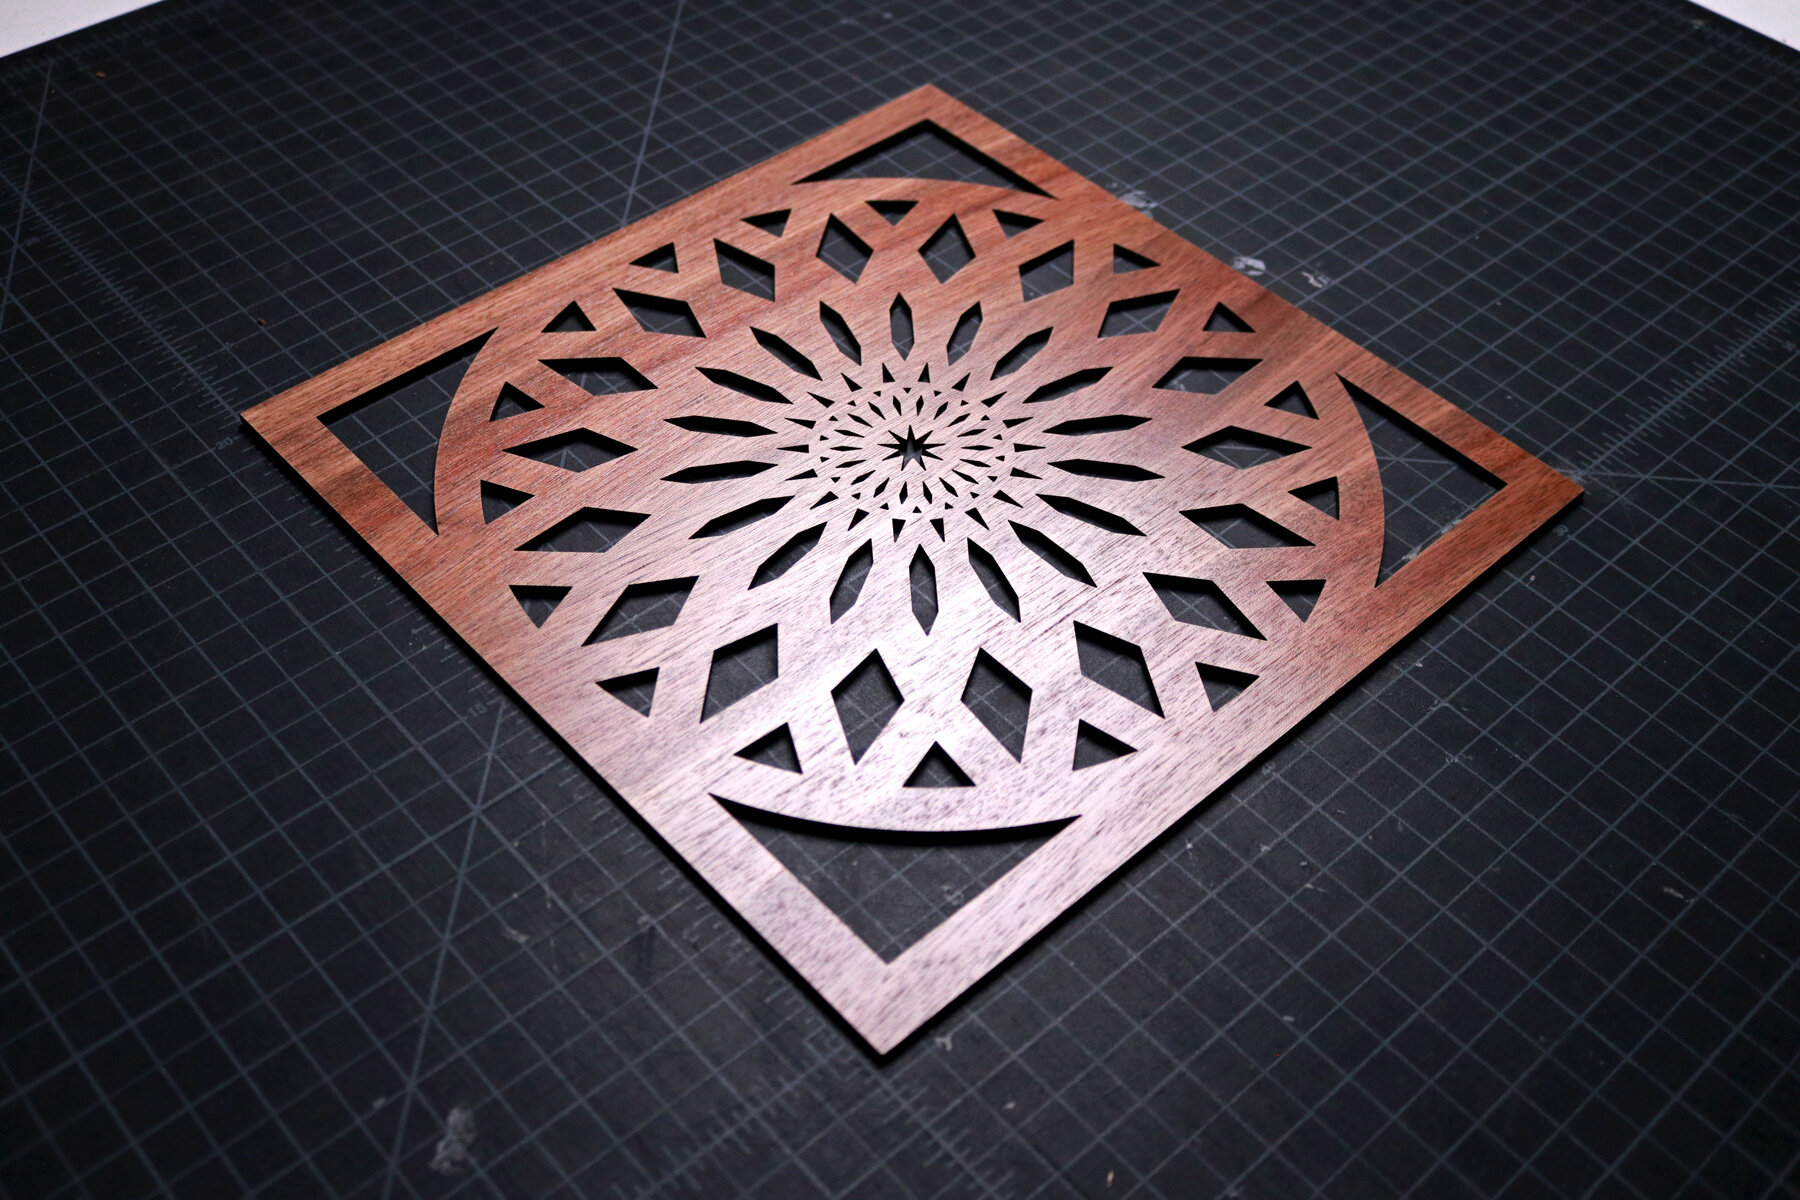
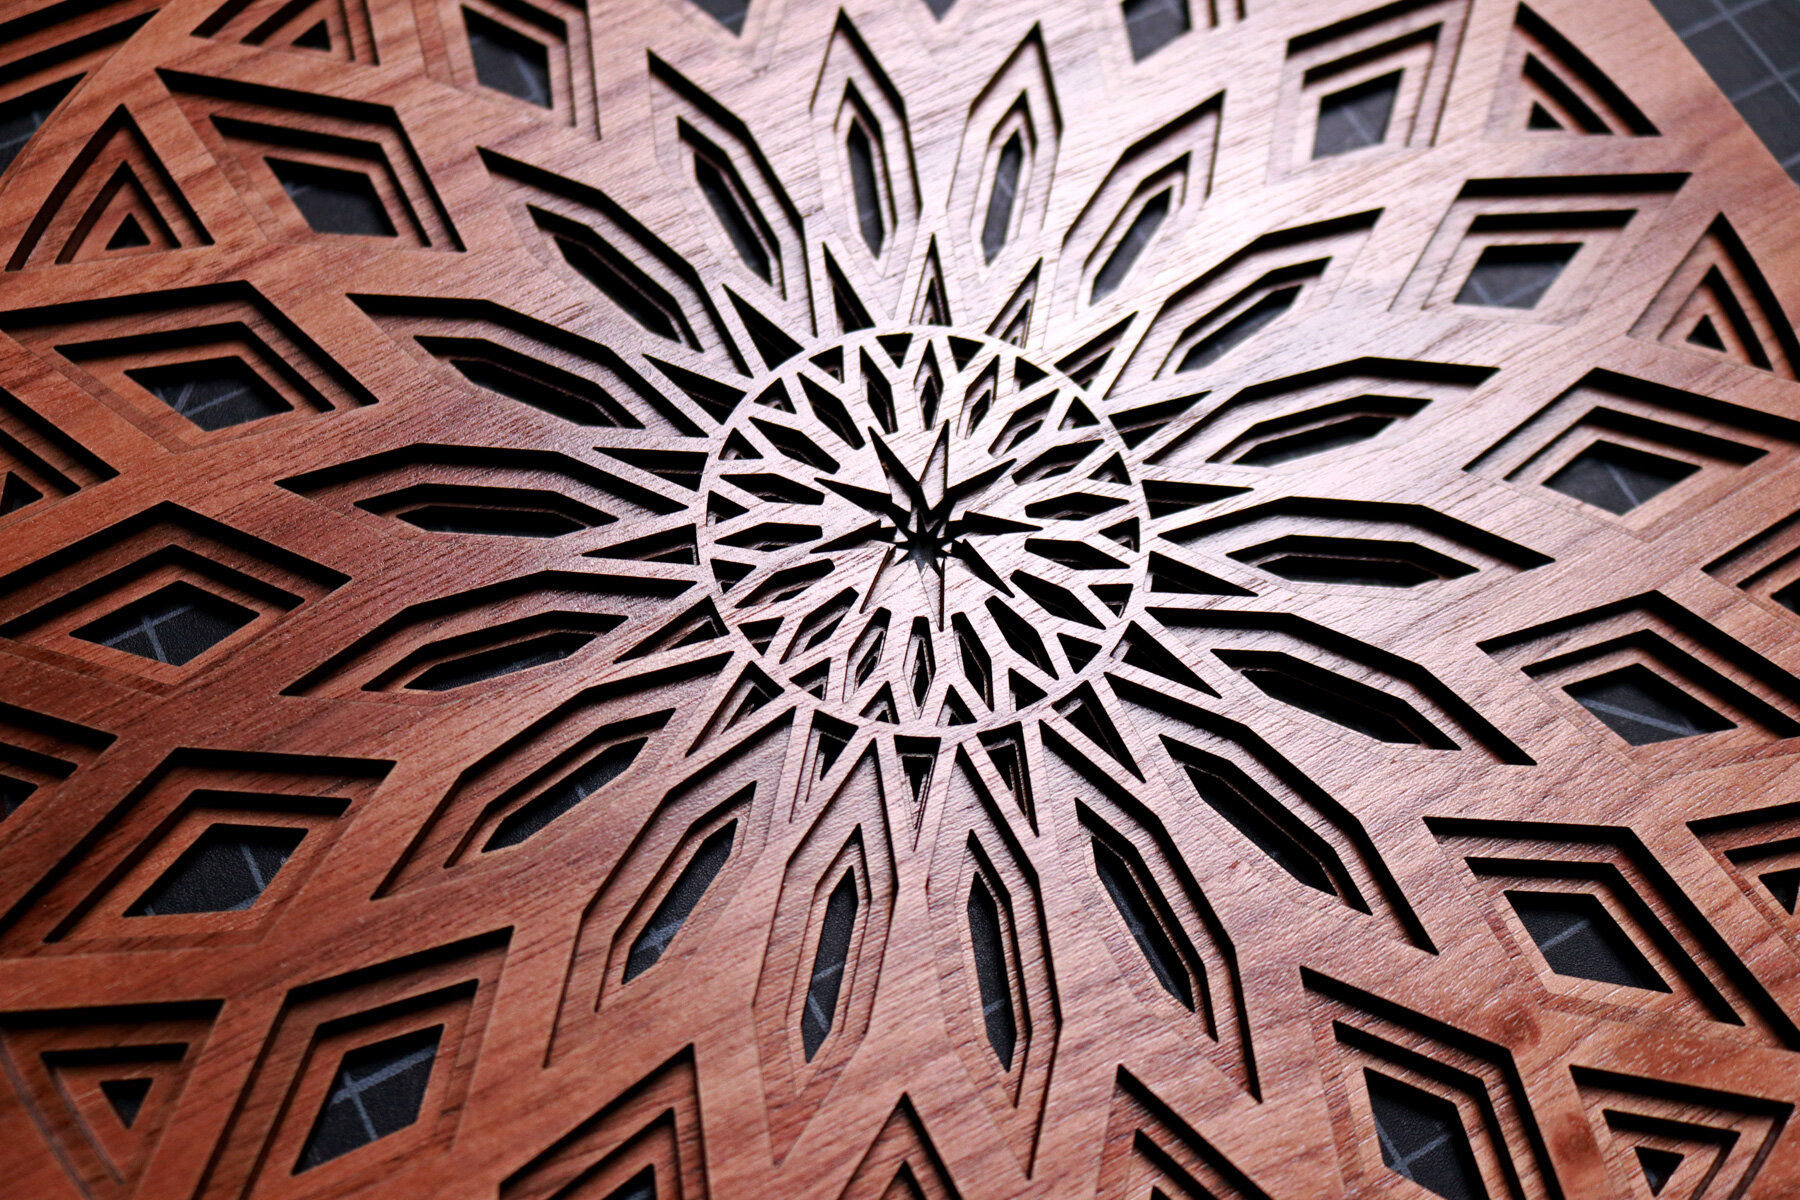
I’ve always admired the beautiful geometry in cathedral windows and Islamic art and architecture because of both the repetition and complexity of their designs. A project that has been on my mind for over a year that’s inspired by these complex geometries is a layered mandala.
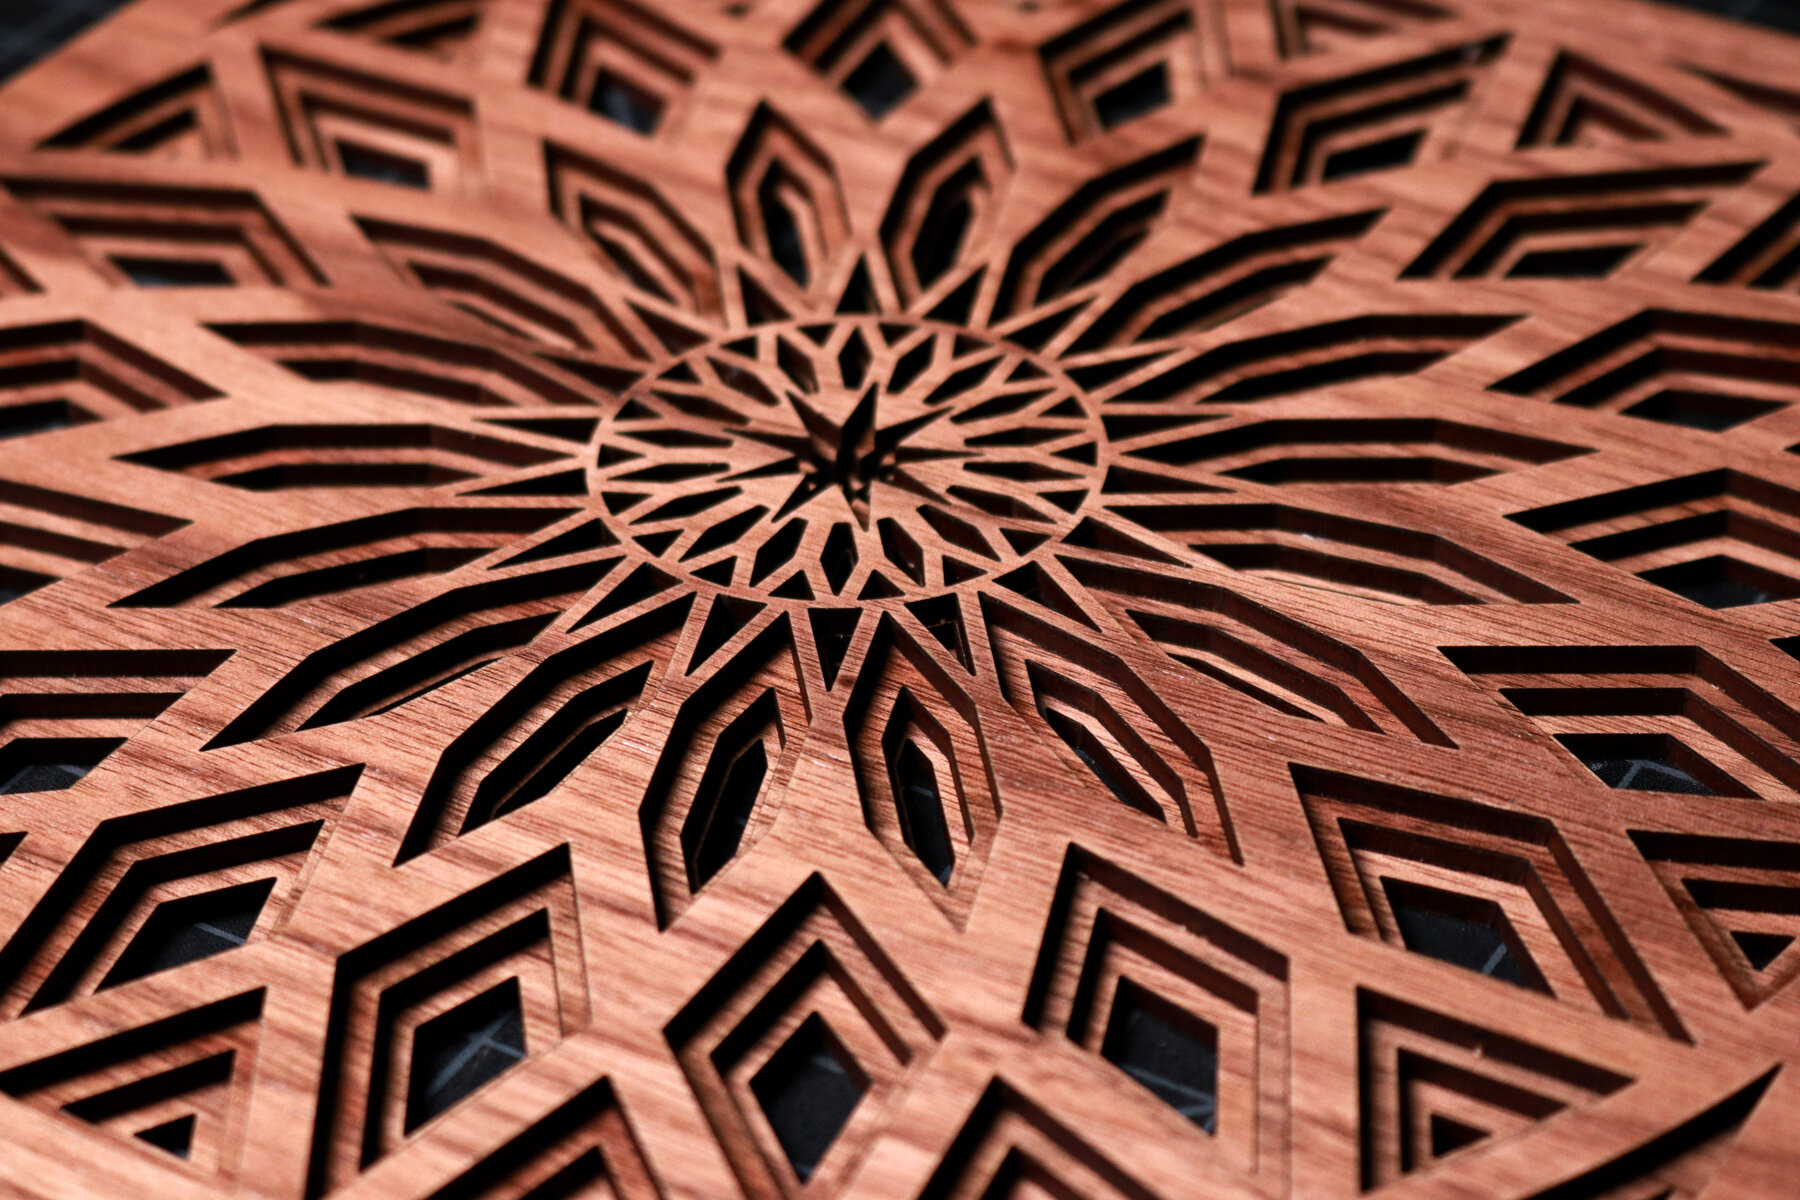
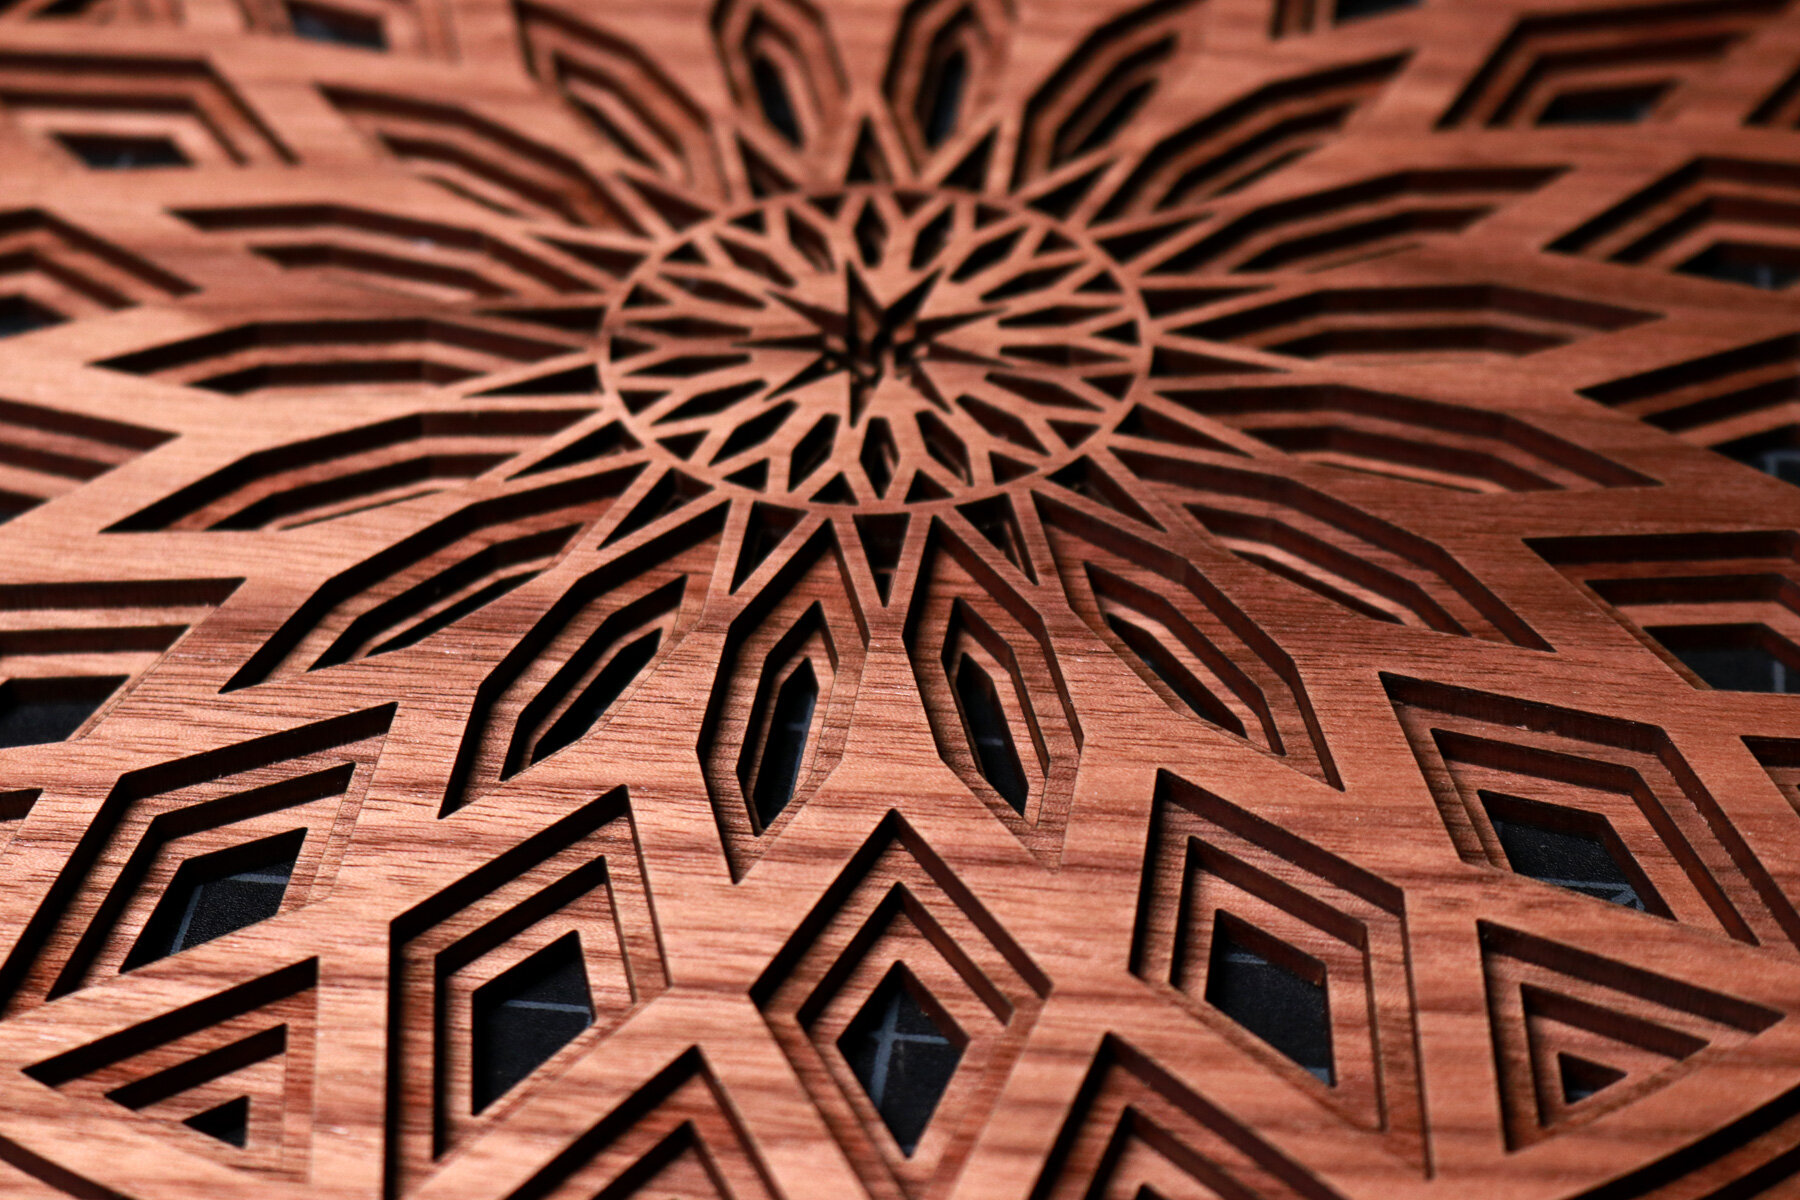
Generally, mandala drawings have a repetitive pattern where simple shapes like a triangle is offset multiple times. To create a physical layered art piece, the layering occurs through the stacking of a material like a thin piece of wood or cardstock paper. As the layers are constructed, the depth of the materials create a beautiful composition of light and shadows across the piece.
The design process of creating a mandala art piece is challenging because it requires careful attention to symmetries, thickness of materials, thickness of the width of every line in the mandala, and complexity of pattern. When one area of symmetry is designed, the rest of the project is simple because the patterns are copied and rotated to create the overall mandala.
Process
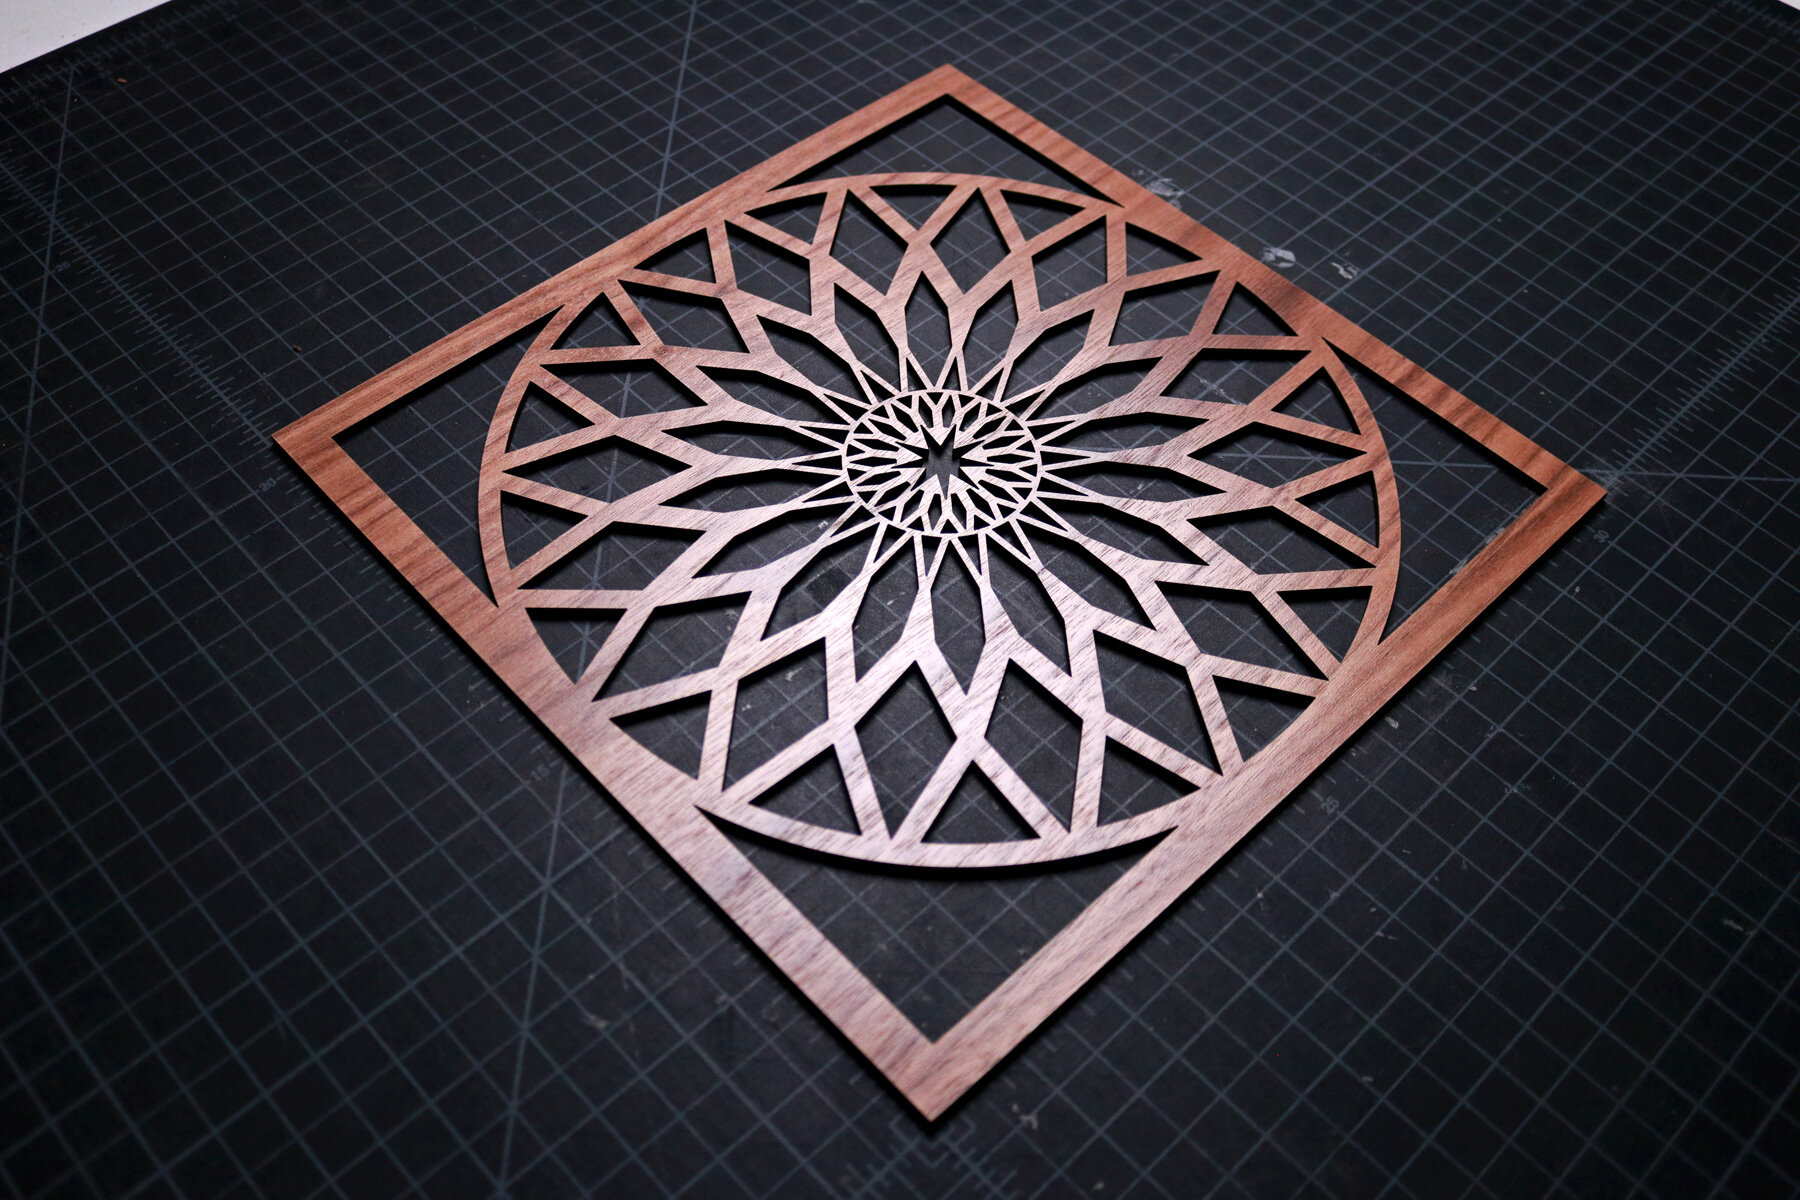
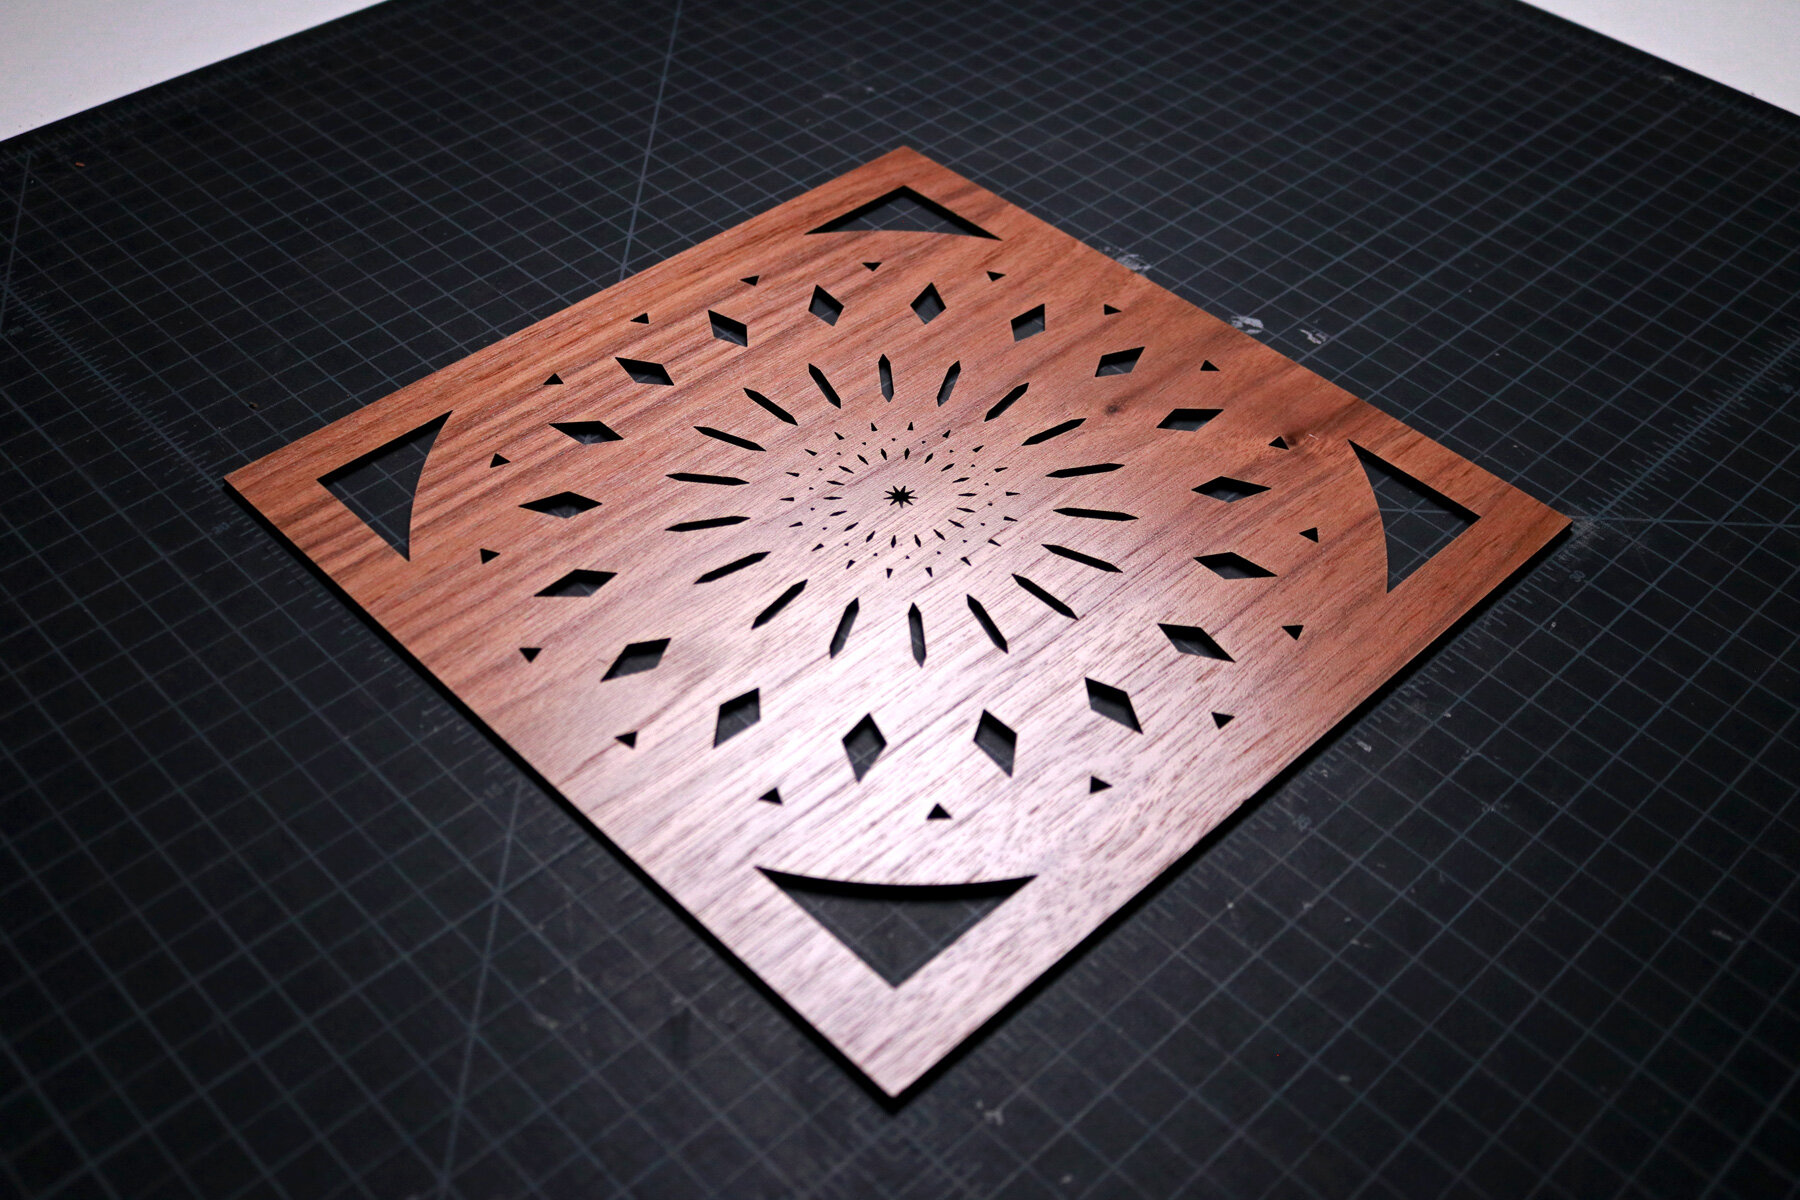
Using a software called Rhinoceros, I started by drawing the overall width and height of the project, which came out to 10.5 inches square. When these overall dimensions were drawn, I offset the perimeter inward by .5 to create a border around the art. Then, I drew guides at 15 degree angles starting from the center of the square and working around in a circle. These guides will be used to help us plan the repetitive geometry.
When the guide lines were complete, I drew circles of varying diameters as guides for the patterns. Where the circles intersected with the lines, I determined specific points where I would begin a geometry. Since this was the first layered art that I designed, I made sure that I stuck with shapes that are derived from a triangle.
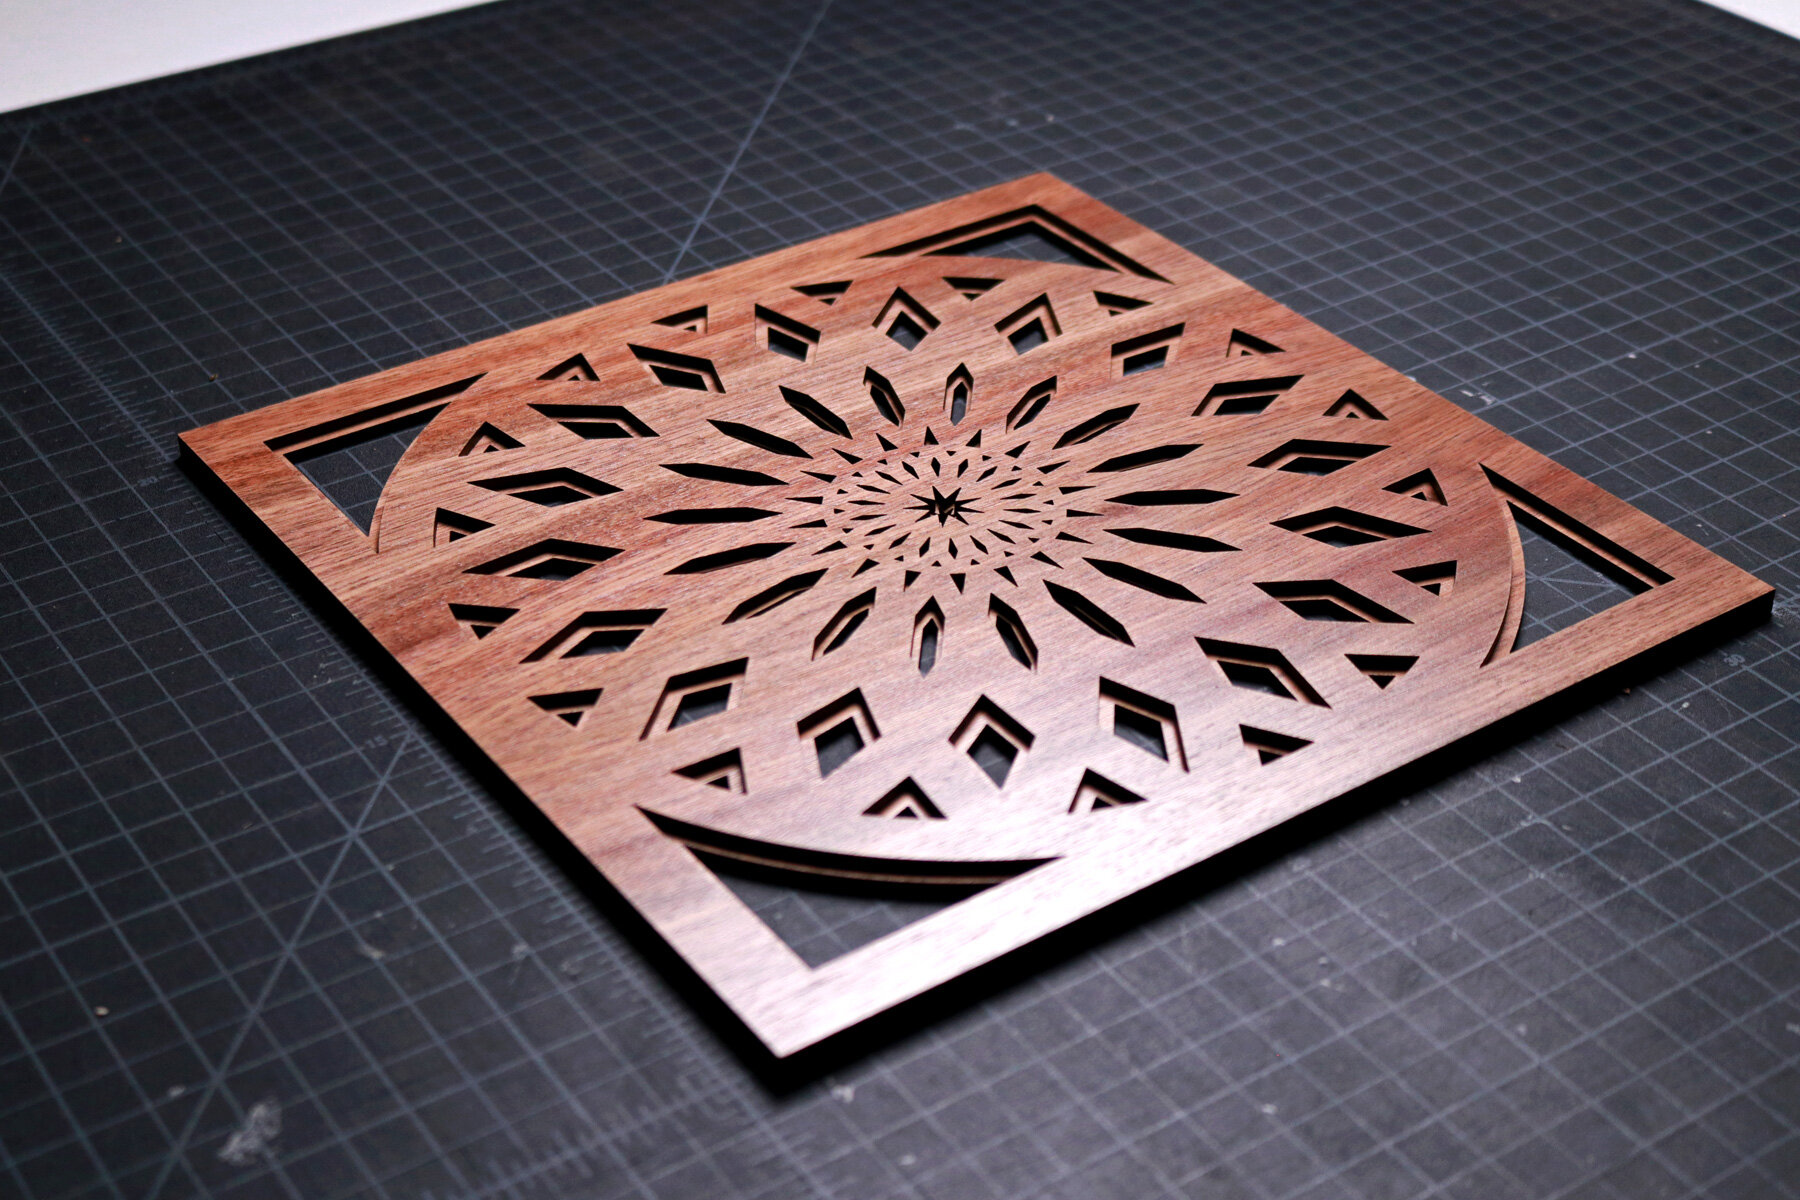
Working within one area determined by the 15 degree lines, I developed the shapes that I liked and copied it around all of the angled lines. There were several shapes that looked great individually, but when copied over, it looked too busy or had too much space between the shapes. I was sure to work with different layers so that I could easily select any shapes that didn’t work with the overall ensemble and delete them.
Once the art was designed, I created the layers by offsetting each shape inward by at least 1/32 inch. Then, I extruded each layer to match the thickness of the walnut plywood and stacked each layer to create a 3D model of the project. Overall, I was satisfied with the design, but I decided to leave out the solid bottom layer so there would be voids throughout.
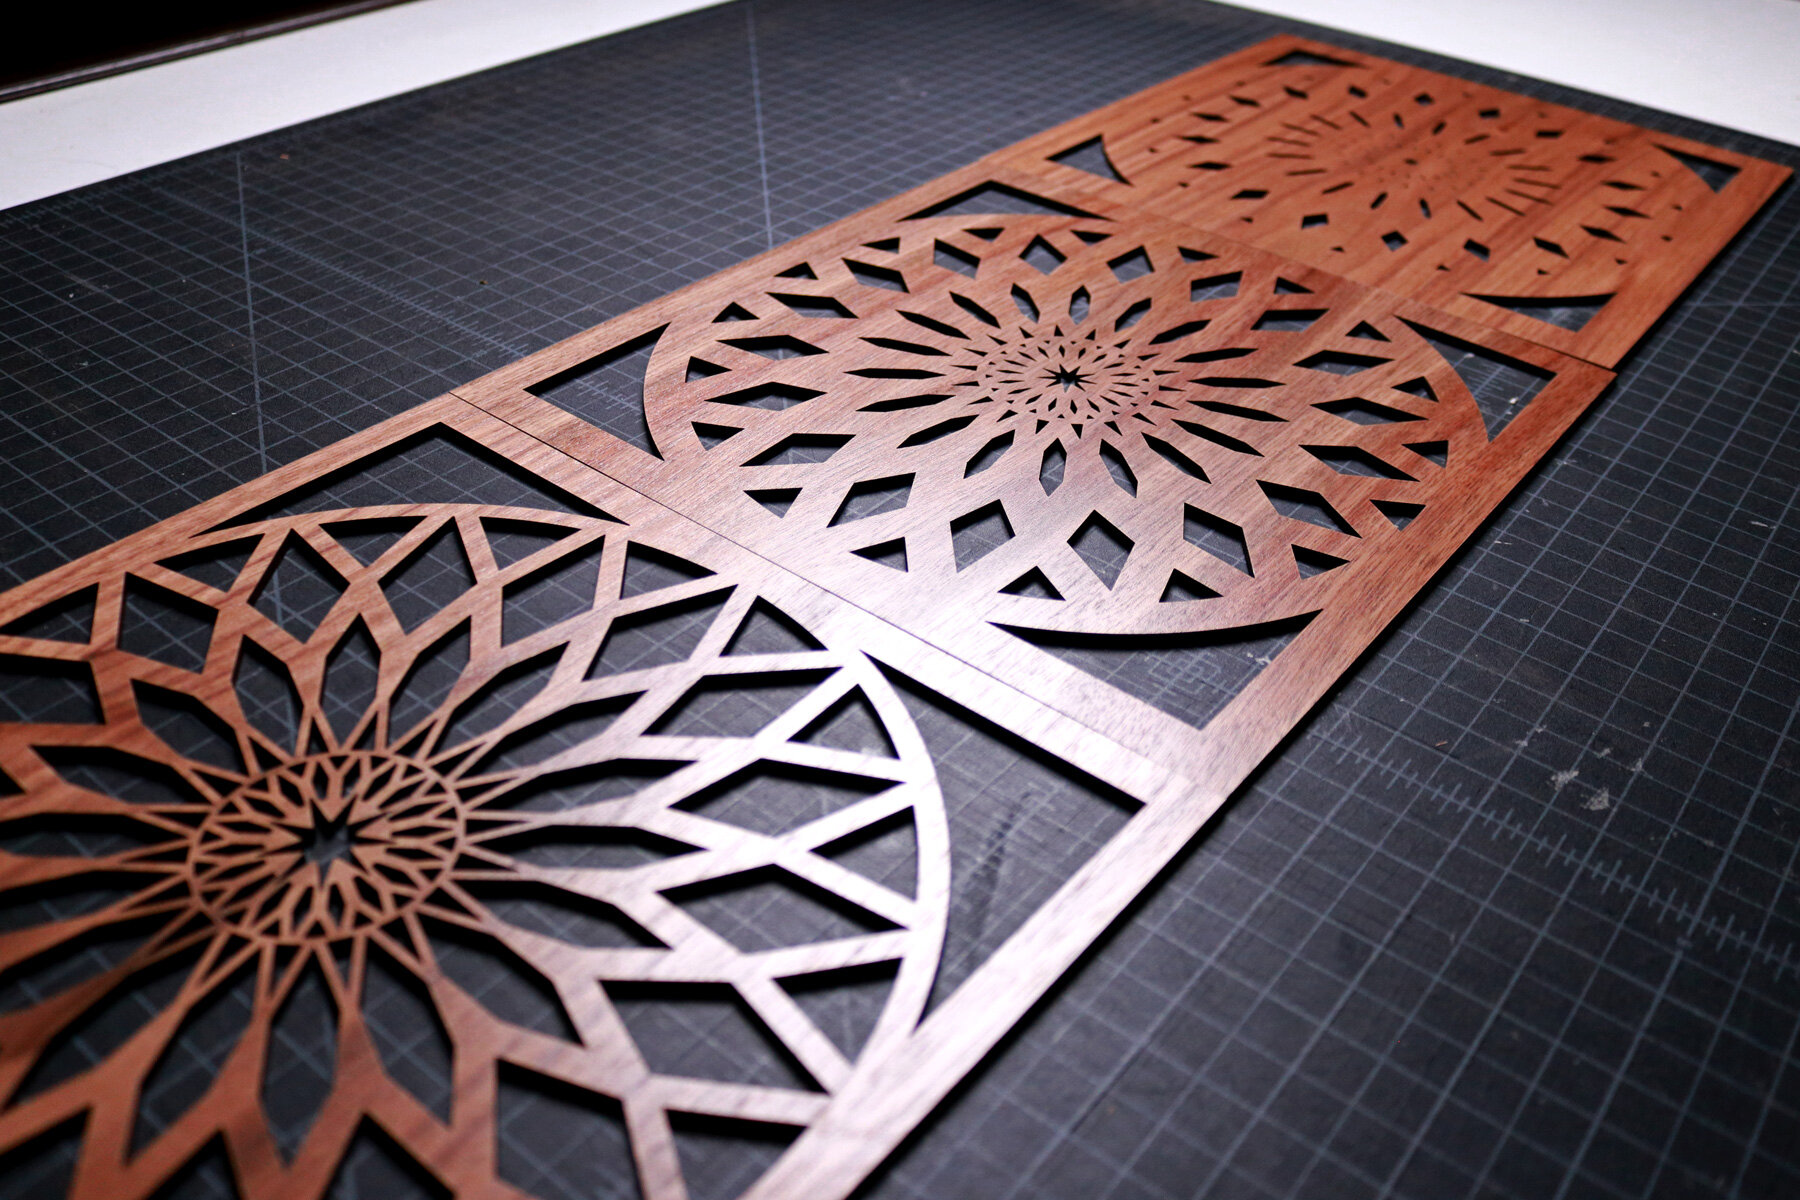
When the design was complete, I began the process of laser cutting every piece. Once all of the pieces were cut, I removed the masking and organized the pieces in the order that they would be assembled. Starting with the middle layer, I applied Maxi-cure glue to the backside of the panel. For this project, the backside is the side that I determine doesn’t have a similar or contrasting wood finish as the other pieces. Then, I align the edges of the panel with the bottom layer and press down to glue them into place. I repeat this process with the top layer and the project is complete.