How to Make a Laser Cut Key Tray and Coat Rack

Tools & Materials
Key Tray and Coat Rack Digital Design File
Project Description
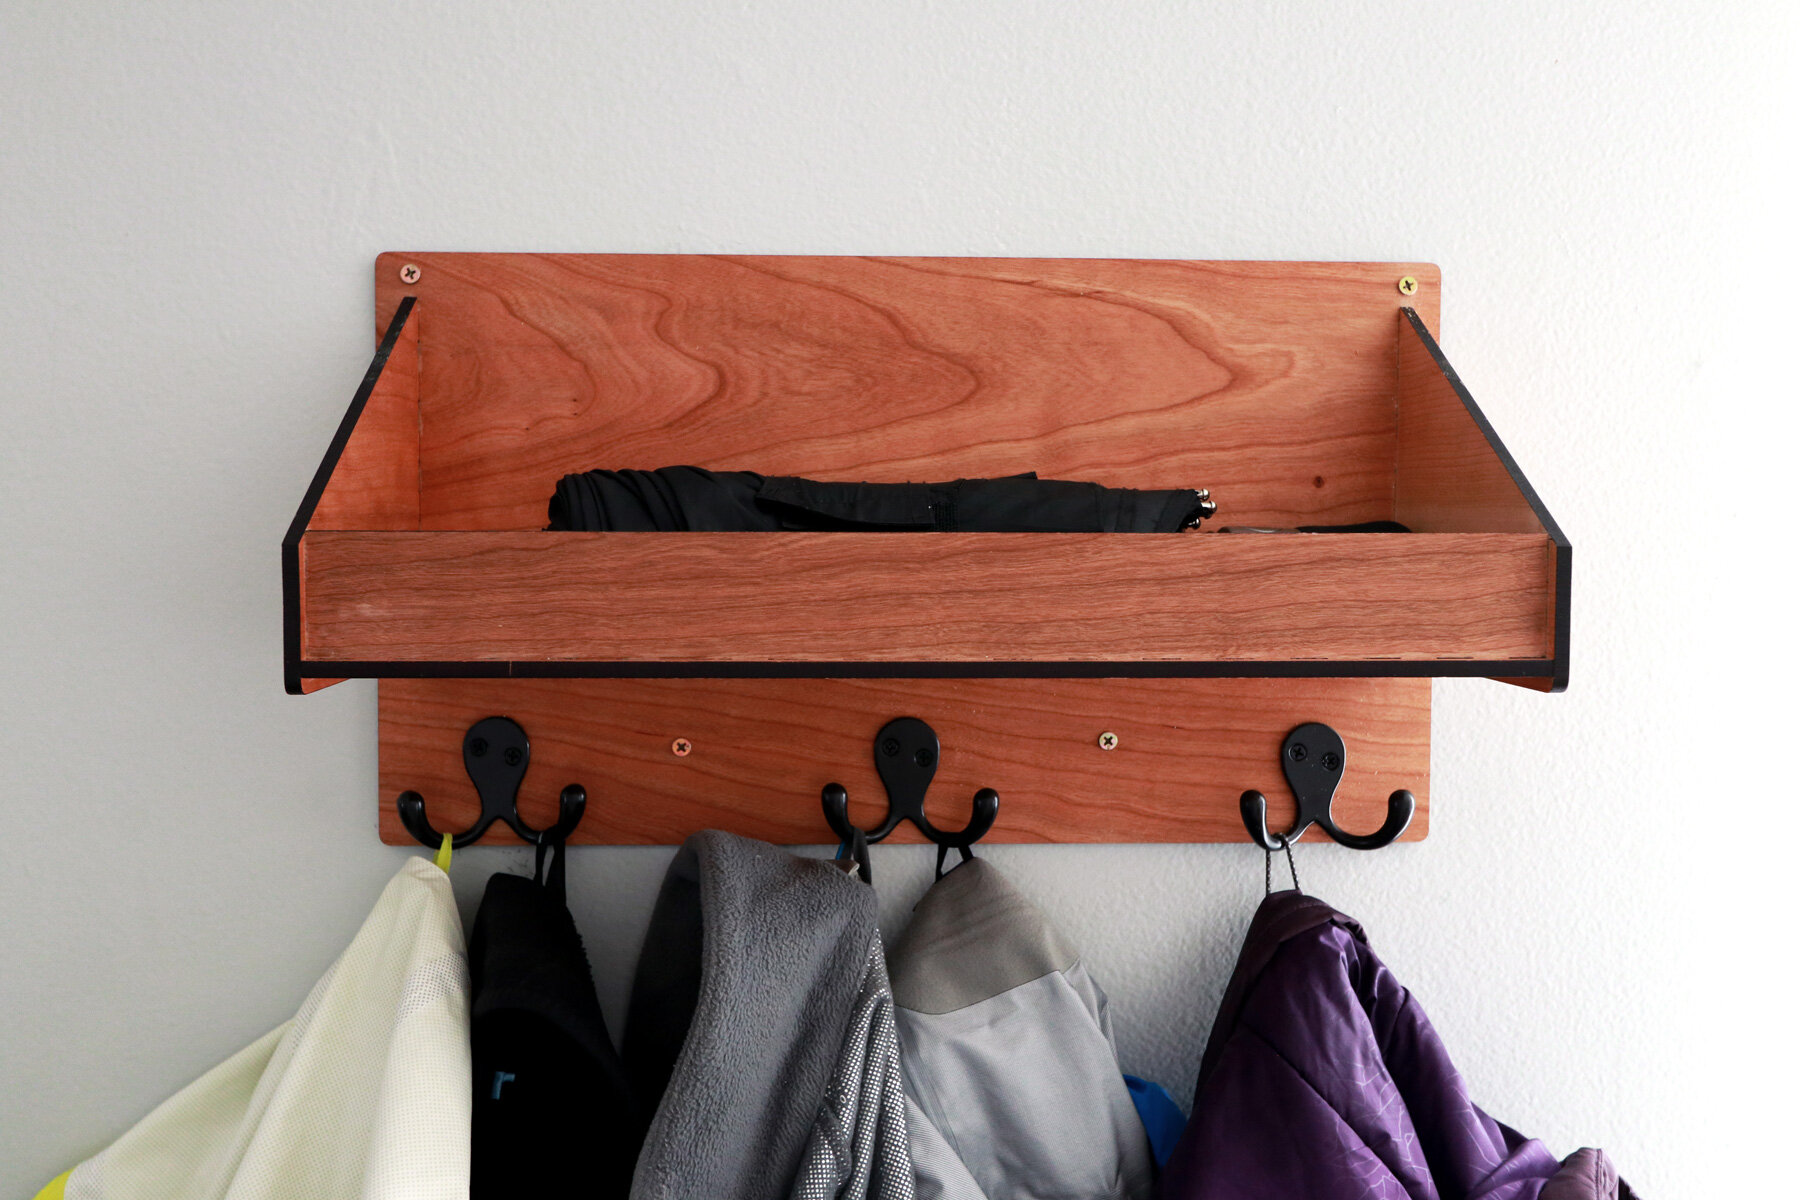
How can we design and make a product that combines a catch all tray with other everyday items like coats and sweaters?
As we age, one of the common issues that we face is forgetfulness where we tend to misplace belongings like keys, wallets, phones, and other small everyday carry items. There are industries that focus primarily on providing tracking devices to attach to all the things that we tend to lose.
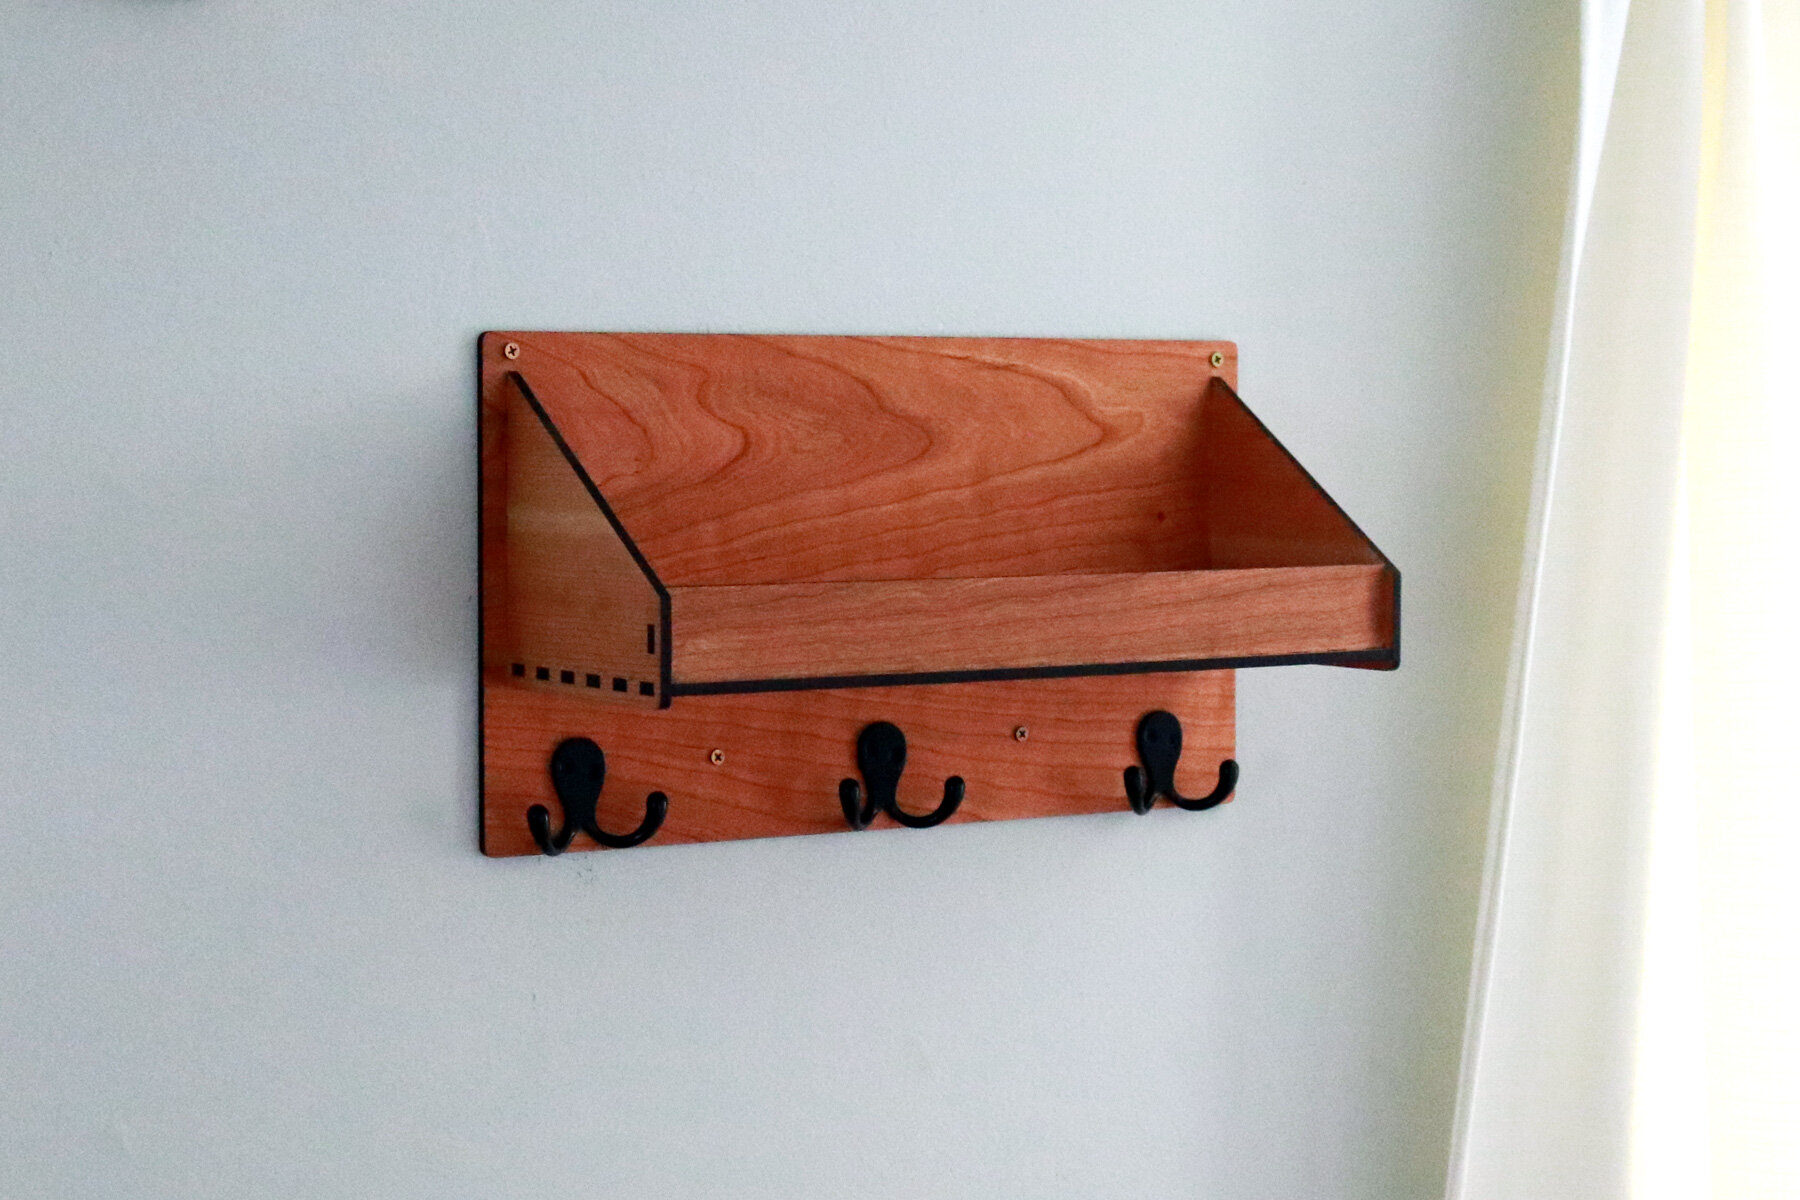
One of the products that could be designed and made to avoid this issue is a catch all tray that’s mounted to the wall with integrated coat hooks. It’s the last thing we see on the way out of the door and the first thing we interact with when we enter our house. Slowly, but surely, we begin to build habits around this product where the actions we take and commit to muscle memory becomes an integral part of our lives to help us stay organized and efficient throughout our day.
Process
Using a software called Rhinoceros, I designed started by drawing the overall dimensions of the back panel that will be mounted to my wall. Then, I marked the locations where the shelf would be installed and began drawing slots that would be cut out so that finger joints in the shelf could be inserted and glued in place.
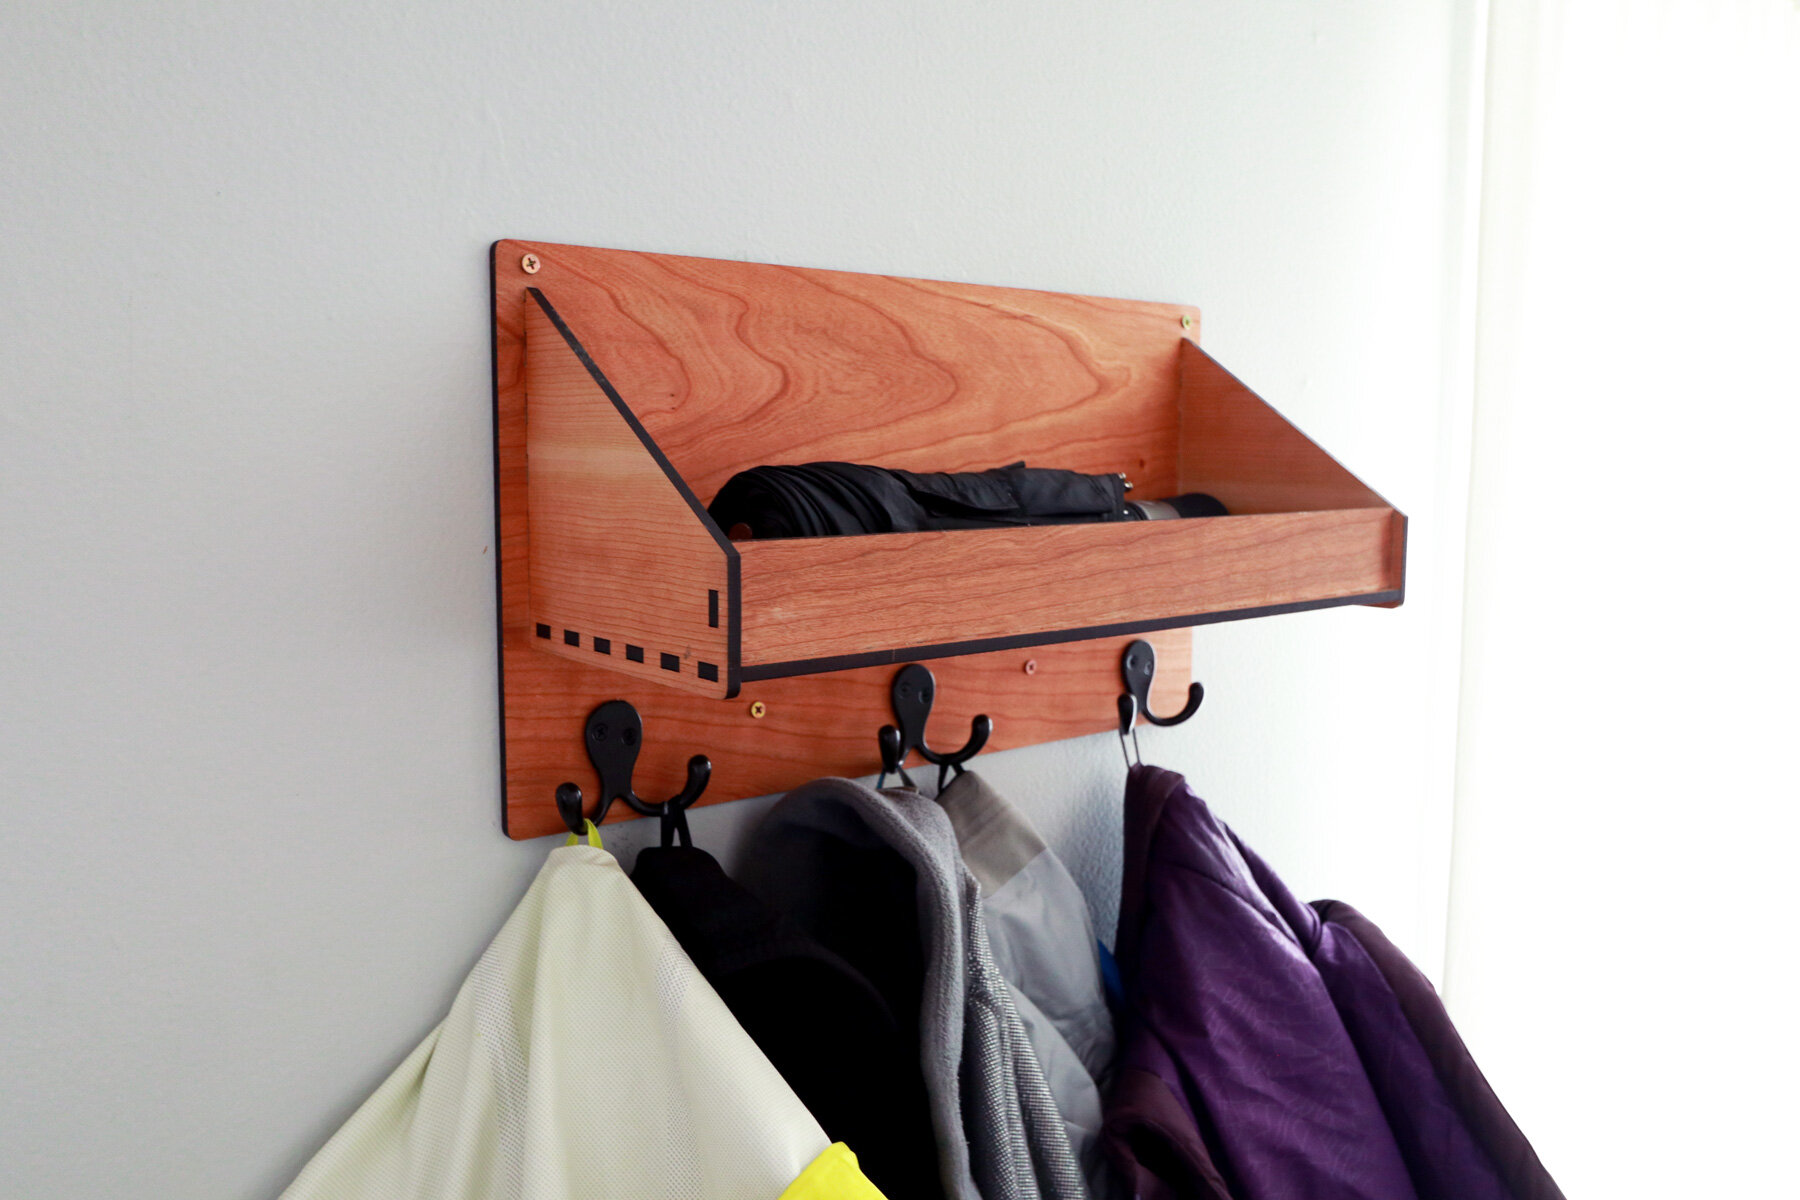
Once I figured out the overall dimensions of the shelf panels that would attach to the back panel, I designed each component that could come together and attach to one another using finger joints and slots. There are two triangular side panels and a rectilinear bottom and front panel. The side panels are for additional support and the front panel ensures nothing falls out of the shelf.
After designing all the components, I extruded them to the thickness of the cherry plywood. I rotated the pieces and began assembling the key tray and coat rack. As I pulled the pieces together, I noticed several areas that needed to be refined including a major issue with finger joints and slots not aligning. This was a simple fix, but if it were cut out of the plywood, it would’ve made the panel useless. The process of testing the design in a 3D model is crucial for tweaking and refining any design.
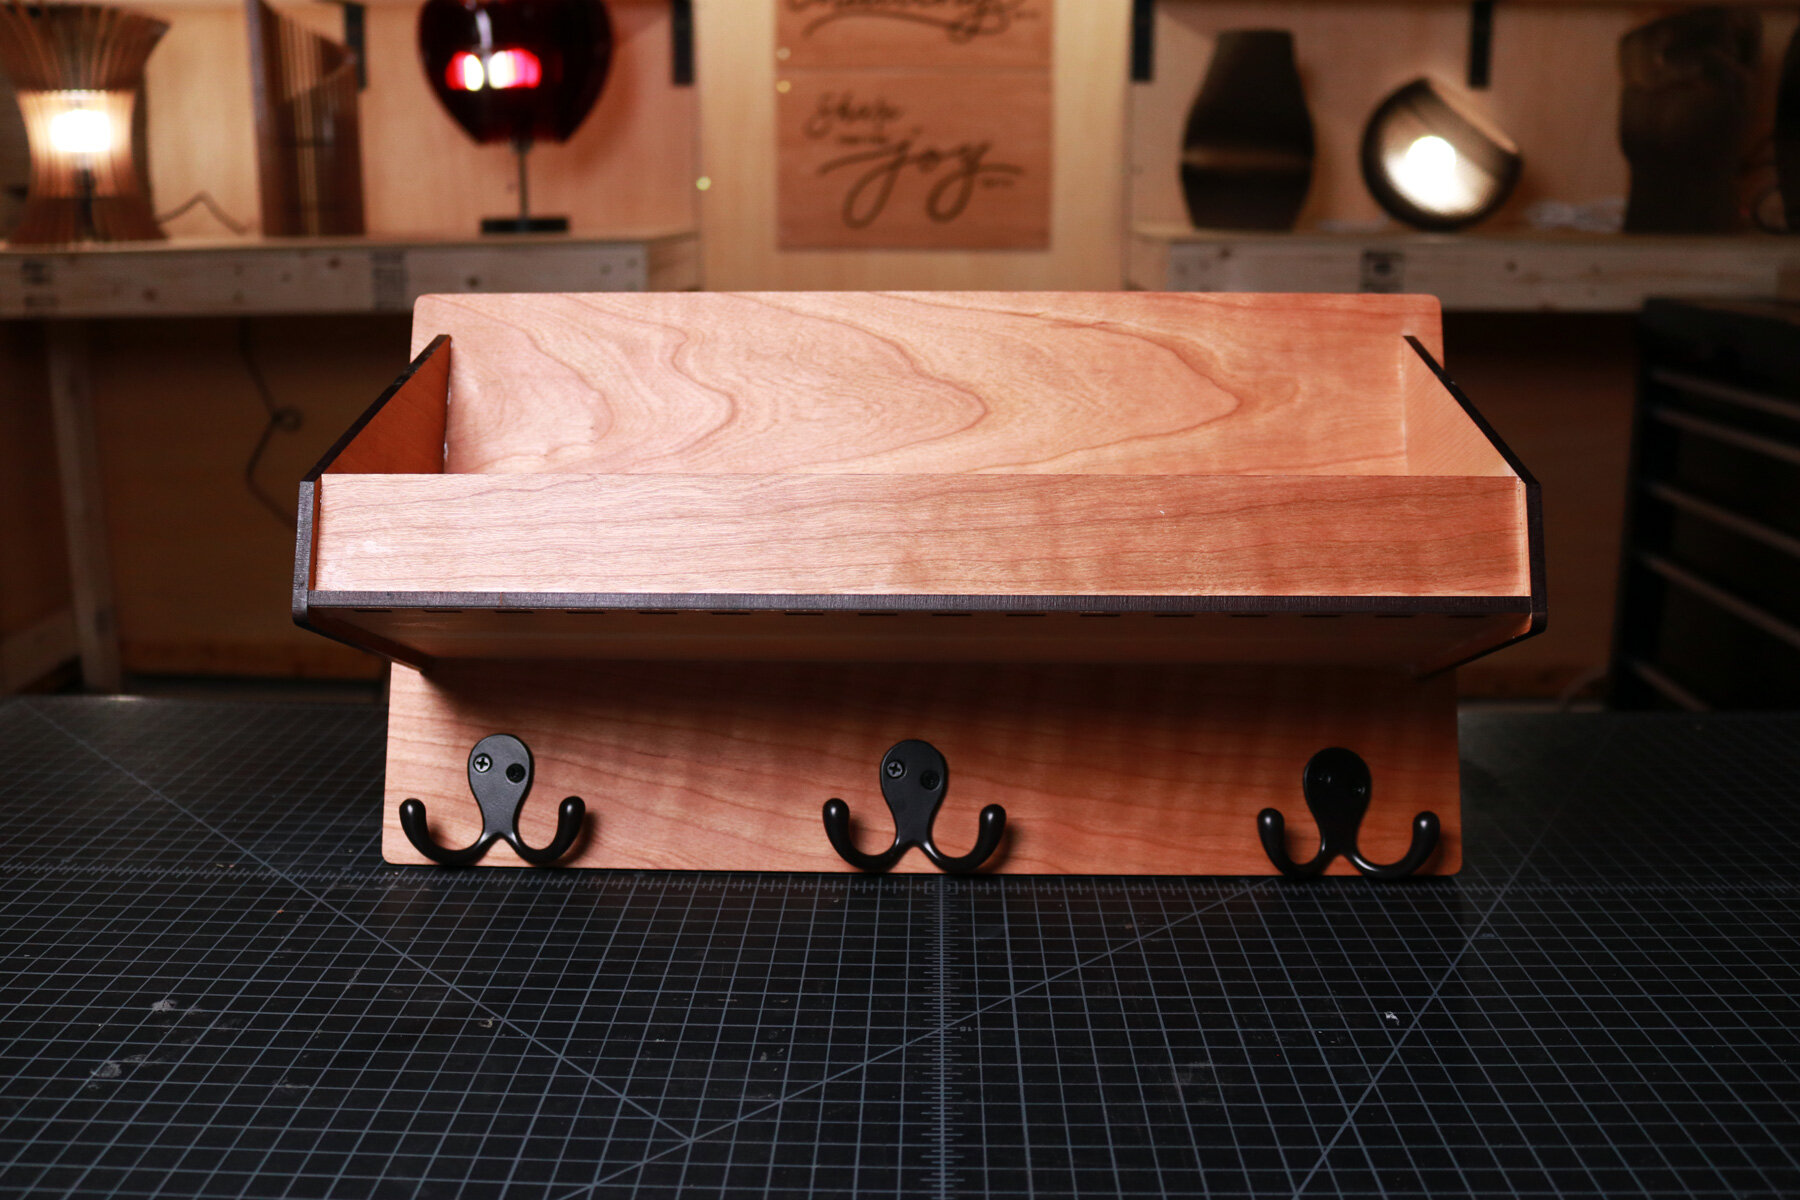
When the design was complete, I began the process of laser cutting every piece. I covered the cherry plywood with paper masking tape to protect it from any burns and chars. Once all of the pieces were cut, I removed the masking and organized the pieces in the order that they would be assembled. Starting with the shelf, I applied wood glue to the long edge of the bottom panel, inserted it into the slots of the front panel, and used my deadblow hammer to knock it into place. I repeated this process with the two side panels, which locks the bottom and front panels.
Then, I applied wood glue on the remaining finger joints of the shelf assembly and installed it into the slots of the back panel. This step required several adjustments and a few taps with the deadblow hammer to get the finger joints into place. Then, it was simply pushing the shelf into the back panel and hammering the corners for a tight fit. Lastly, I applied Odies oil to give a natural finish to the surfaces of the cherry plywood.
After the coat rack and key tray was complete, I used the coat hooks that I purchased from a local hardware store to determine where the fasteners would be installed. Using a pencil, I marked the locations and used my drill to cut out holes from the plywood. Then, I installed each coat hook and tightened the screws enough to hold each hook in place. I marked the locations where I would be fastening it into my drywall adjacent to my front door and drilled four holes; two at the top corners and two between the coat hooks.
Holding the shelf and coat rack up to my wall, I leveled it against the wall and marked the locations where fasteners would be installed into my drywall. Using a drill and larger drill bit, drilled four holes in my drywall and lightly hammered the drywall anchors into place. Then, I installed the shelf by aligning the holes with the drywall anchors and fastening it into place. Lastly, I fastened the coat hooks into place.