Making a Minimal Wood Serving Tray

Tools & Materials
Wood Serving Tray Digital Design File
Project Description
How can we create a simple serving tray to easily carry items from the kitchen to other spaces?
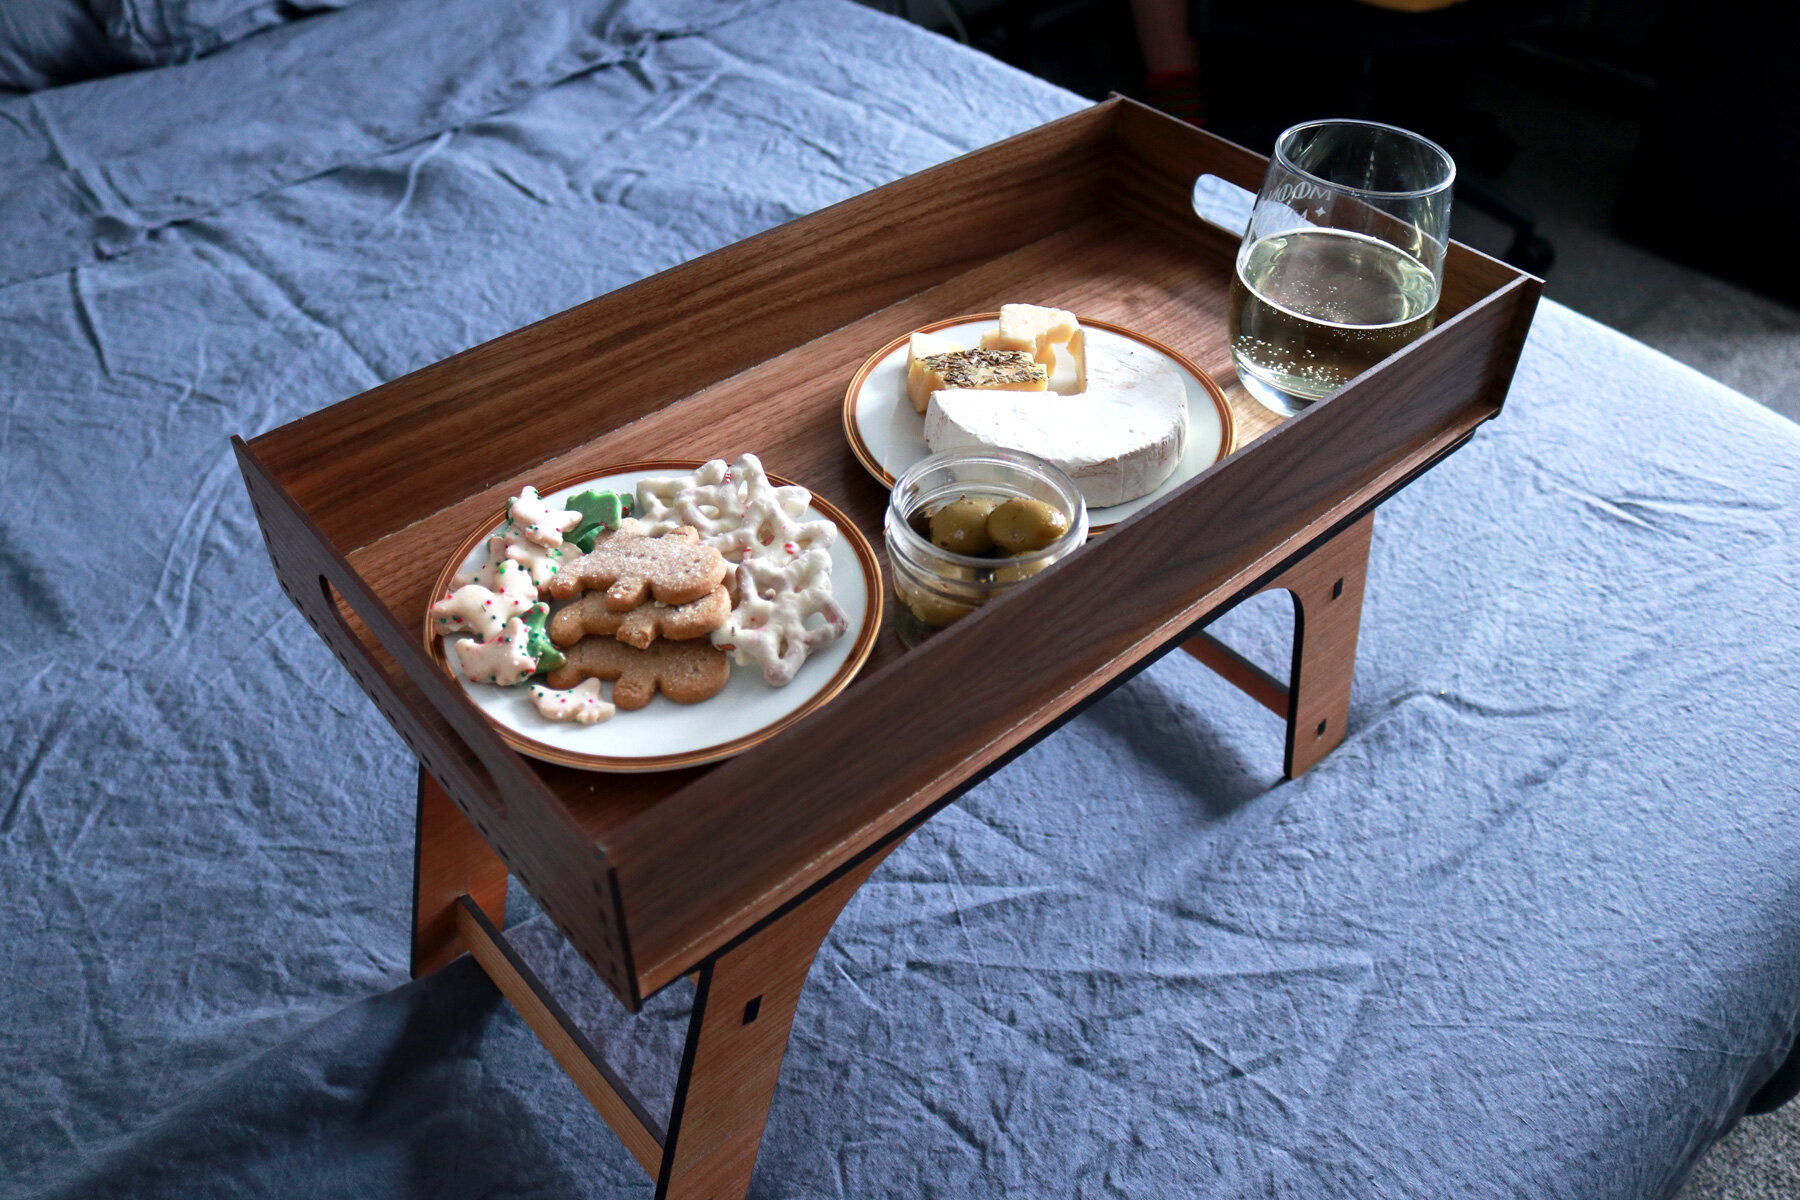
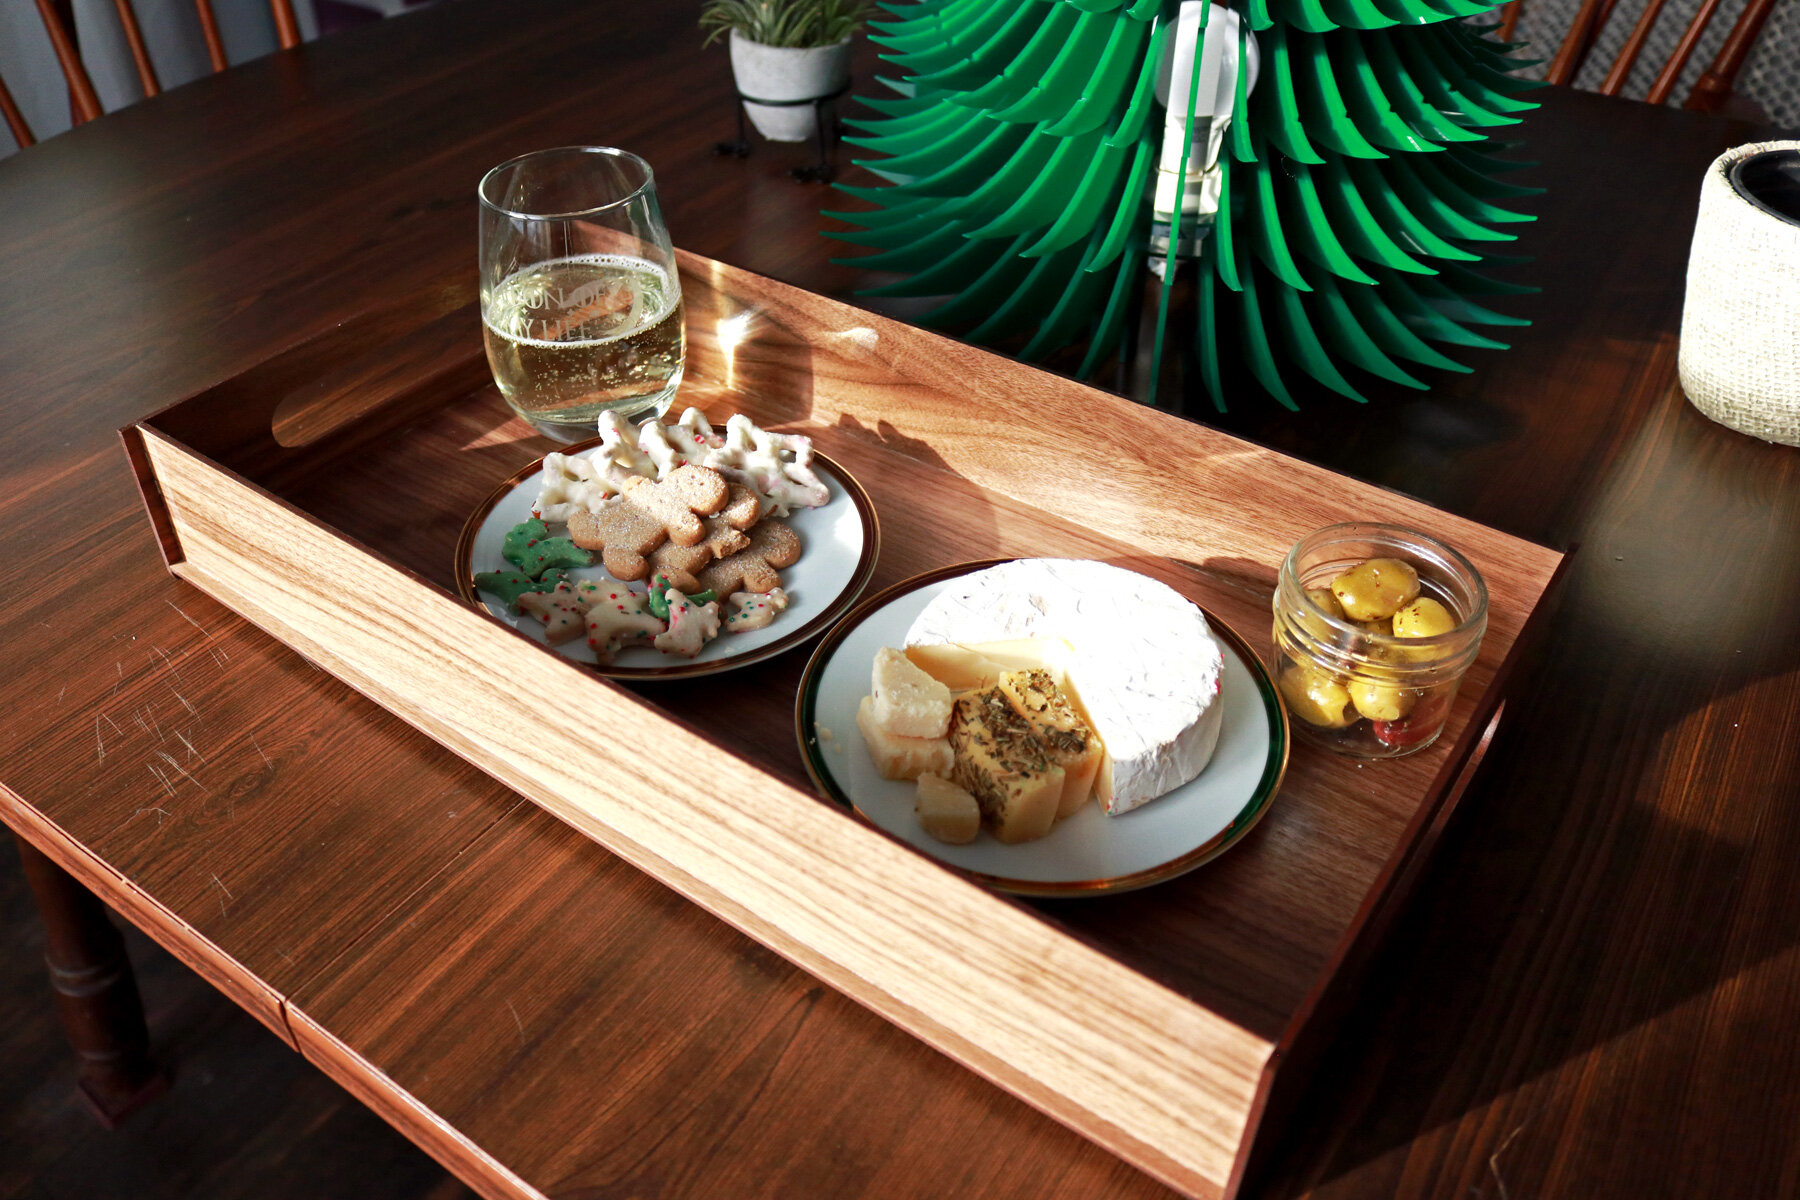
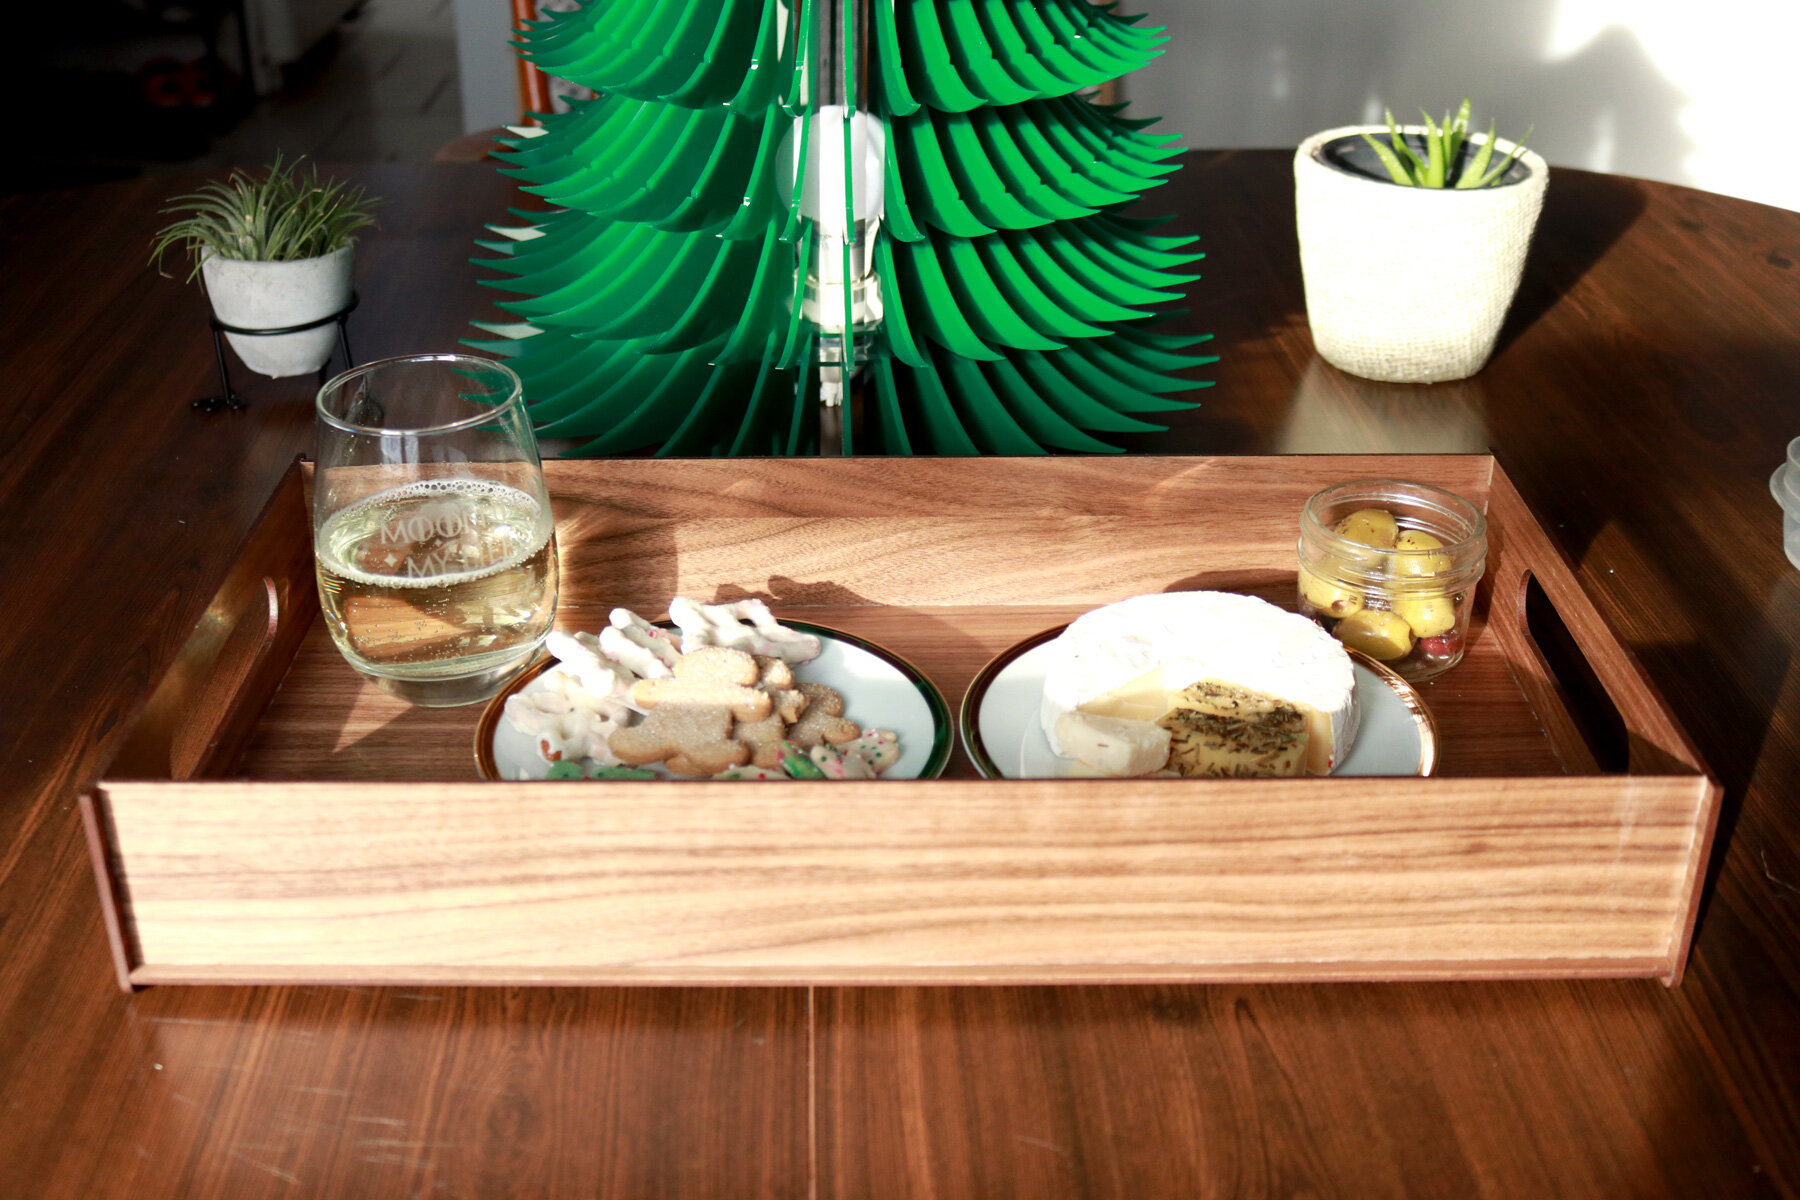
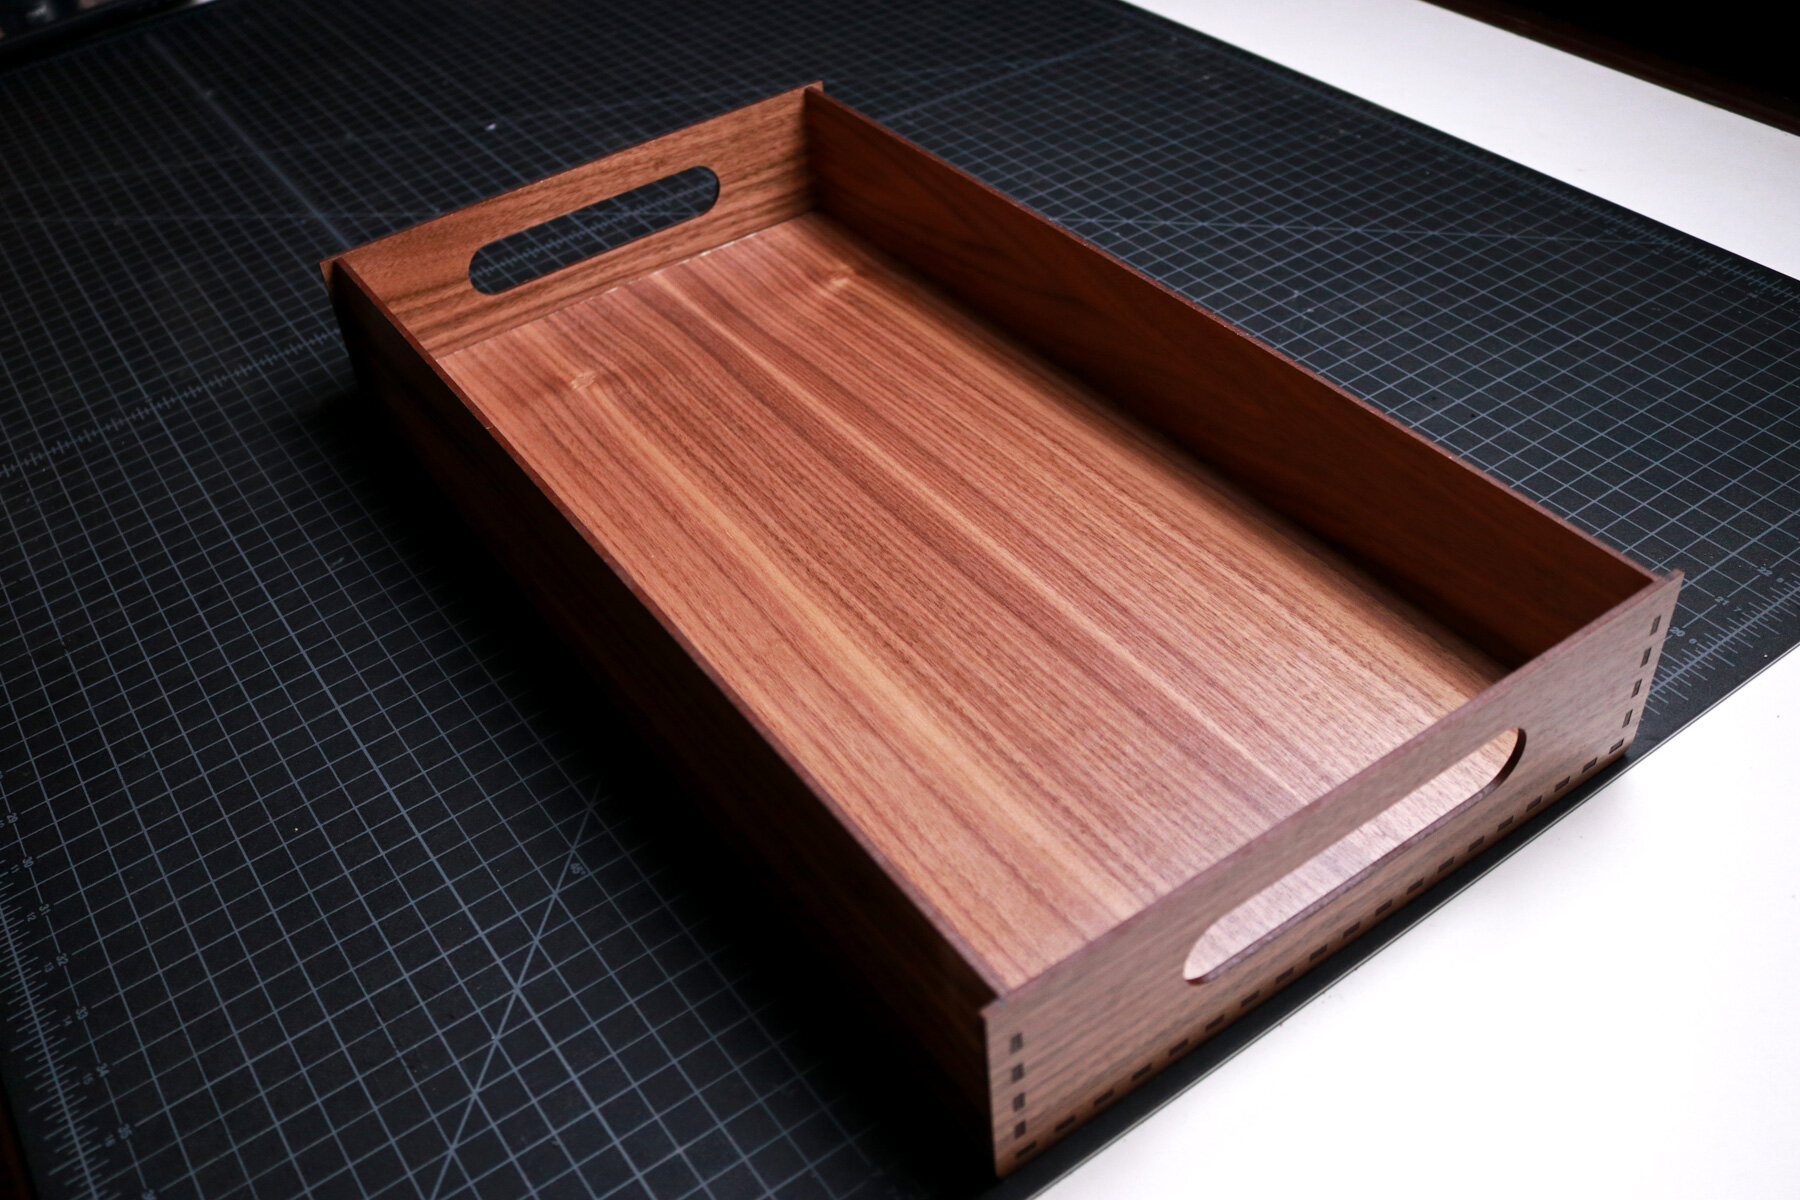
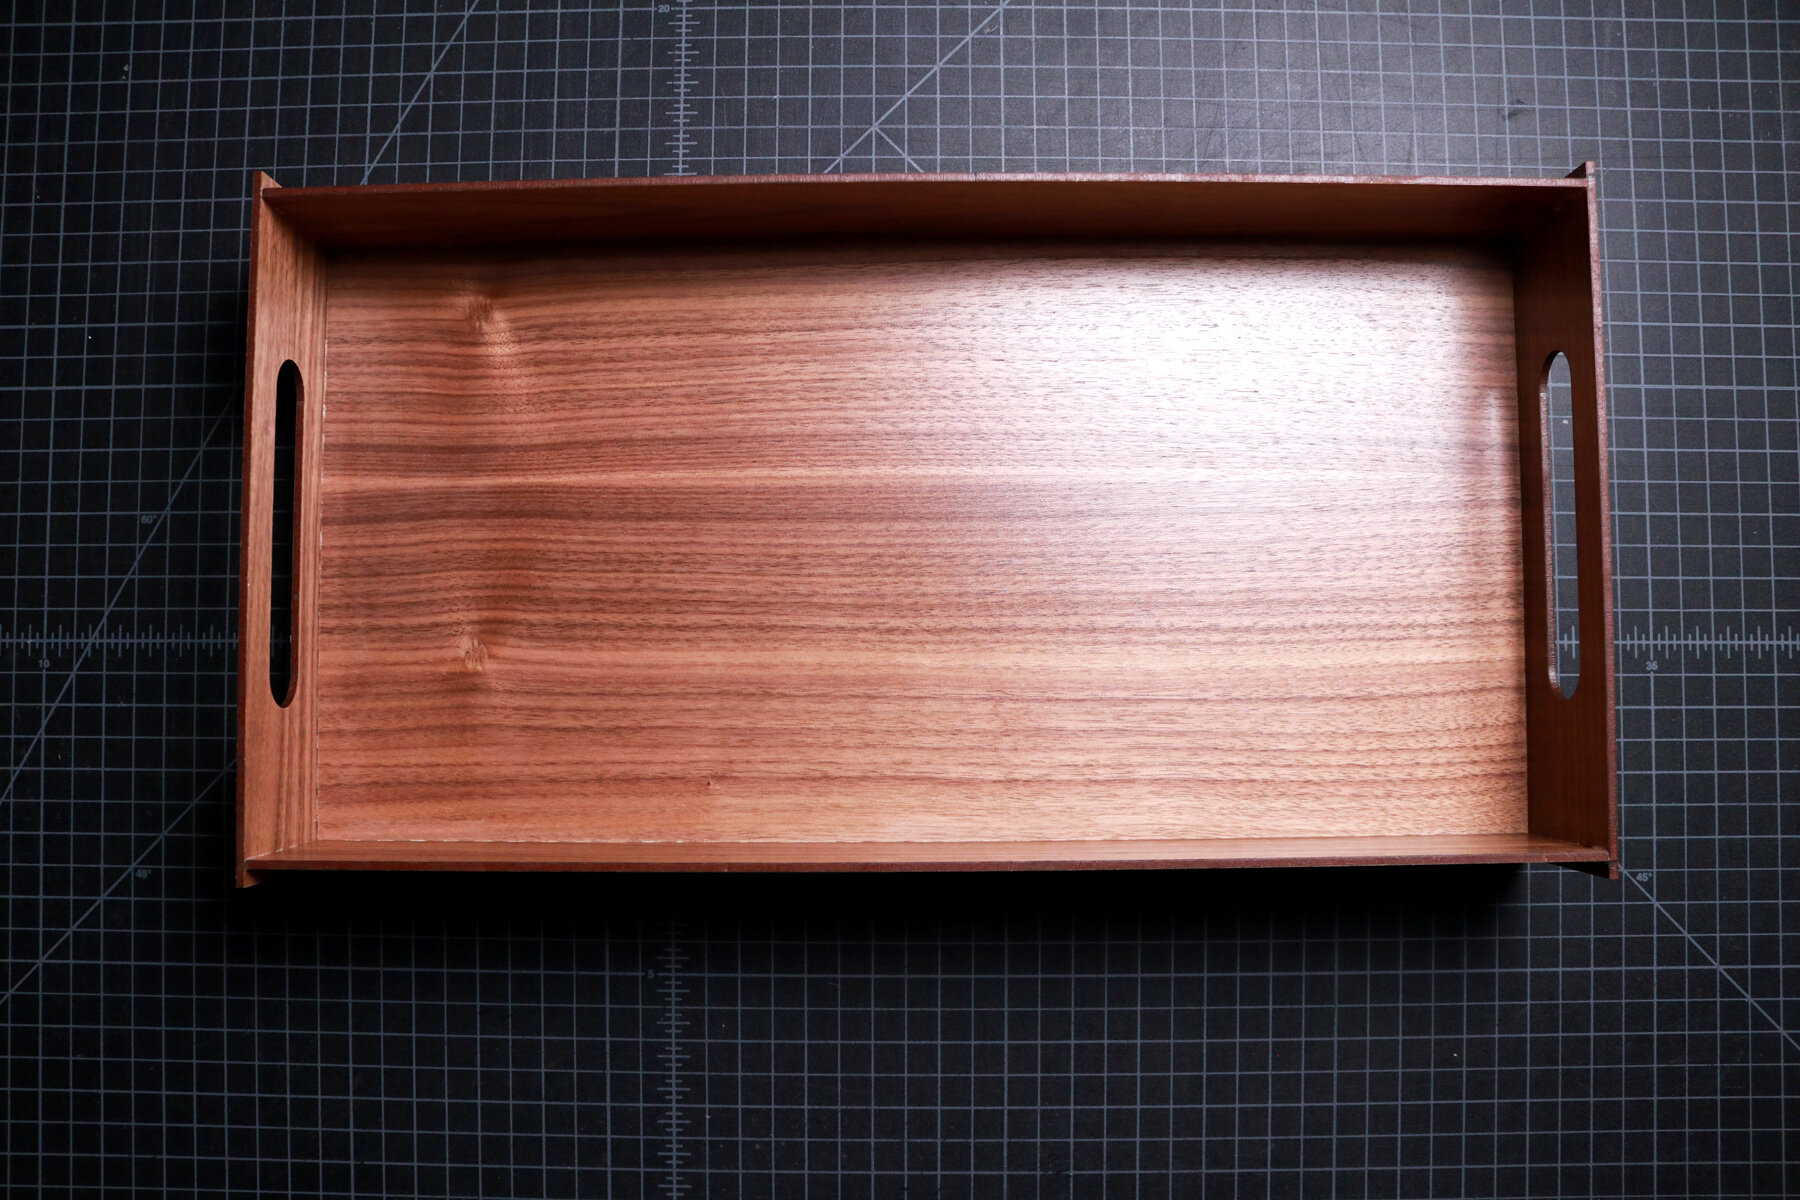
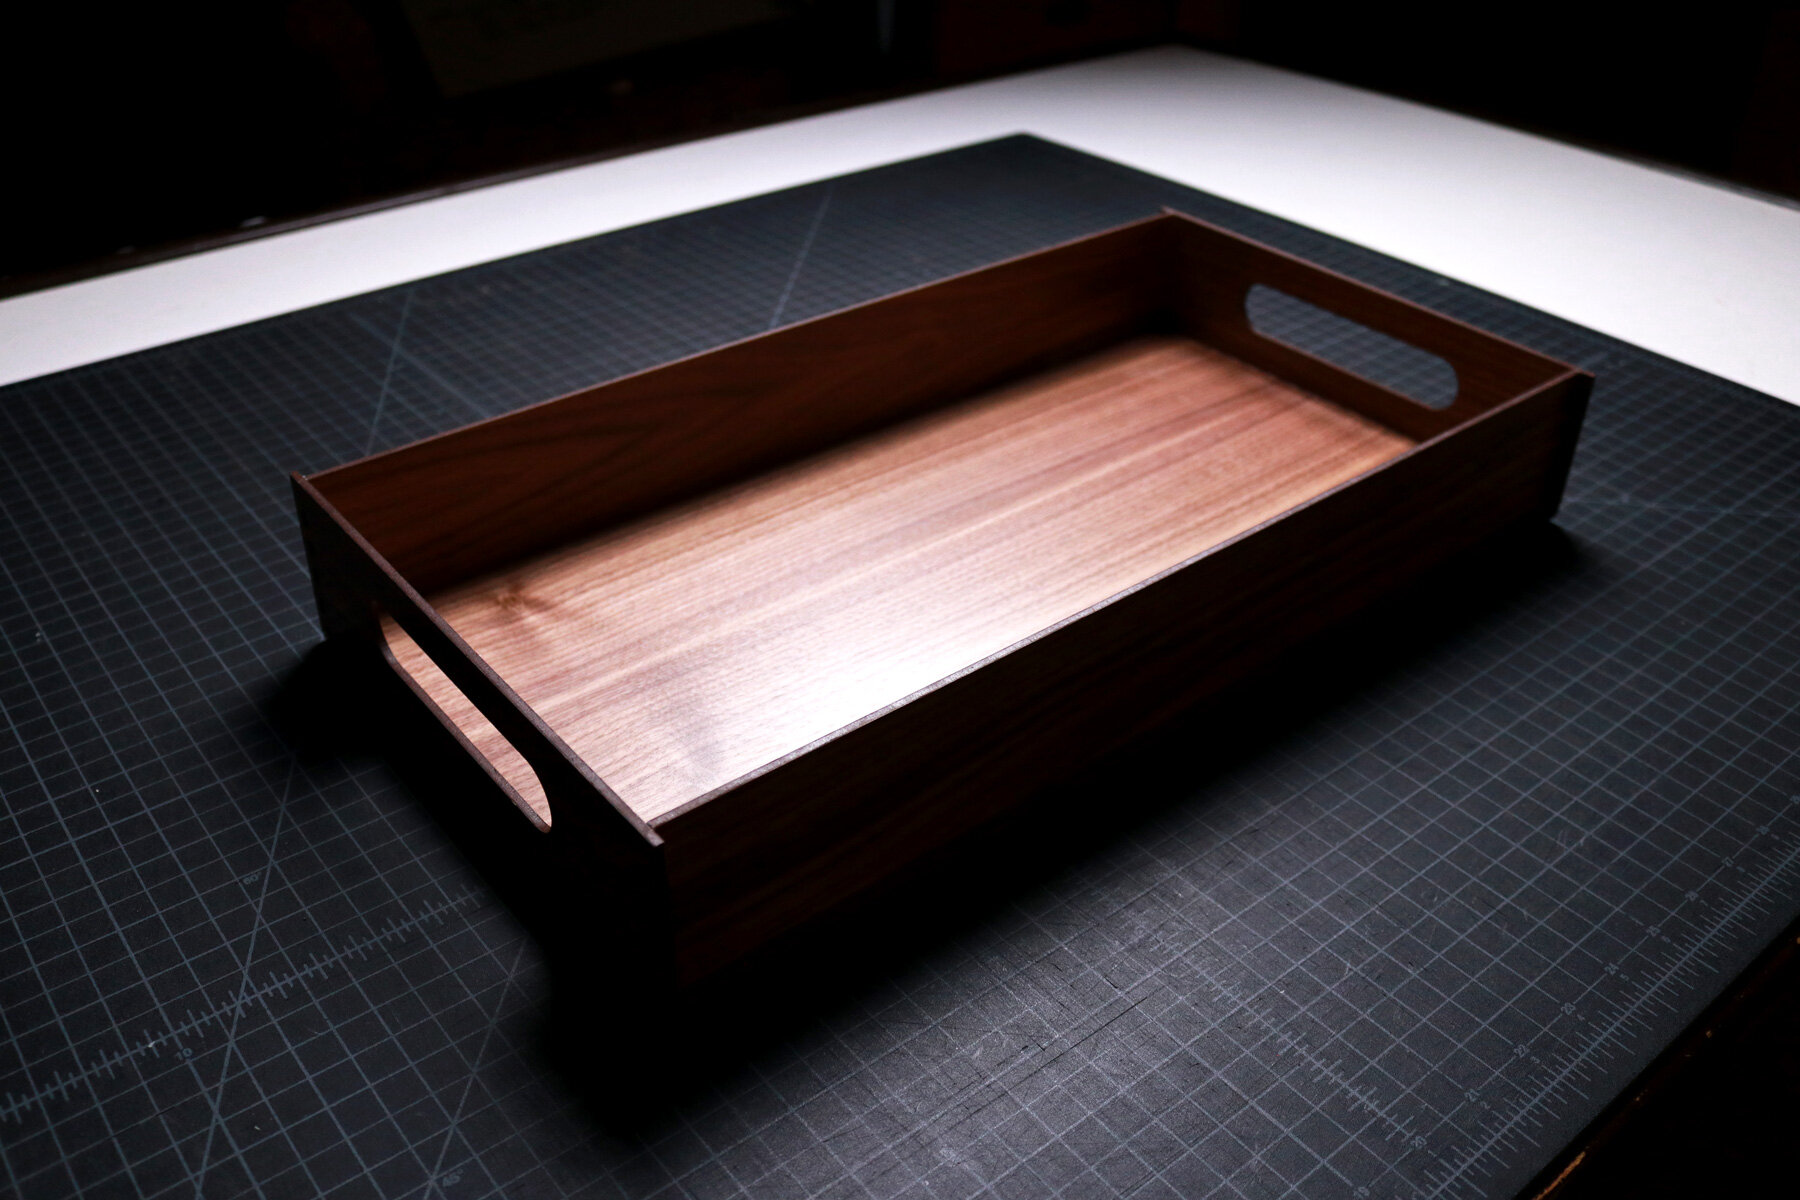
As one of the most basic projects to make, a wood serving tray is a great project to learn about creating 3 dimensional products with a laser cutter. Fundamentally, it requires a base to place food and beverages as well as handles to lift and transport. A common design feature that most serving trays include are 4 walls that keep all the items from falling off of the sides.
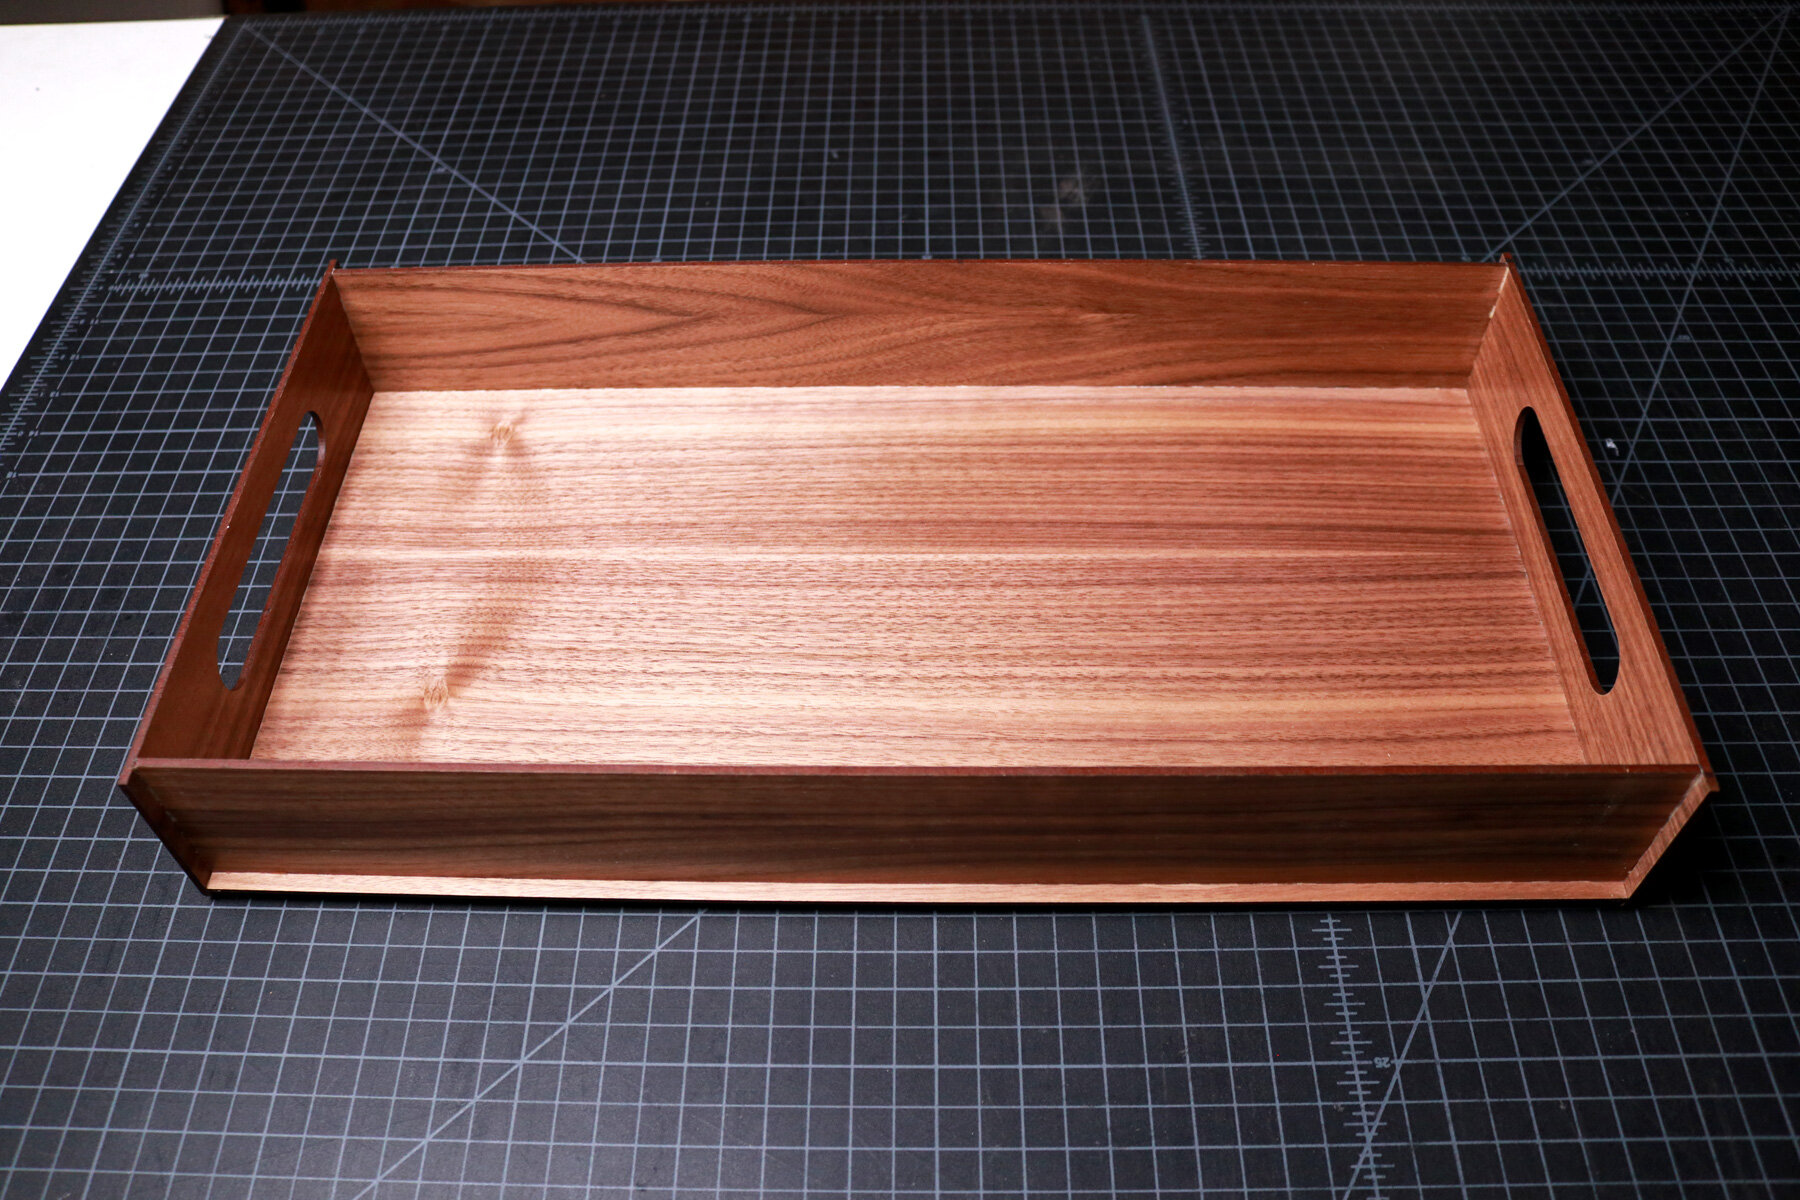
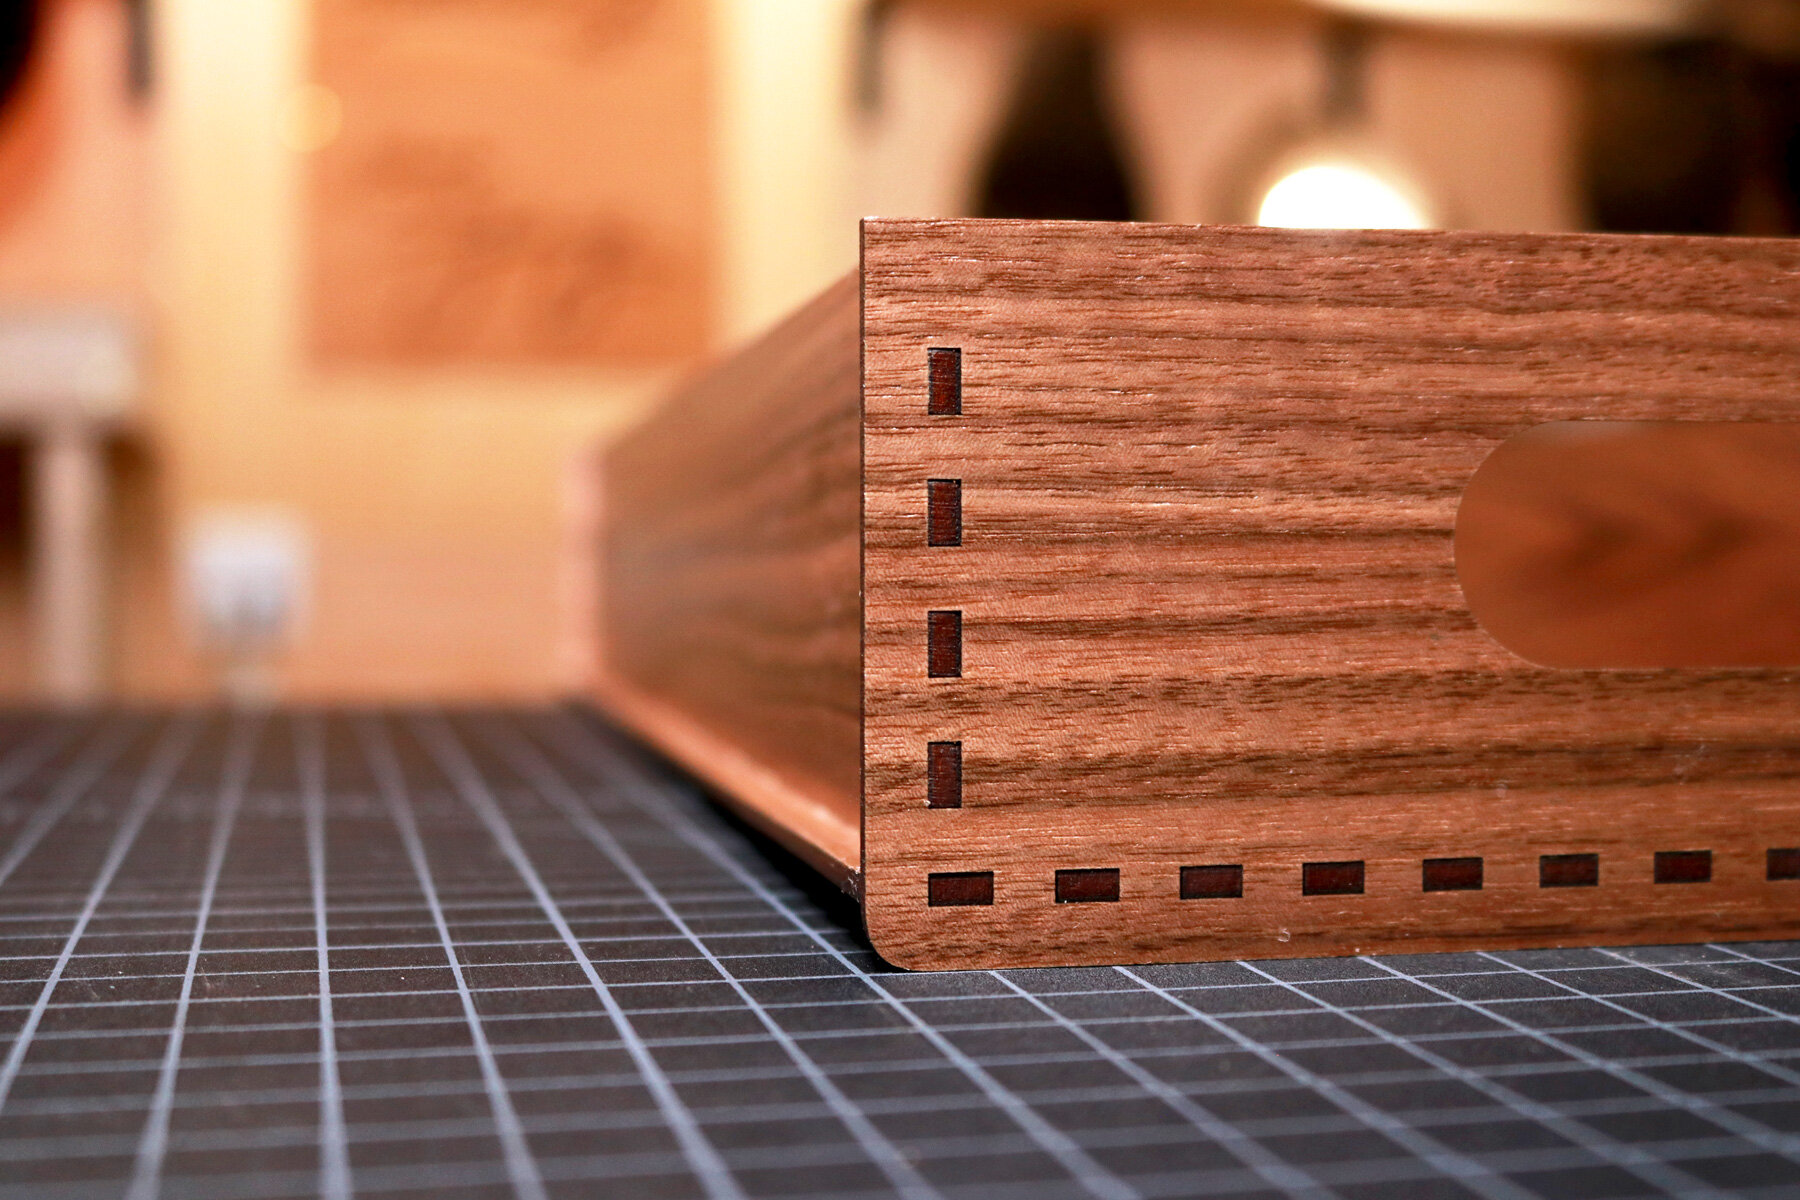
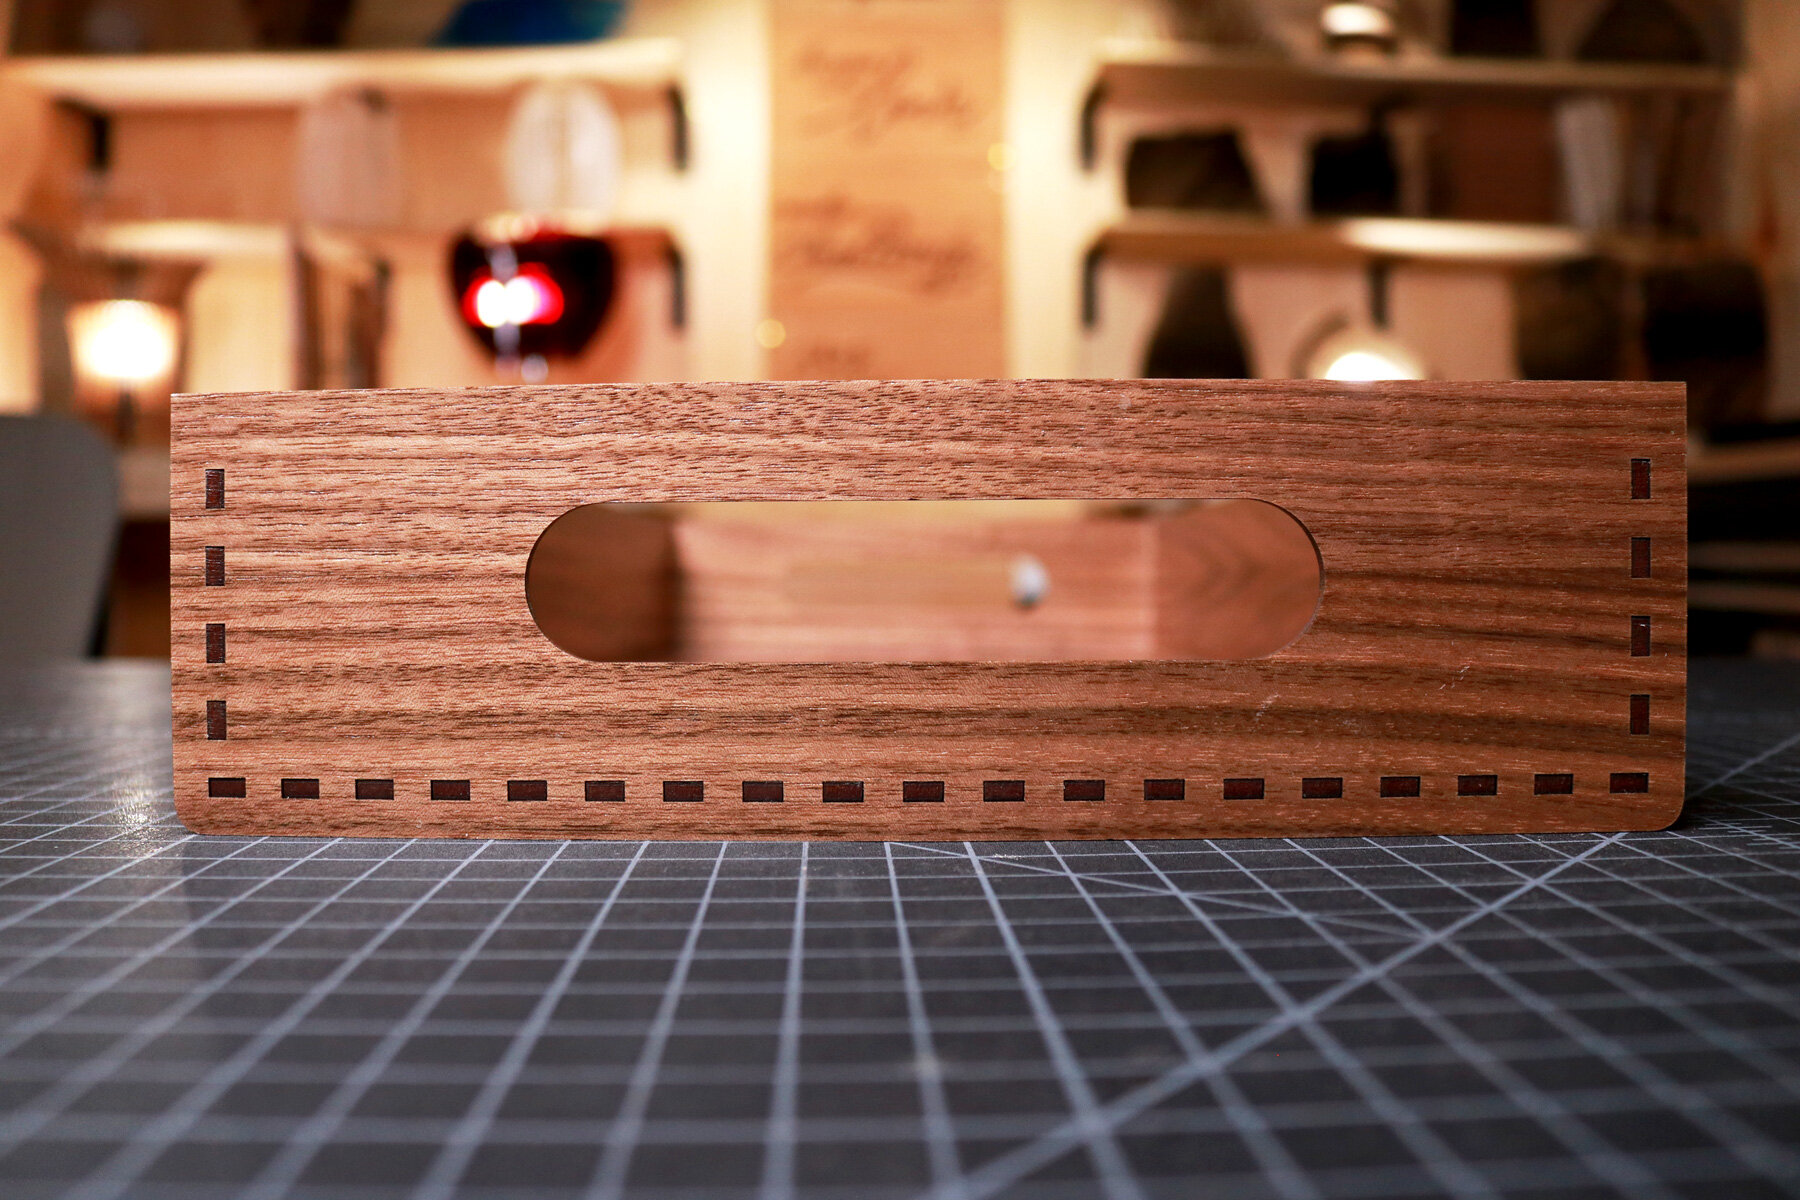
For this minimal wood serving tray, the design will focus on a rectangular base with 4 walls that are all finger joined together. The base panel will be joined away from the edges of the side panels so that the panel doesn’t fall out when the tray gets heavy. Handles will be integrated into the shorter side panels. Lastly, I chose to use a dark and warm toned walnut wood with a semi-gloss finish for this project.
Process
Using a software called Rhinoceros, I came up with a simple design of the base of the minimal wood serving tray by drawing a rectangle at the maximum size of my Glowforge laser cutter. This resulted in a length and width of roughly 10.5 inches by 19 inches. After drawing the rectangle, I began sizing the shorter ends and making them roughly 4 inches tall so that anything placed in the tray wouldn’t fall over the edges.
Then, I began designing slots that were roughly ½ inch from 3 edges of the side panels. These slots would align with finger joints that were cut at the ends of the bottom panel of the serving tray. After that, I designed the long side panels that would be finger joined into slots in the bottom panel and the short side panel. The last step was to curve the corners of the short side panel that would make contact with the surfaces that it’s placed on.
Once the design was complete, I inserted the proofgrade material from Glowforge that comes pre-masked to protect it from burns, chars, and debris. Then, I setup the files and began cutting each board. It took roughly 20 minutes to cut all the pieces for this project.
When the pieces were out of my laser cutter, I removed the masking and applied wood glue between the finger joints of the long side panels. These were inserted into the slots of the bottom panel and glued in place. Using a damp rag, I cleaned off any excess glue by wiping it in one direction.
After both long side panels were glued in place, I applied wood glue at the finger joints on both short ends, aligned it with the slots of the short side panels, and glued it in place. I wiped off any excess glue and the project was complete!