Making a Minimal Personal Wood Table

Tools & Materials
Minimal Personal Wood Table Design File
Project Description
How do we design and make a personal wood table to work or eat in bed?
Since March 2020 when the pandemic was escalating in America, most non-essential workers have been working from home. Our personal habits and daily routines have coincided with the ones we have from work. Most of our days were spent traveling from our beds to our home workstations and back.
The monotony of repeating this cycle can be overwhelming, especially if its been done for over a year. The goal of this project is to create a transportable table that can be used in a variety of ways, including working from the bed with a laptop or tablet. It provides the freedom and flexibility of working and relaxing in different places around the house or in a garden so that we could break up the repetitive days by changing the scenery around us.
Process
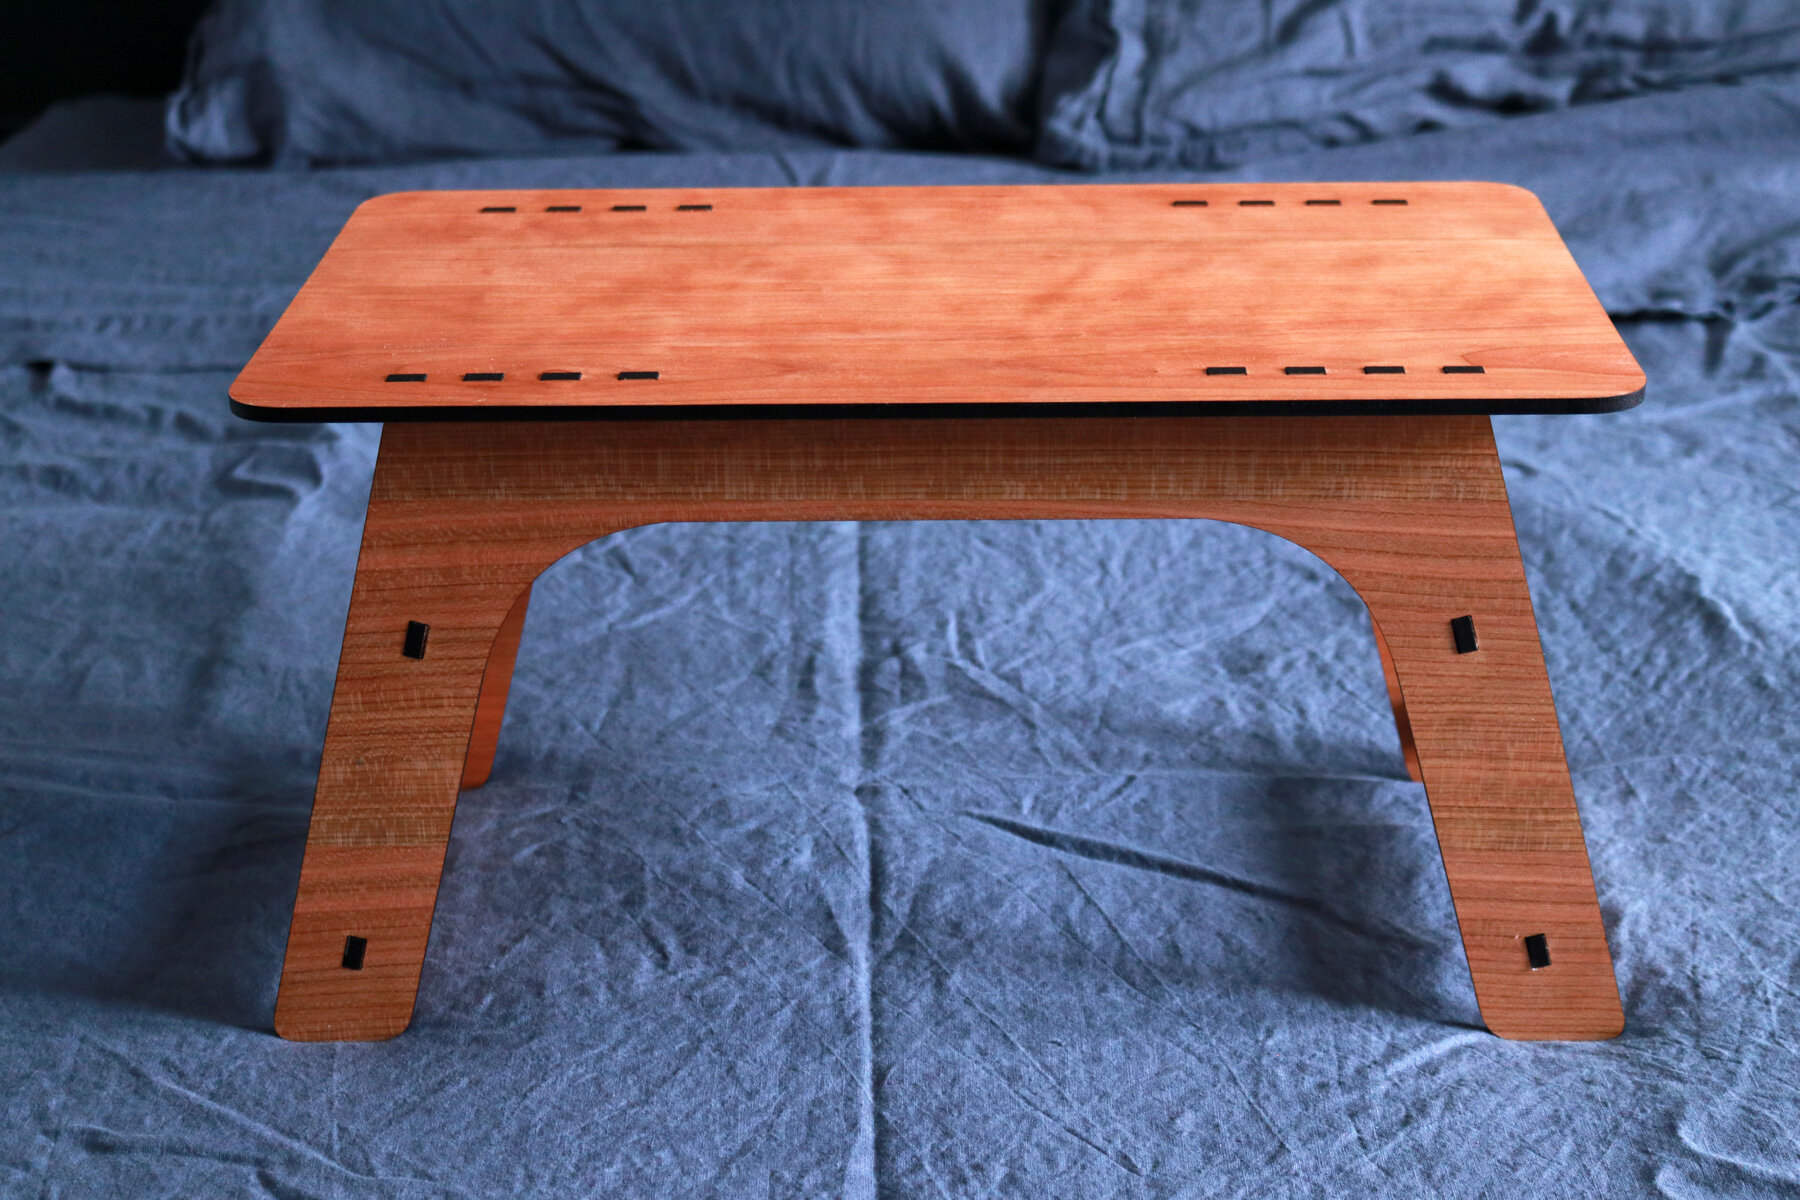
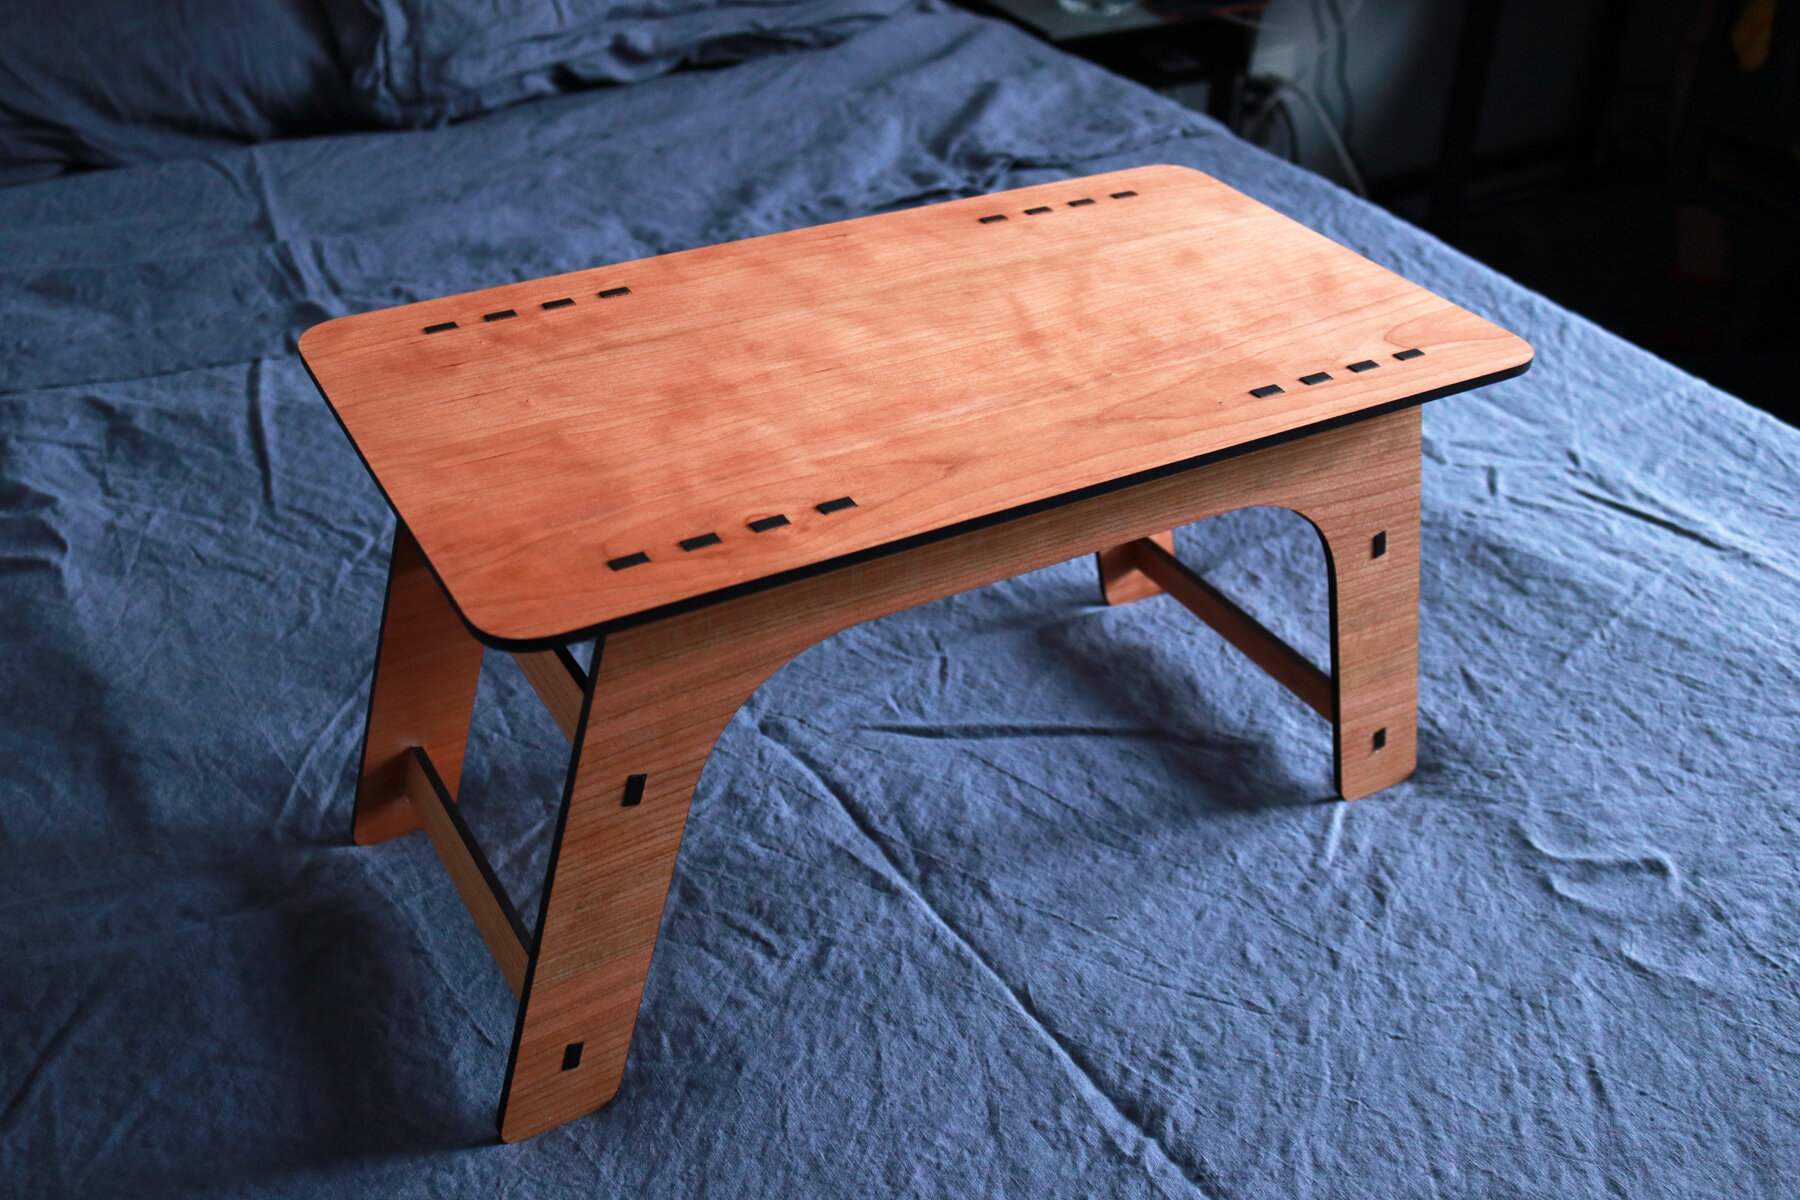
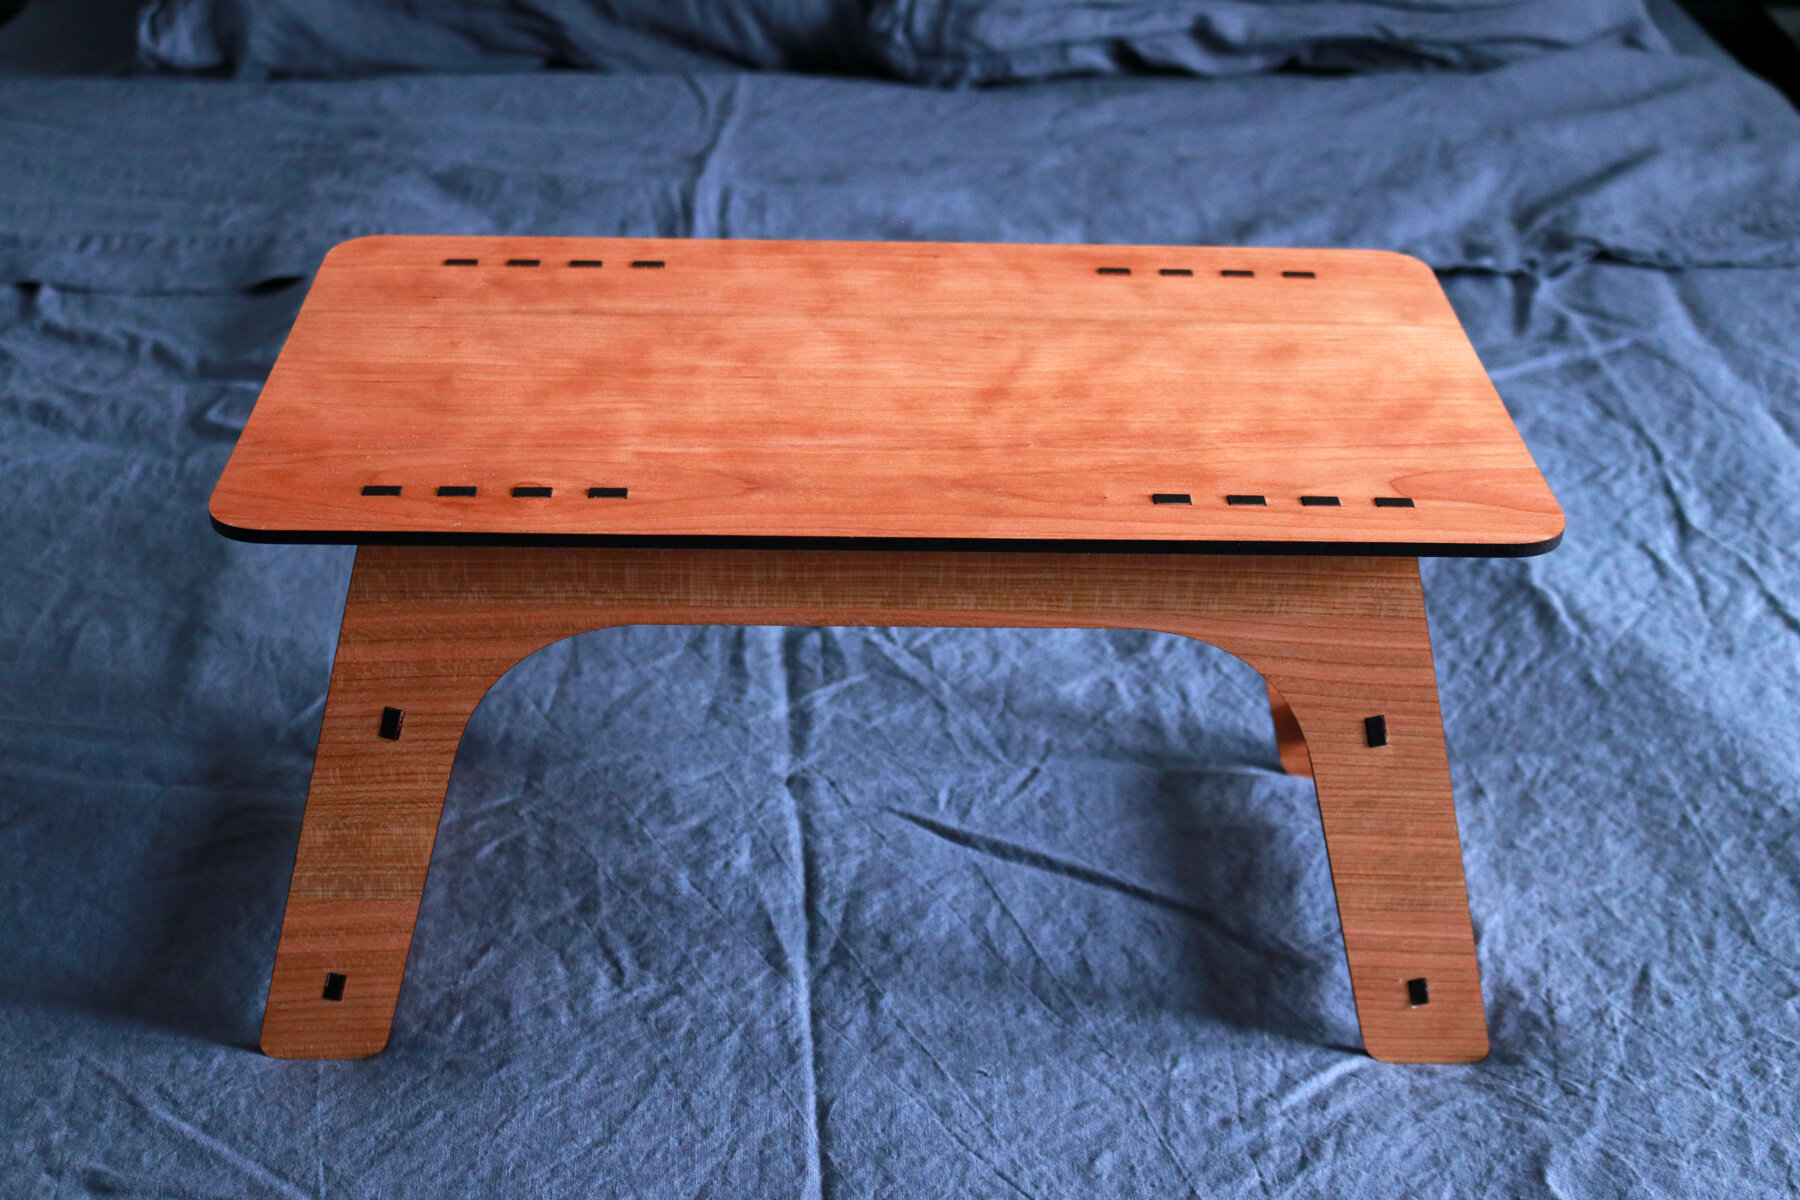
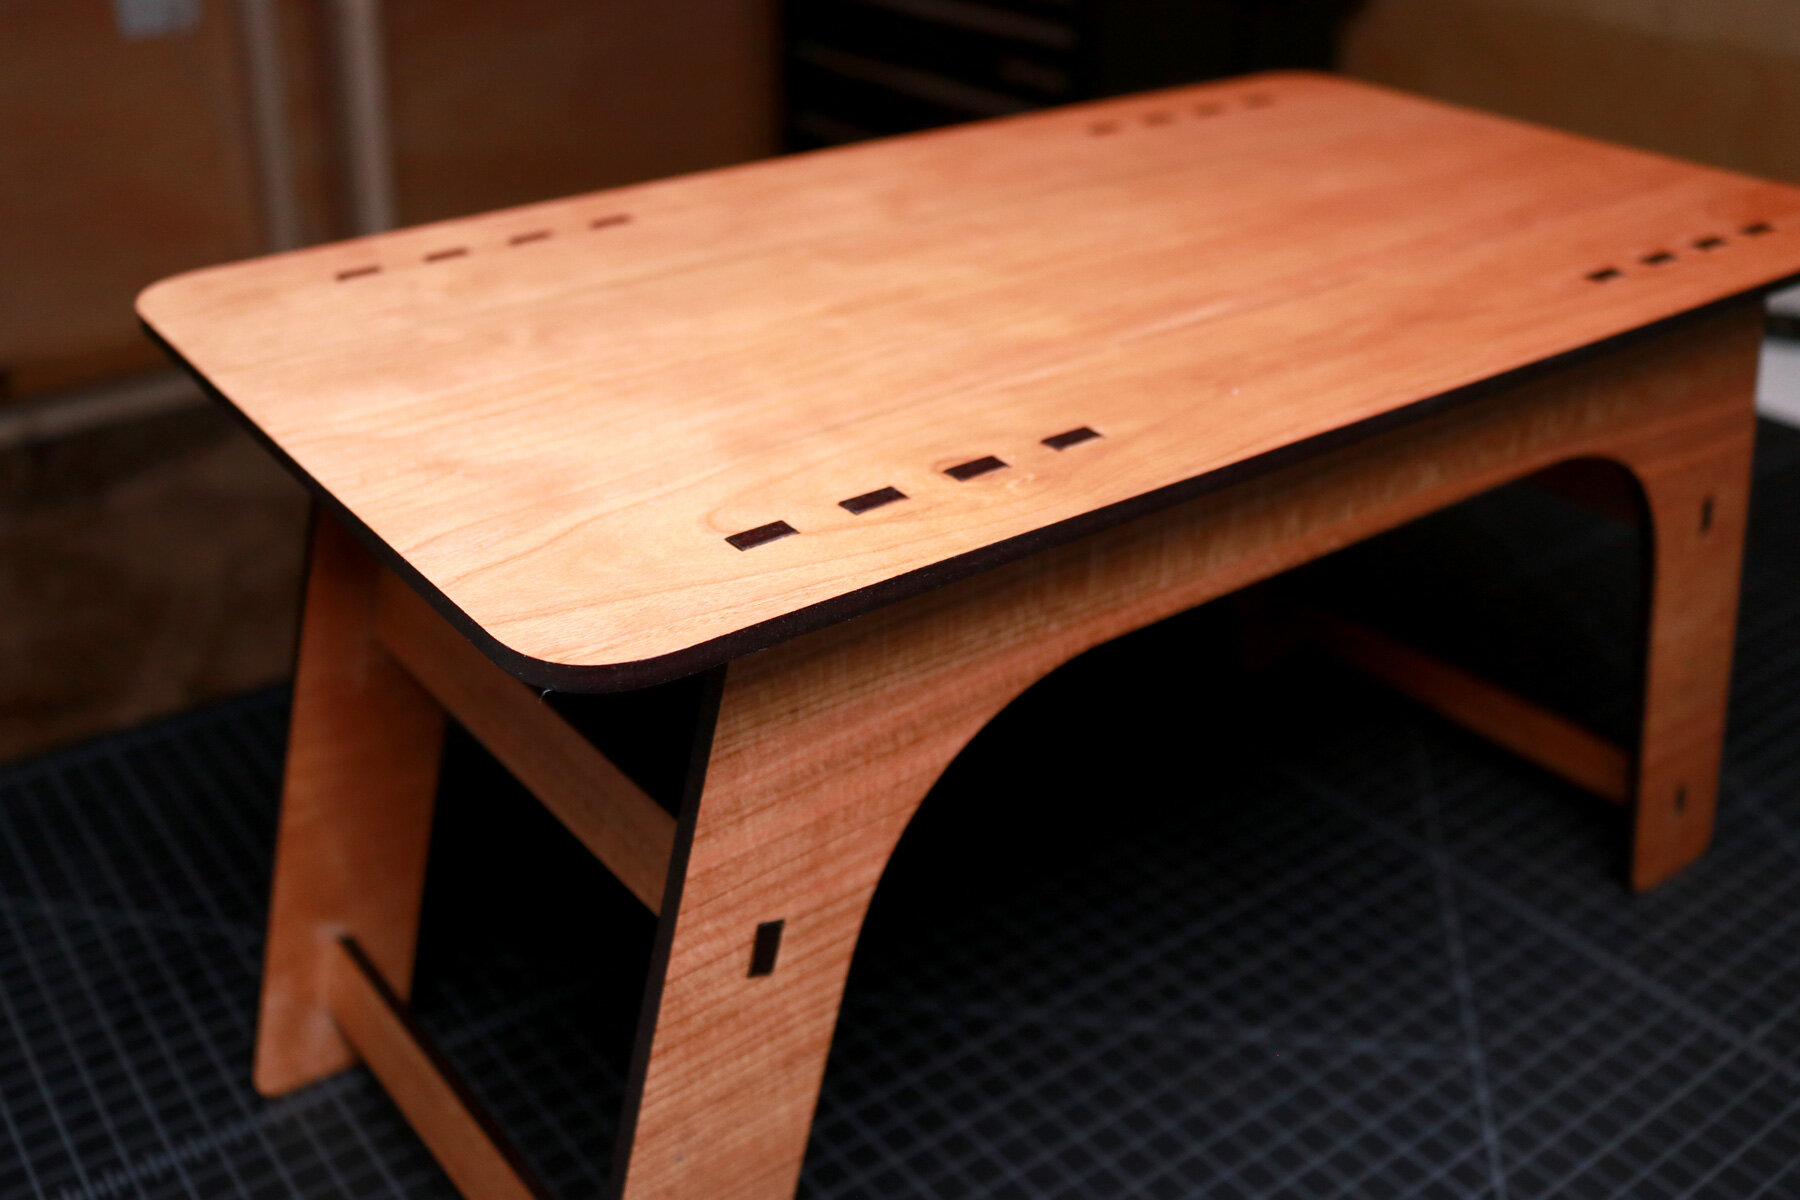
Using a software called Rhinoceros, I came up with a simple design that consisted of the table top, four legs, and support bars. Like the beginnings of most designs, the corners of every piece were all at an angle, which I knew would be sharp enough to pierce through my bed sheets. As part of the refinement of the original design, I decided to round each corner to soften it.
Starting at the bottom of each leg, I rounded the acute and obtuse angles. Once the curves were incorporated into the design, I carried it through to every corner in the project. This would bring the aesthetic of the project together by creating a cohesively designed product with similar design elements throughout.
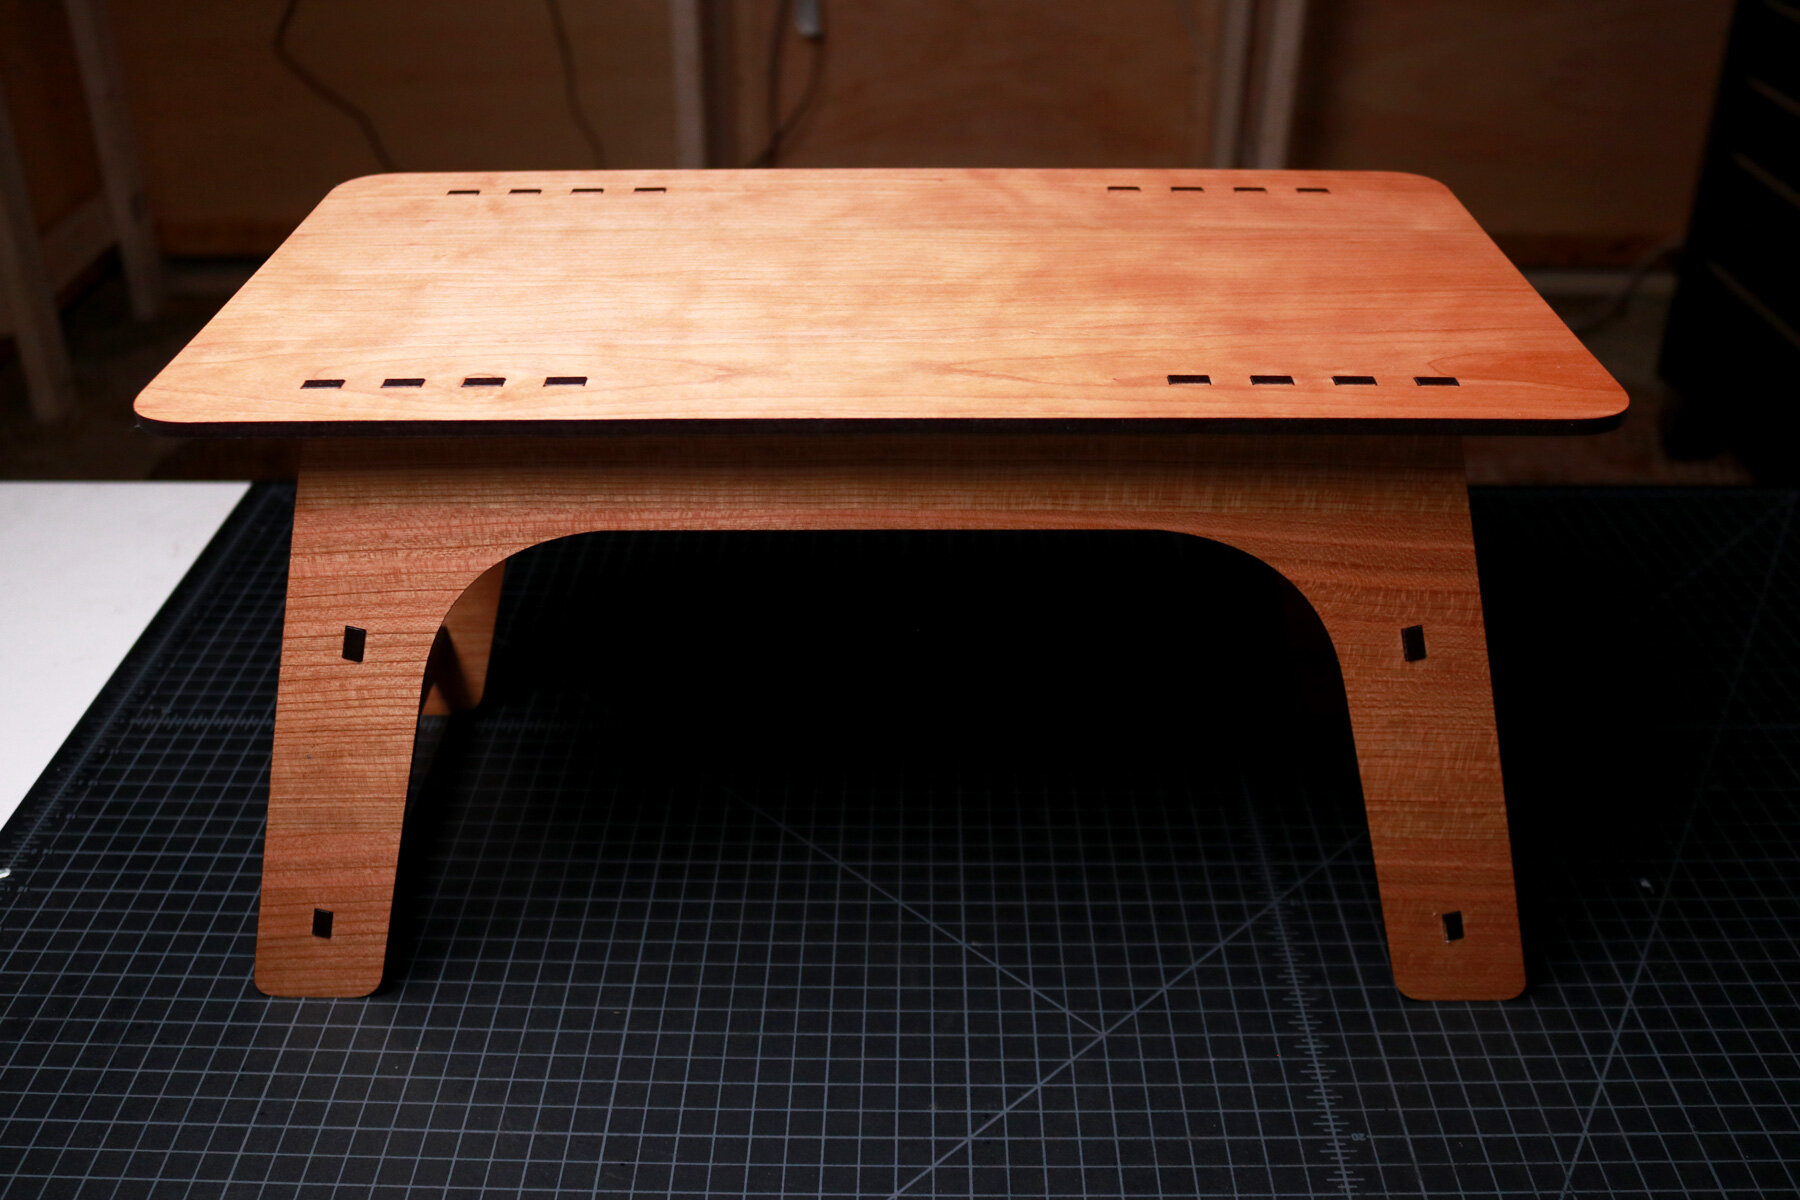
Then, I decided to remove two of the support bars that spanned the width of the table. These support bars were purely functional and didn’t contribute to the overall aesthetic of the table. I removed the support bars and decided to combine the legs so that there would be two instead of 4. By combining the legs, the area that was being spanned by the center support bar became a continuous piece that would offer additional support and match the overall aesthetic of the product.
Once the design was complete, I applied a layer of paper masking tape to both sides of my ¼ inch cherry plywood. This protects the surfaces of the wood from any scorching, charring, and debris. Then, I loaded it into my Glowforge laser cutter and began the process of cutting each piece. This took roughly 30 minute from the start of cutting the first piece to the last one.
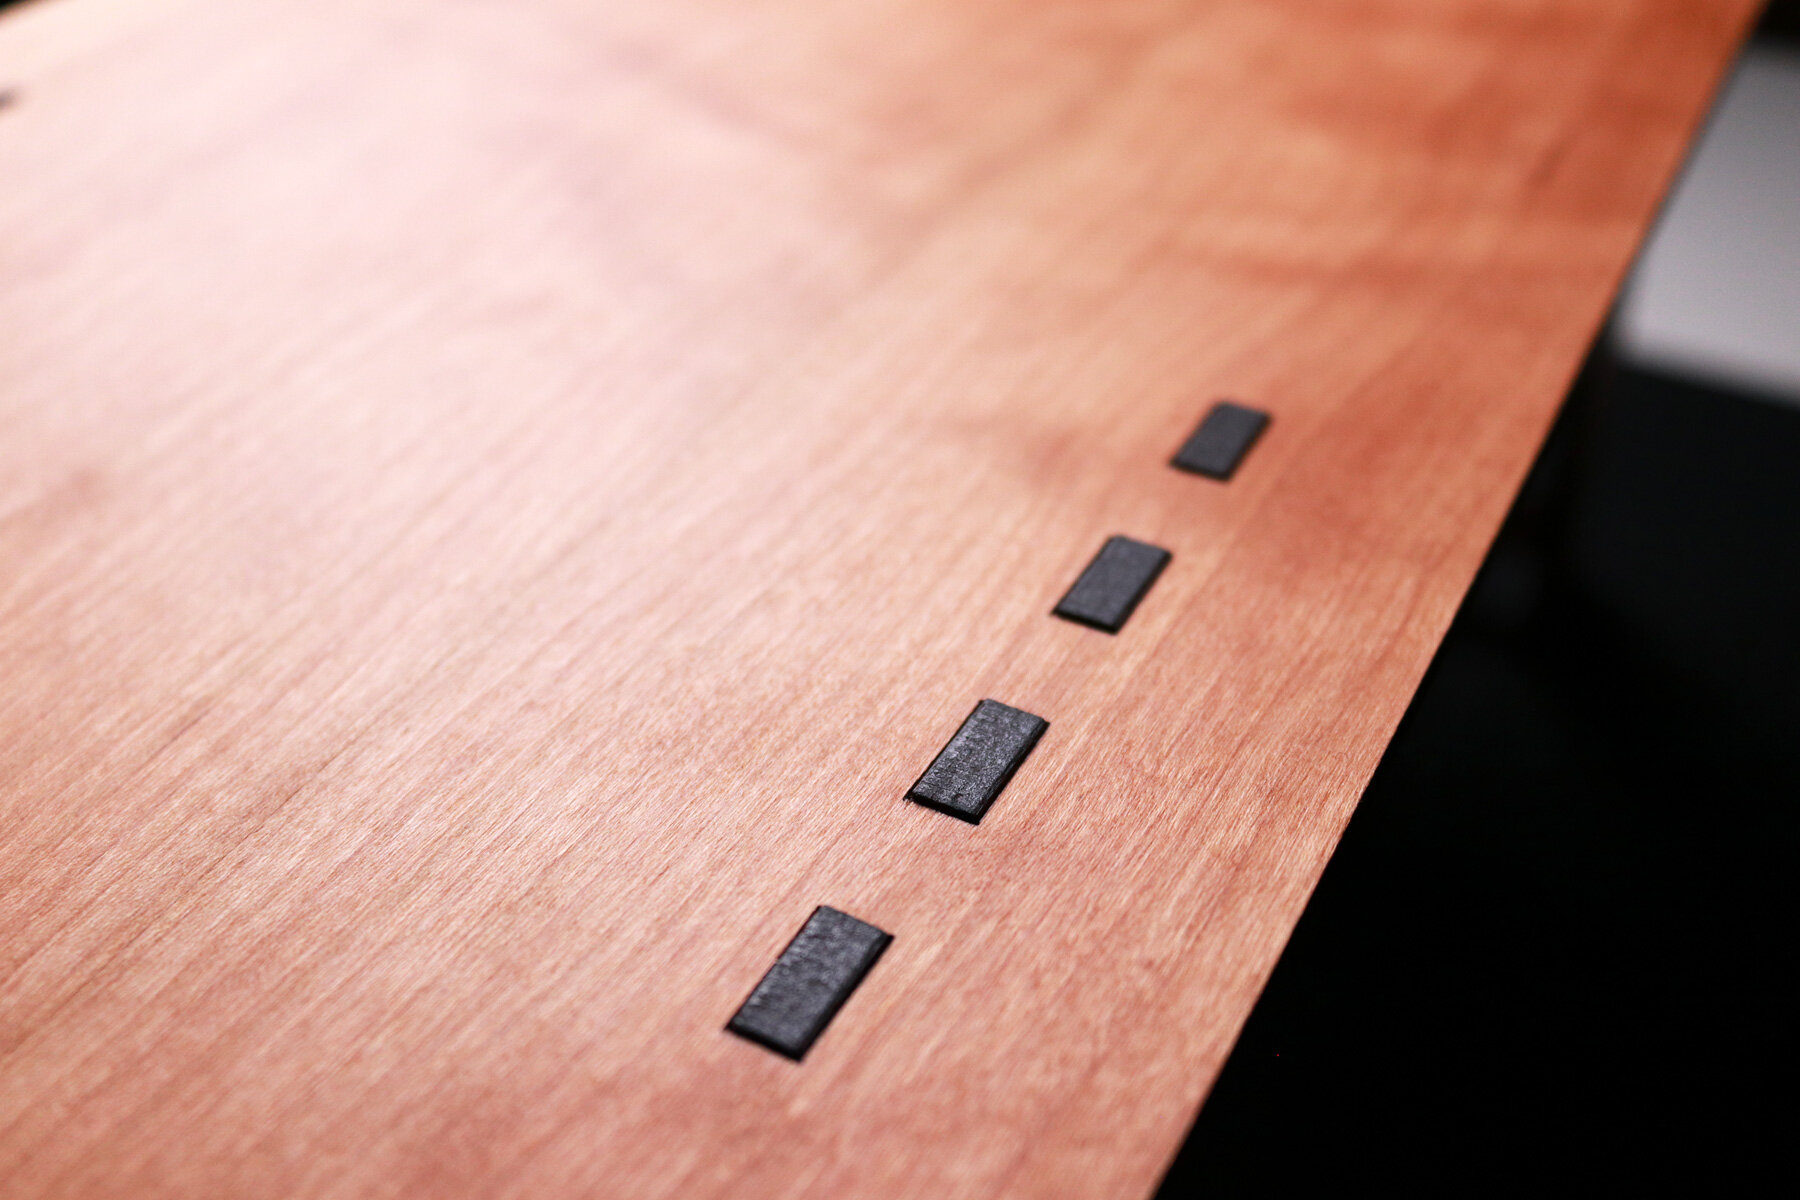
When the pieces were cut, I removed the paper masking and began the process of gluing the support bars to the legs. There were a total of 4 support bars and I installed them by turning the legs on their sides and wood gluing the joint on the bar into the slot in the wood legs.
After the legs were assembled, I applied wood glue onto the top of the legs where the finger joints are located and along any areas that would make contact with the underside of the table top. Then, I aligned the slots in the table top with the tabs at the top of the legs and pressed them together.
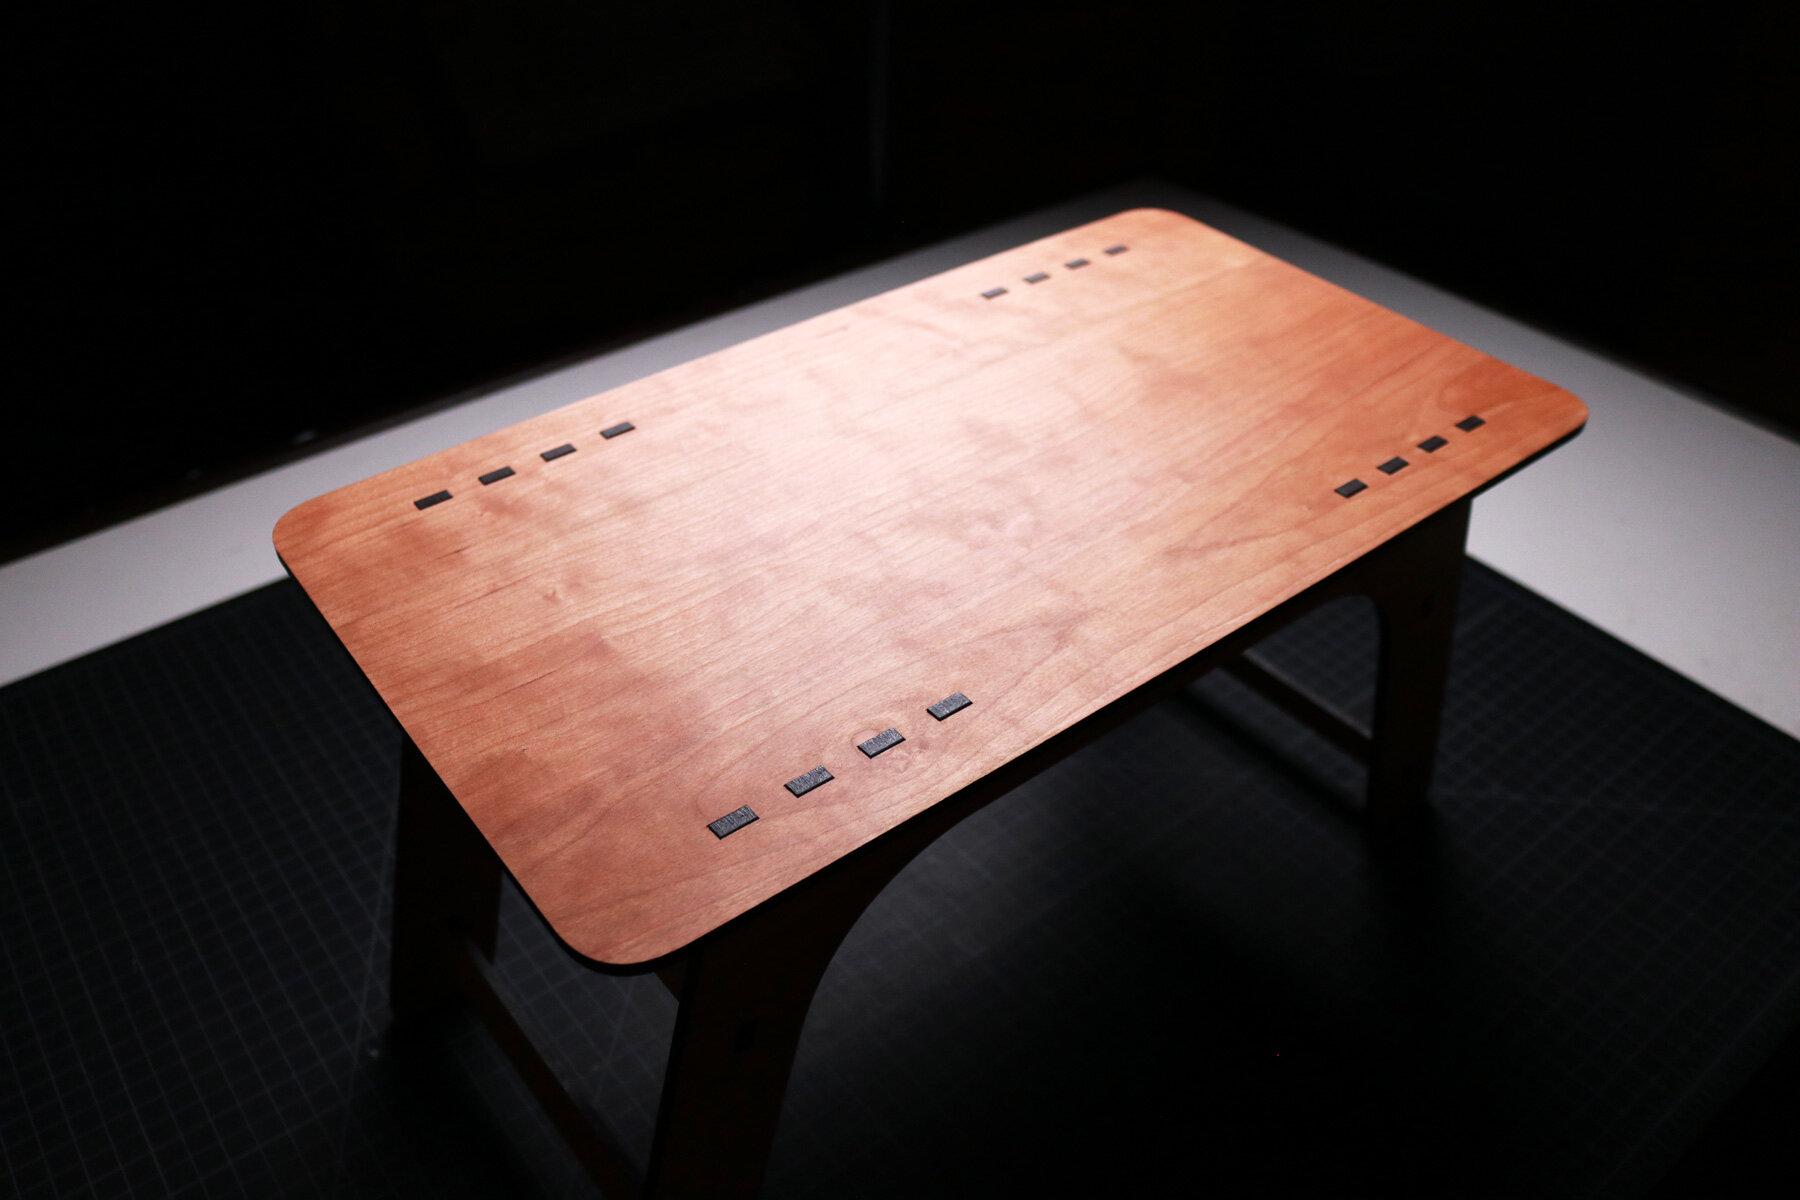
The last part of the assembly process was the apply Odies oil to the surfaces of the minimal personal table to give it a beautiful finish.