Custom Motivational Wall Art with a Glowforge

Tools & Materials
Project Description
Are there any phrases, quotes, or mantras that motivate your life and career?
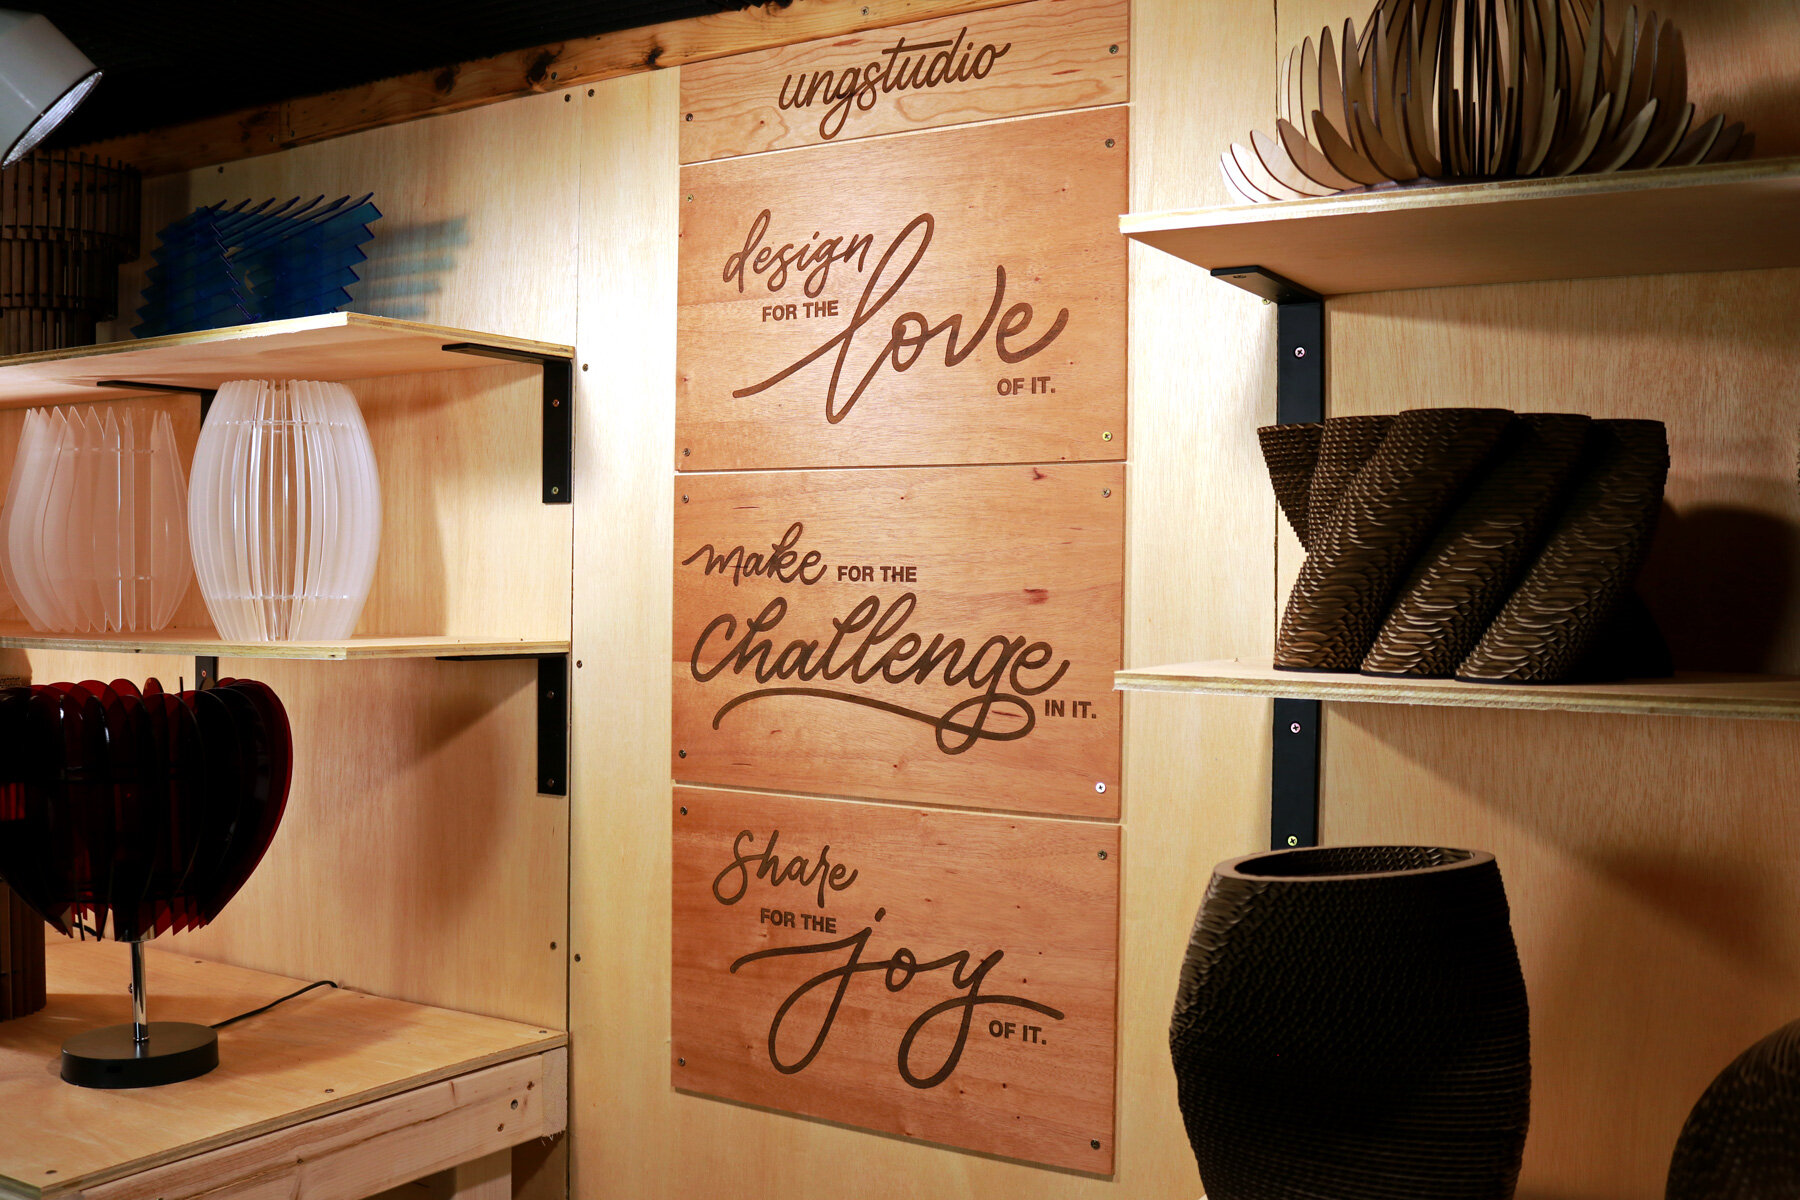
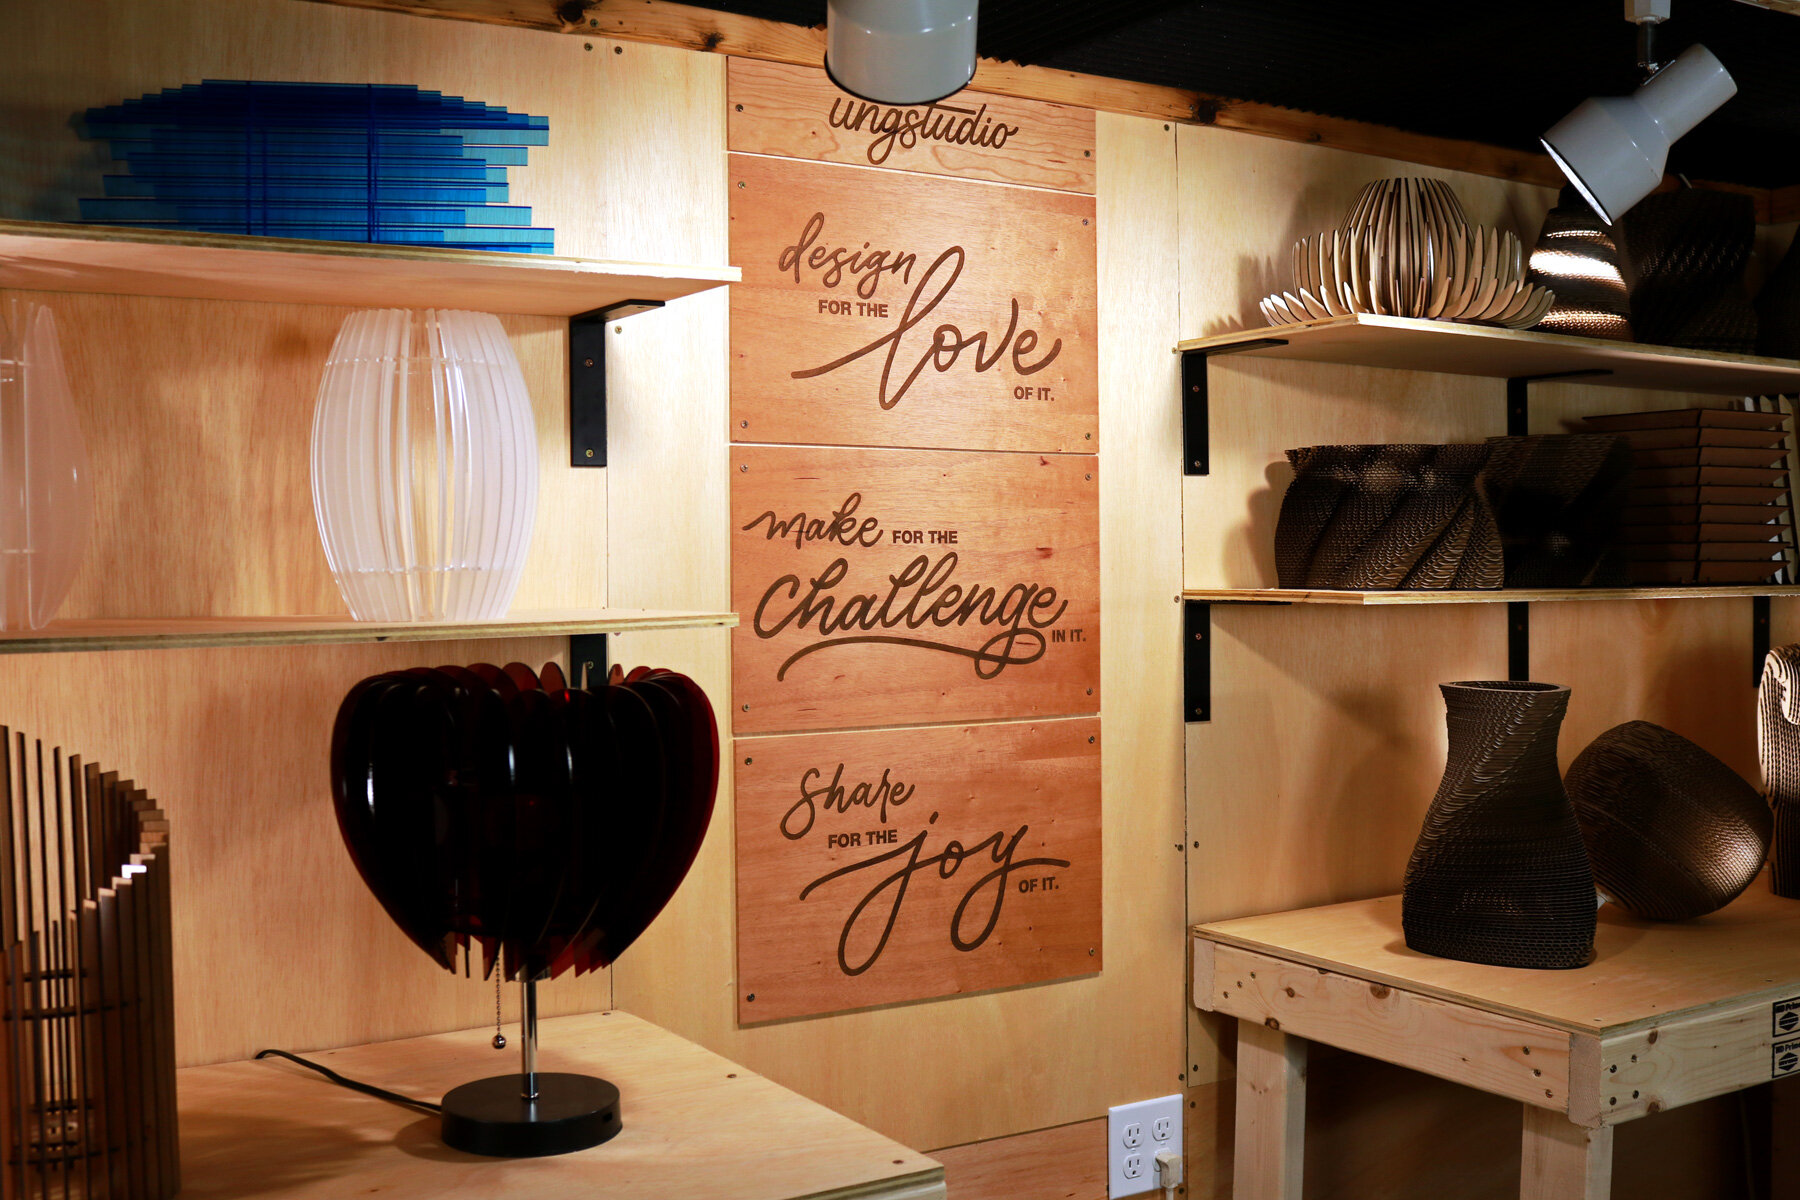
After I renovated one half of my basement to create my makerspace and YouTube studio, I left an area at the center of my display wall blank for a future piece of art that I could look at every day. With a lot of brainstorming, I decided to hire a friend of mine who’s a calligrapher to help me create a beautiful written version of three phrases;
Design for the love of it
Make for the challenge of it
Share for the joy of it
These are the reasons why I choose to design speculative projects as a hobby, make the digitally fabricated craft projects, and share my process with you. With the phrases finalized, I reached out to my friend Melissa from @calligracrafty on Instagram who delivered an amazing digital version of the phrases that she hand lettered.
Process
Once I decided that the art I would install at the center of my display wall would be a motivational graphic, I came up with big questions to answer and turn into phrases that would motivate me. The first question was, “Why do I design”. Followed by, “Why do I make?”. Then, “Why do I share?”. These are the three things that I focus on with my personal career as an architect as well as this YouTube channel.
Simply put, my answers were;
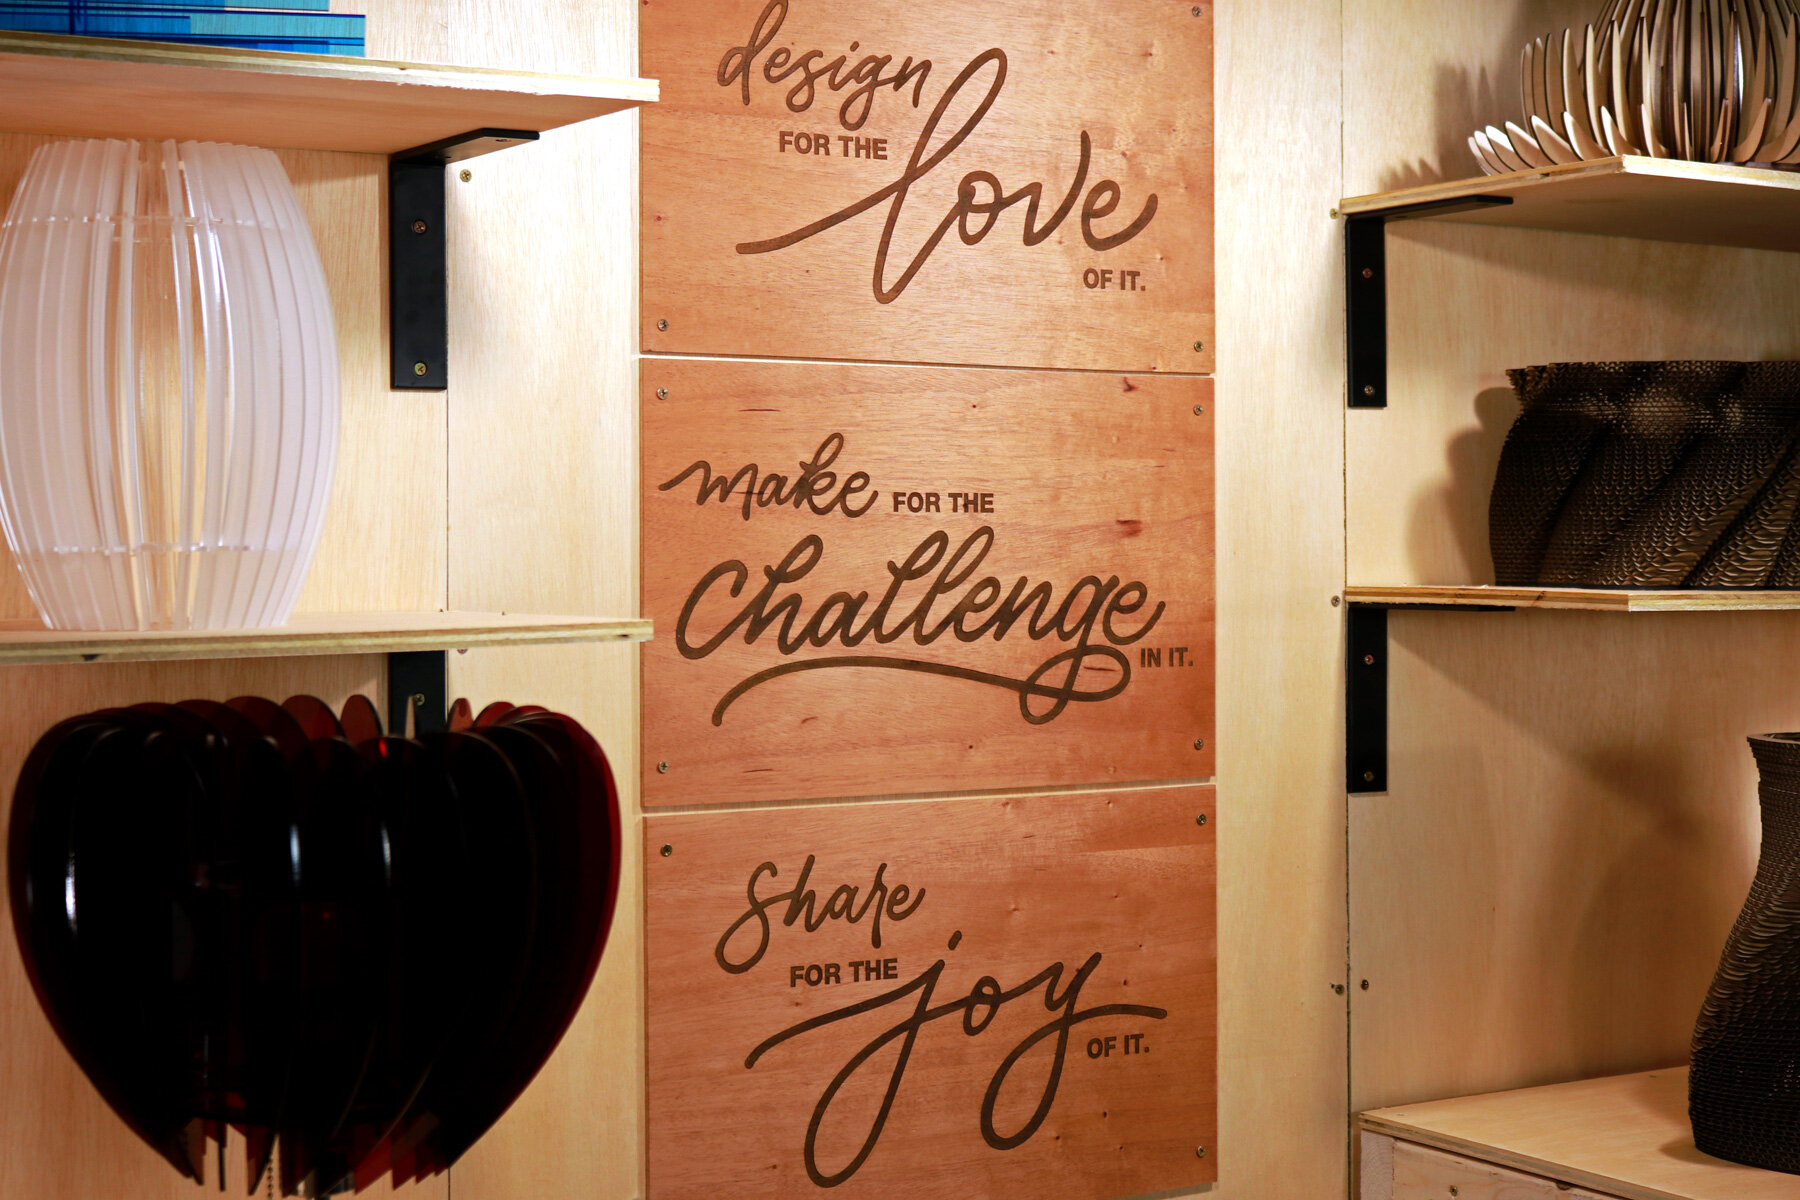
- Design for the love of it.
- Make for the challenge in it.
- Share for the joy of it.
These three lines embody my reasons for pursuing all my projects. The moment these phrases were written down, I sent them to Melissa who developed the beautiful graphics. She shared the final digital files with me and I was amazed by the fact that she was able to capture the essence of each word and the meaning of the phrases.
With the digital file in hand, I uploaded it to my Glowforge interface, inserted my mahogany plywood, and began engraving each one. To help me keep everything as centered as possible. I drew red lines and a center dot on the protective film that’s applied onto the surface of the plywood to protect it from burns and debris. Using those guides, I placed each phrase on the boards in Glowforge’s interface, and started the engraving process. Overall, it took about 1.5 hours per board, totaling about 4.5 hours to complete.
After removing the protective film from each board, I sanded any areas where some minor burns might’ve resulted from a loose spot on the film. Then, I cleaned the surface with some rubbing alcohol. Lastly, I applied oil on the surfaces of each board to give it a beautiful finish.