Designing a Makerspace YouTube Studio

Project Description
How do you design a space for videography and showcasing all of your physical projects?
After reaching a 6 month consistent milestone with my craft projects and YouTube channel where I shared at least one new project every week, it was time to renovate half of my basement as a YouTube studio and display area. With a growing number of custom designed and crafted products, the goal of this renovation was to dedicate an entire wall to displaying each project.
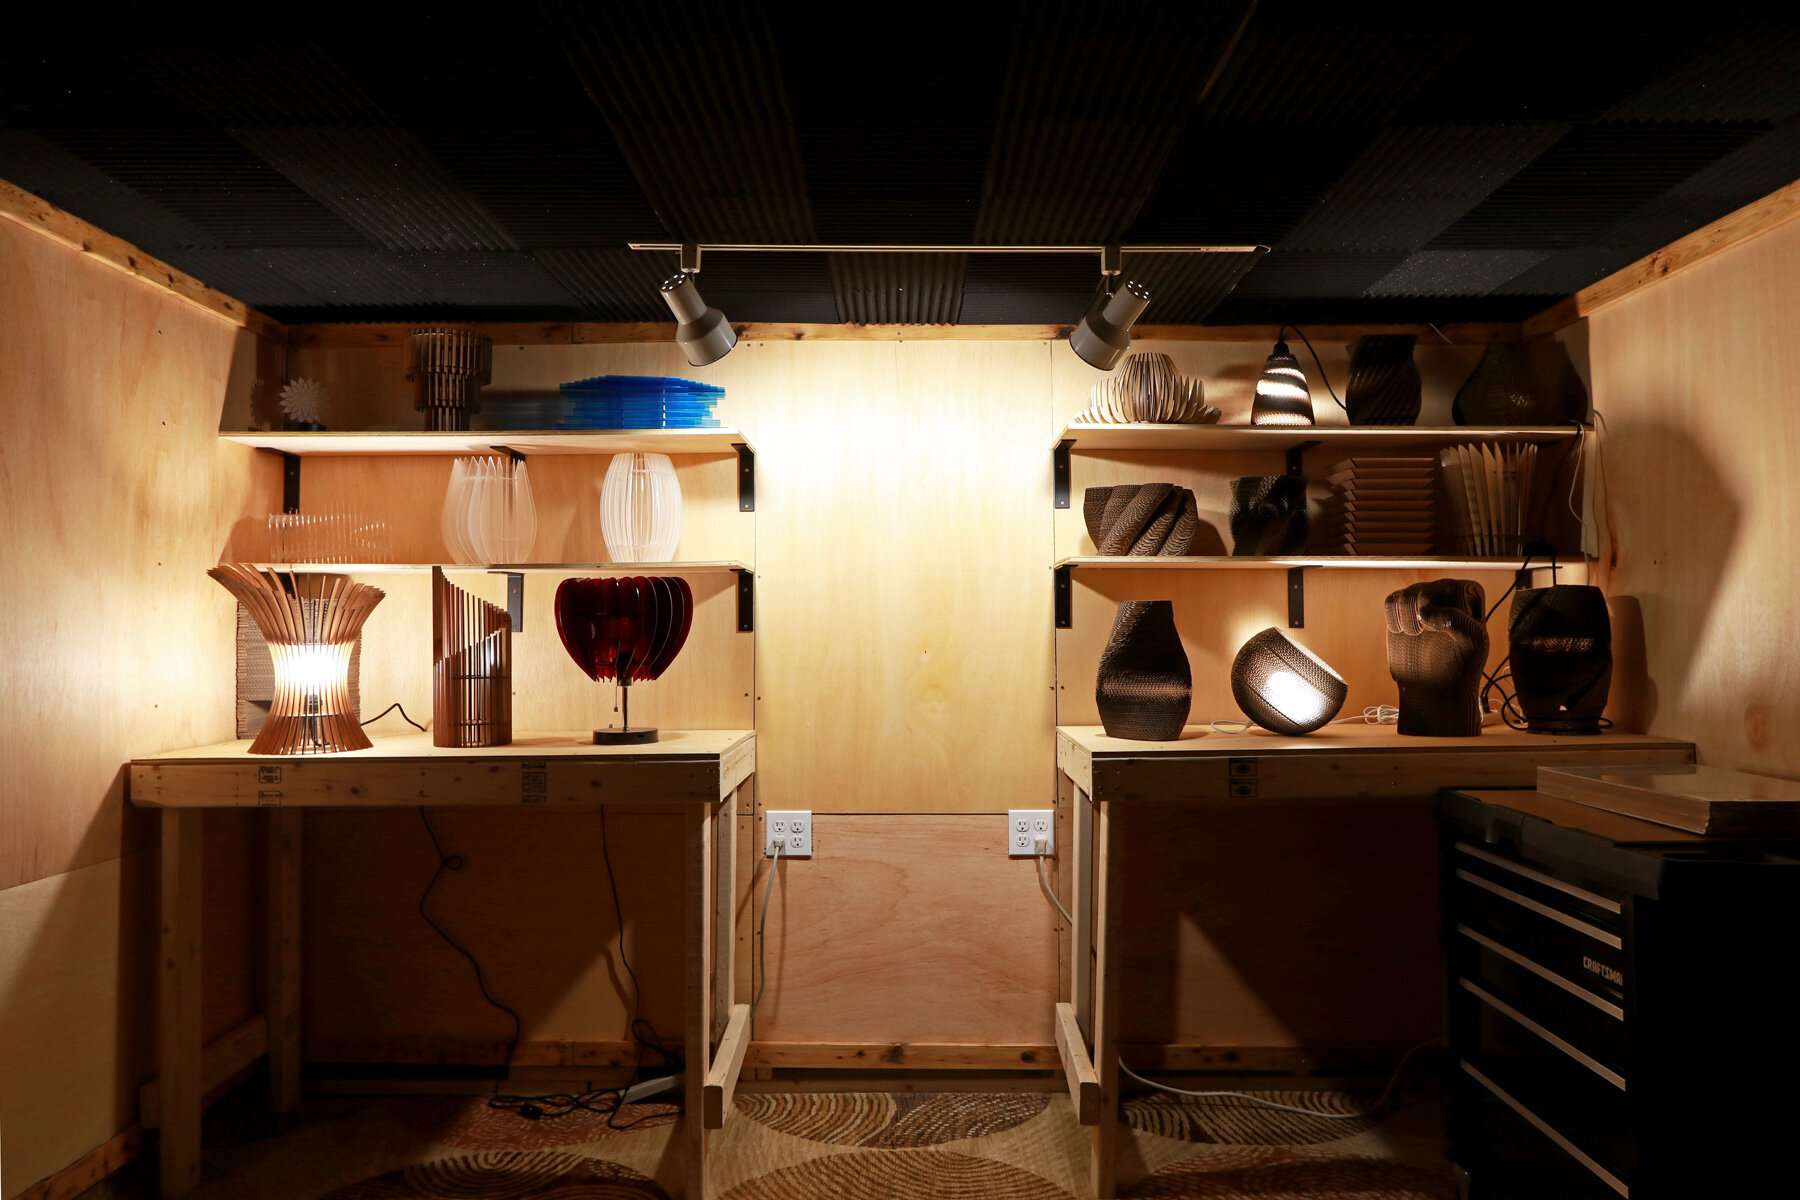
There were a variety of projects ranging from light fixtures to sculptures and home décor. The goal of the renovation and aesthetic was to create a space with a warm mood, which meant orange and brown tone materials. This would reflect light from all of the custom fixtures I’ve designed and made in the past and create a calm mood for all of my videos. Most importantly, there should be a focus on the center of shot where I’ll be talking to a camera or displaying new projects in my B-roll shots.
Process
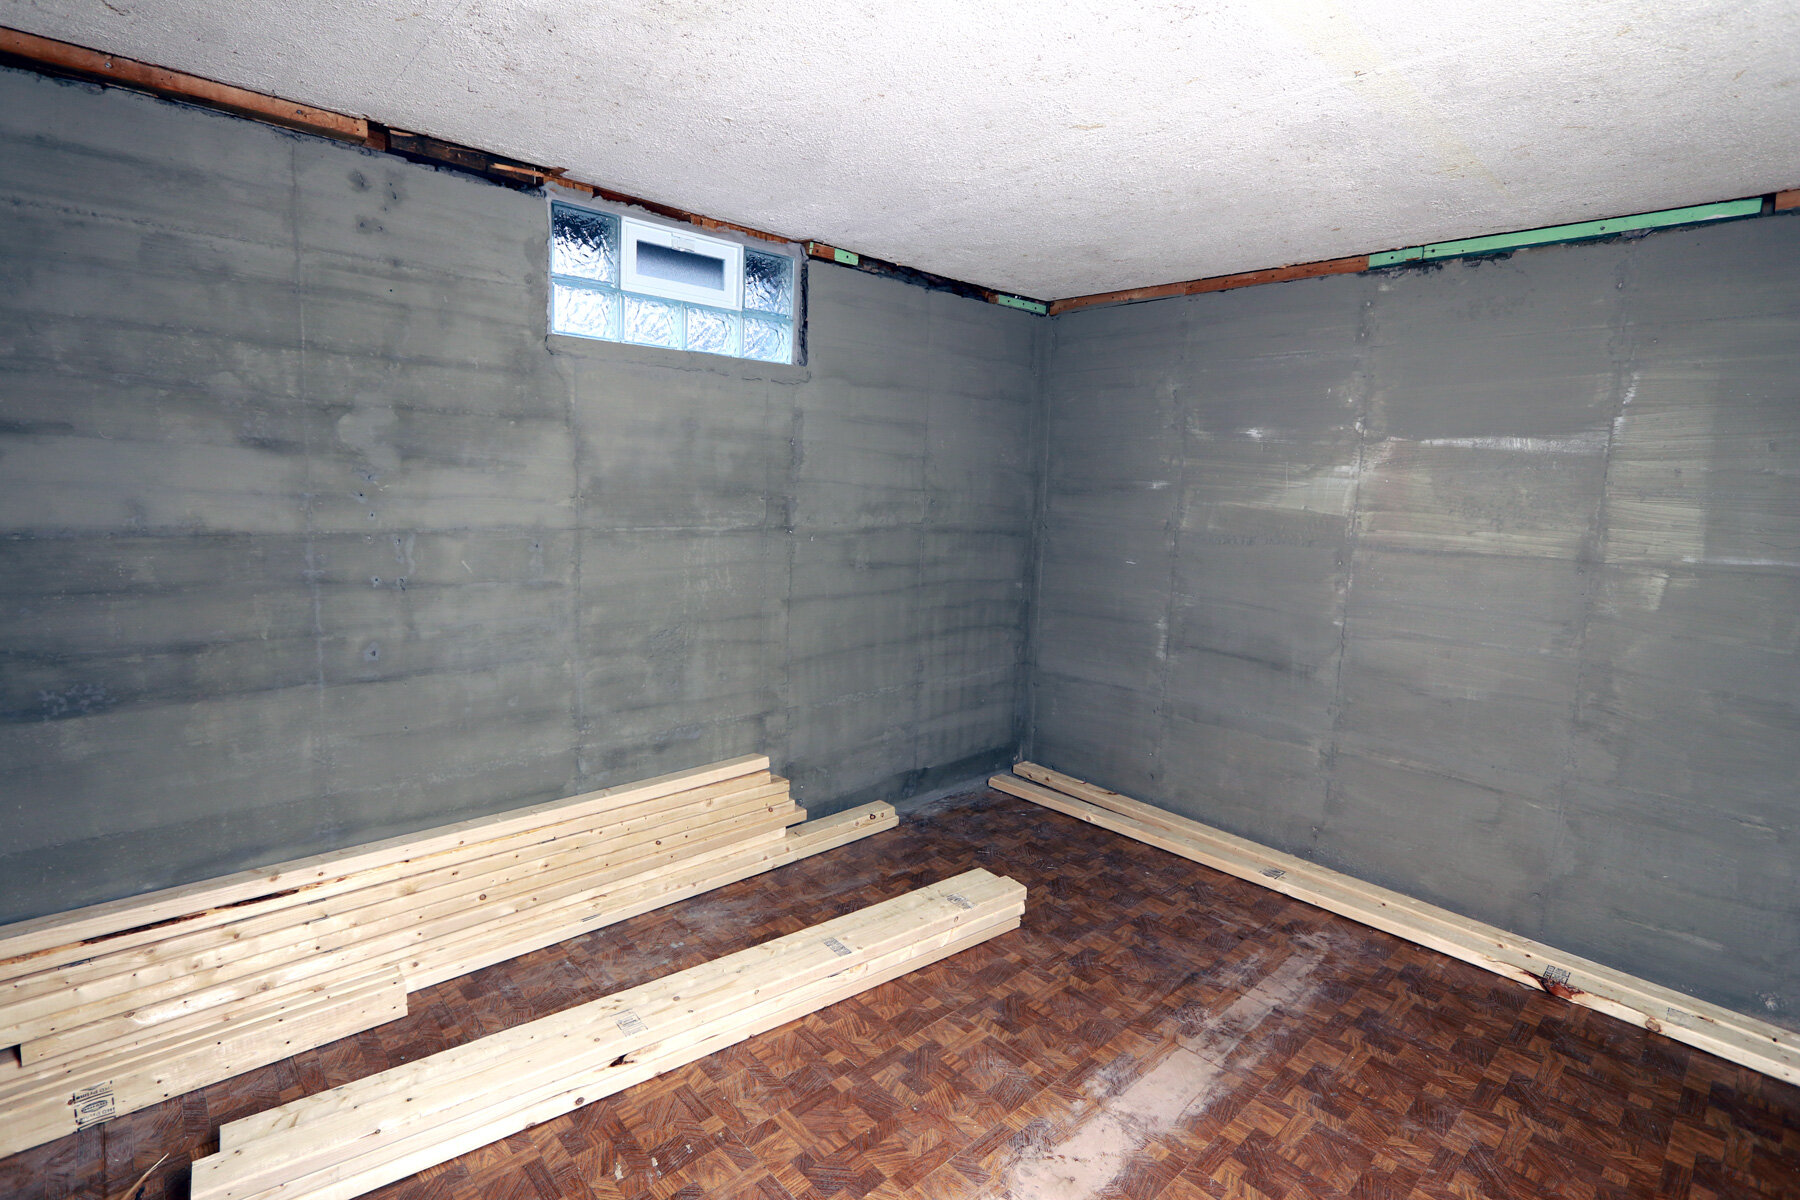
For this project, I purposefully didn’t take the time to sketch out a design for the space. Instead, I wanted to focus on testing several ideas and just going with my instincts. Originally, the thought was to demolish the existing wood wall paneling and framing behind, which weren’t properly constructed or installed. Then, I would paint the existing concrete walls with Portland cement to give it a smooth grey finish.
However, when I painted 4 layers of the Portland cement, the grey color made the basement appear a lot darker and unfinished than I imagined. So, I pivoted and decided to set a budget of less than $1,000 to actually frame and build out the space. This time, the idea was to create a warm and inviting space by using wood as the primary material. It would also give me the opportunity to add additional outlets to plug-in all of my custom designed lights.
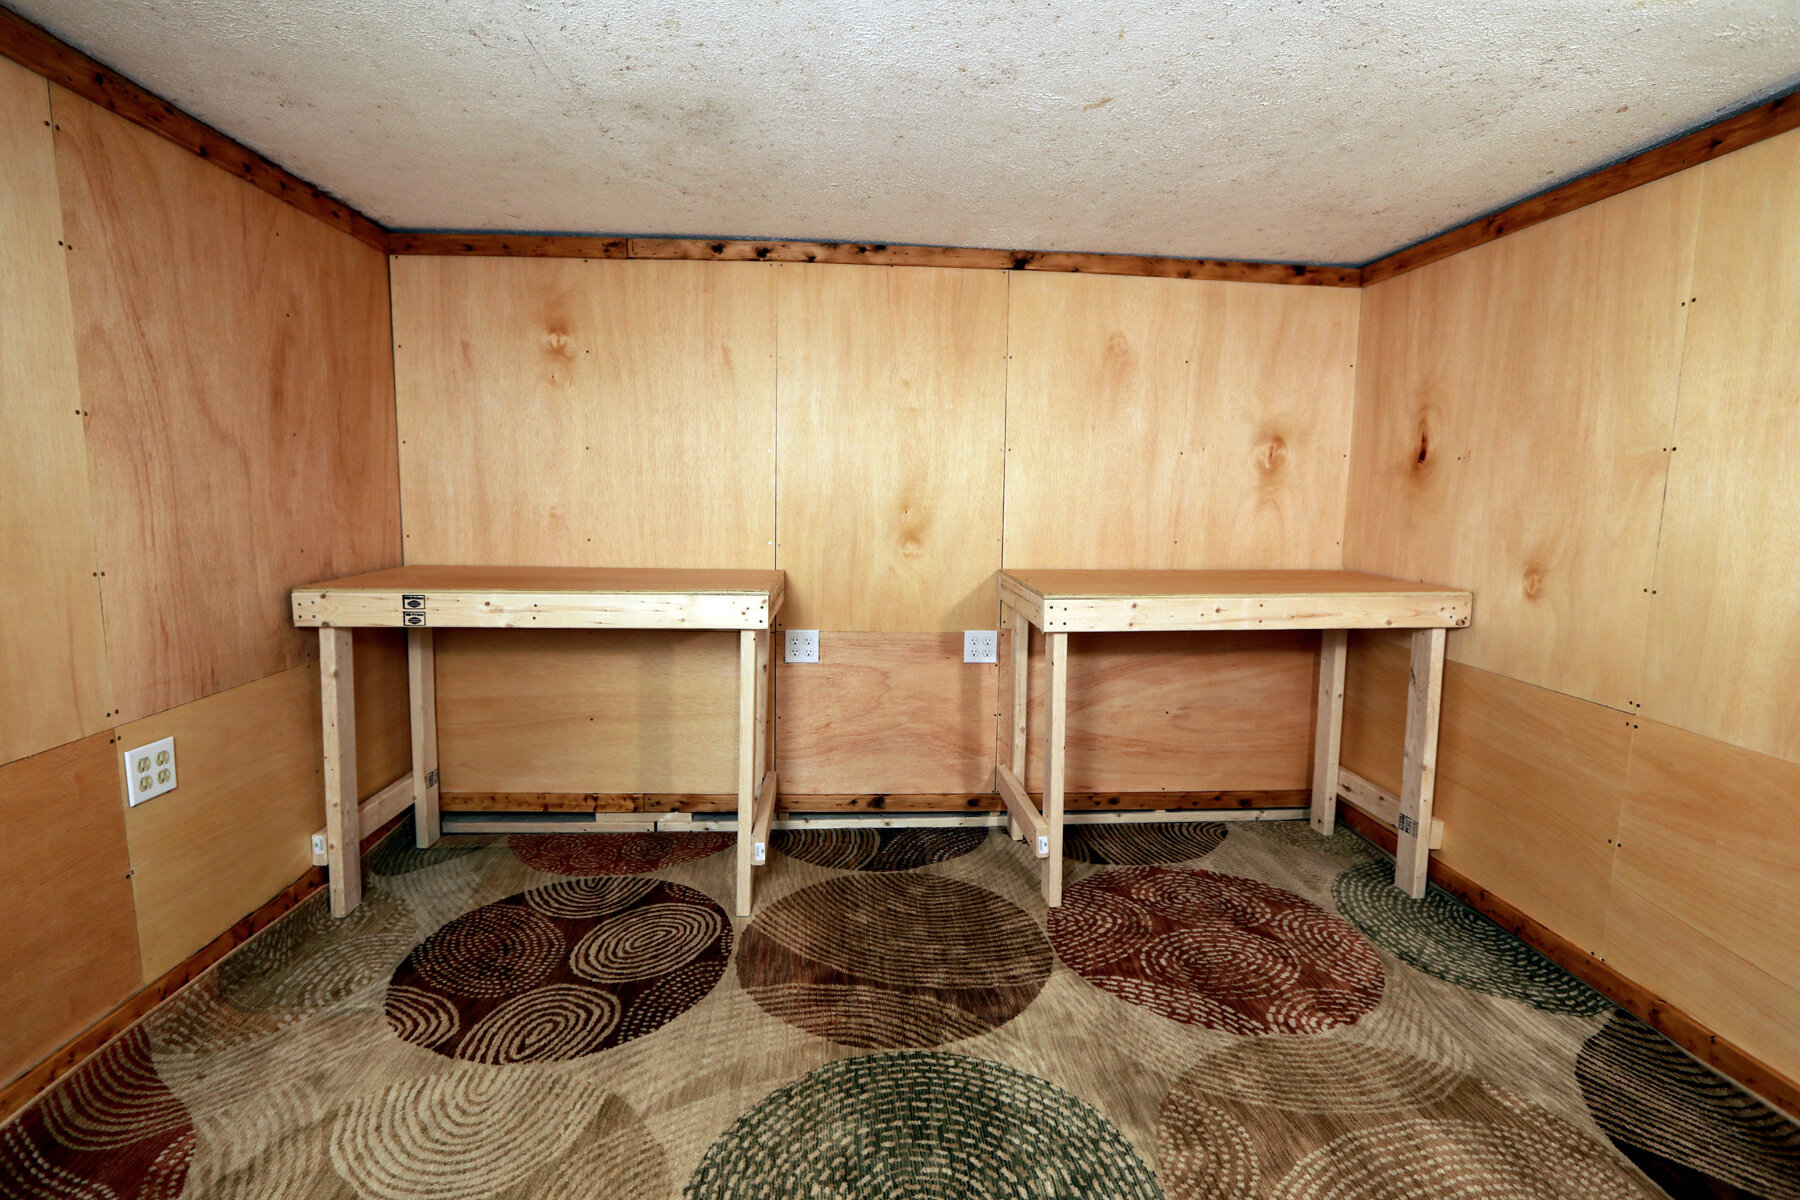
My initial thought, which is what I pursued, was to create a space full of plywood surfaces with a wall dedicated to shelving to display my projects. I would add two additional quad receptacle outlets with dedicated power to each, which would provide more opportunities for tools and displays in the future. Then, I would finish all the wood surfaces with oil to give it a beautiful finish, install a carpet on the floor, and install acoustic panels throughout the ceiling.
When the plan was complete, I took simple measurements of the space and used those measurements to determine the amount of 2x4’s and plywood I would need to frame and finish the space. I purchased all the materials and fit nearly everything in my sedan car. However, the 4ft x 4ft plywood panels didn’t fit, so a good friend of mine drove out to help me transport it to my house.
Once I had the materials ready, I started by framing the walls. Then, I anchored the plywood to the framing, roughed in the quad receptacles, and pulled the electrical lines to the panel. Once all the plywood was on the frames, I also decided to reuse the existing wood trim that was at the top of the old walls. I sanded, oiled, and reused them as a base and molding on the plywood walls.
After the walls were complete, I decided to create two rectangular 2ft x 4ft wood tables using the same materials as the walls. This would allow me to increase my work area and have a standing desk for future projects that require more space, such as leatherworking. When the tables were completed, I finished all the plywood surfaces with oil. Then, I constructed plywood shelves along the back wall and finished it with oil to match the tables and walls. The last step was adhering acoustic panels to foam core using spray adhesive and nailing it to the existing plywood ceiling.