Making an Acrylic Christmas Tree Light

Tools & Materials
Project Description
How can we design and make a Christmas tree table lamp using acrylic?
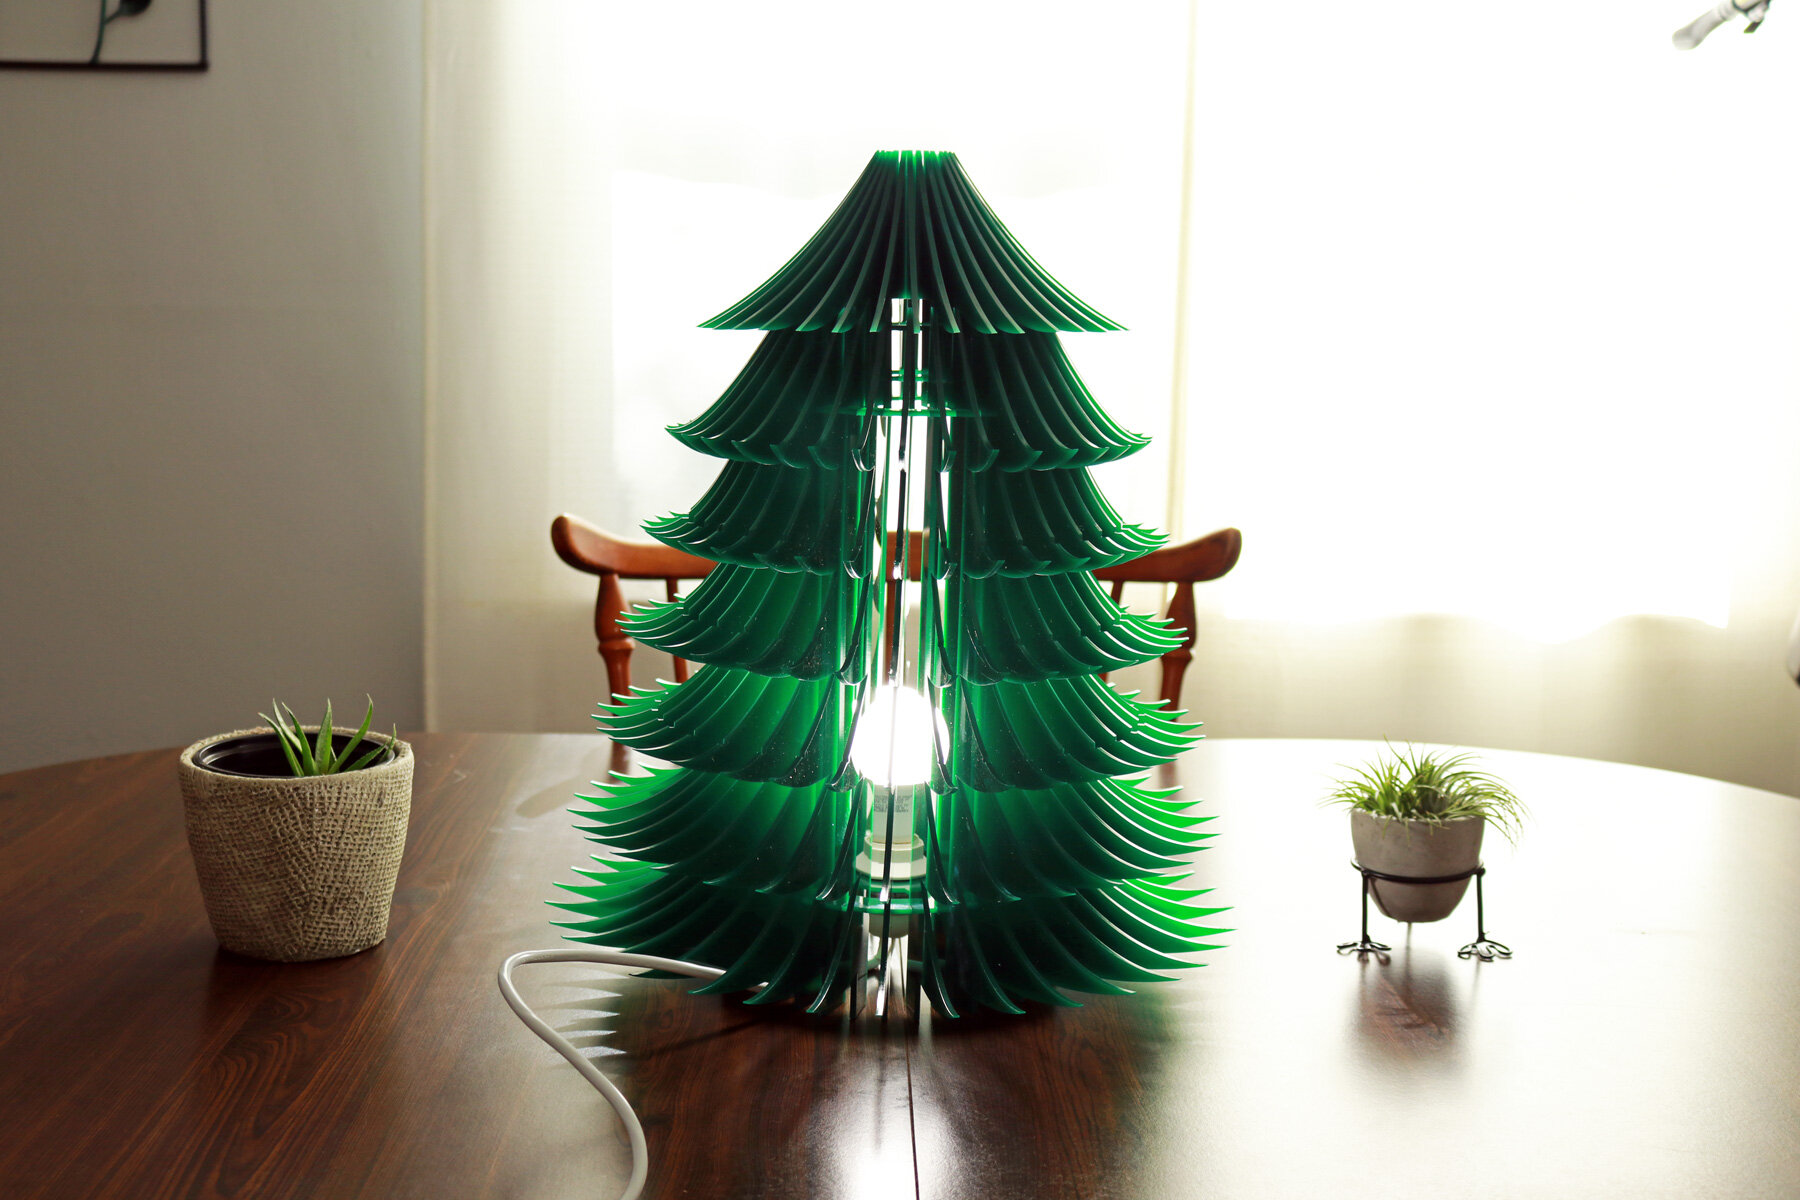
Growing up in a refugee family, I never truly celebrated holidays like Halloween or Christmas. There was only one year where my family had a Christmas tree that my father secretly setup in the living room of our one-bedroom apartment in New York City. With some solid green acrylic and a Glowforge laser cutter, I decided to design and make a custom Christmas tree table lamp that I can put up every year.
The idea was to use the circular frame that I’ve used for other projects where there are finger joints along the entire perimeter. Vertical panels can be slotted into the joints and glued into place. To design the vertical panels, I used a section drawing of a Christmas tree as a basis and drew a shape that would resemble a Christmas tree when assembled. The final product is both a sculpture and a functional light.
Process
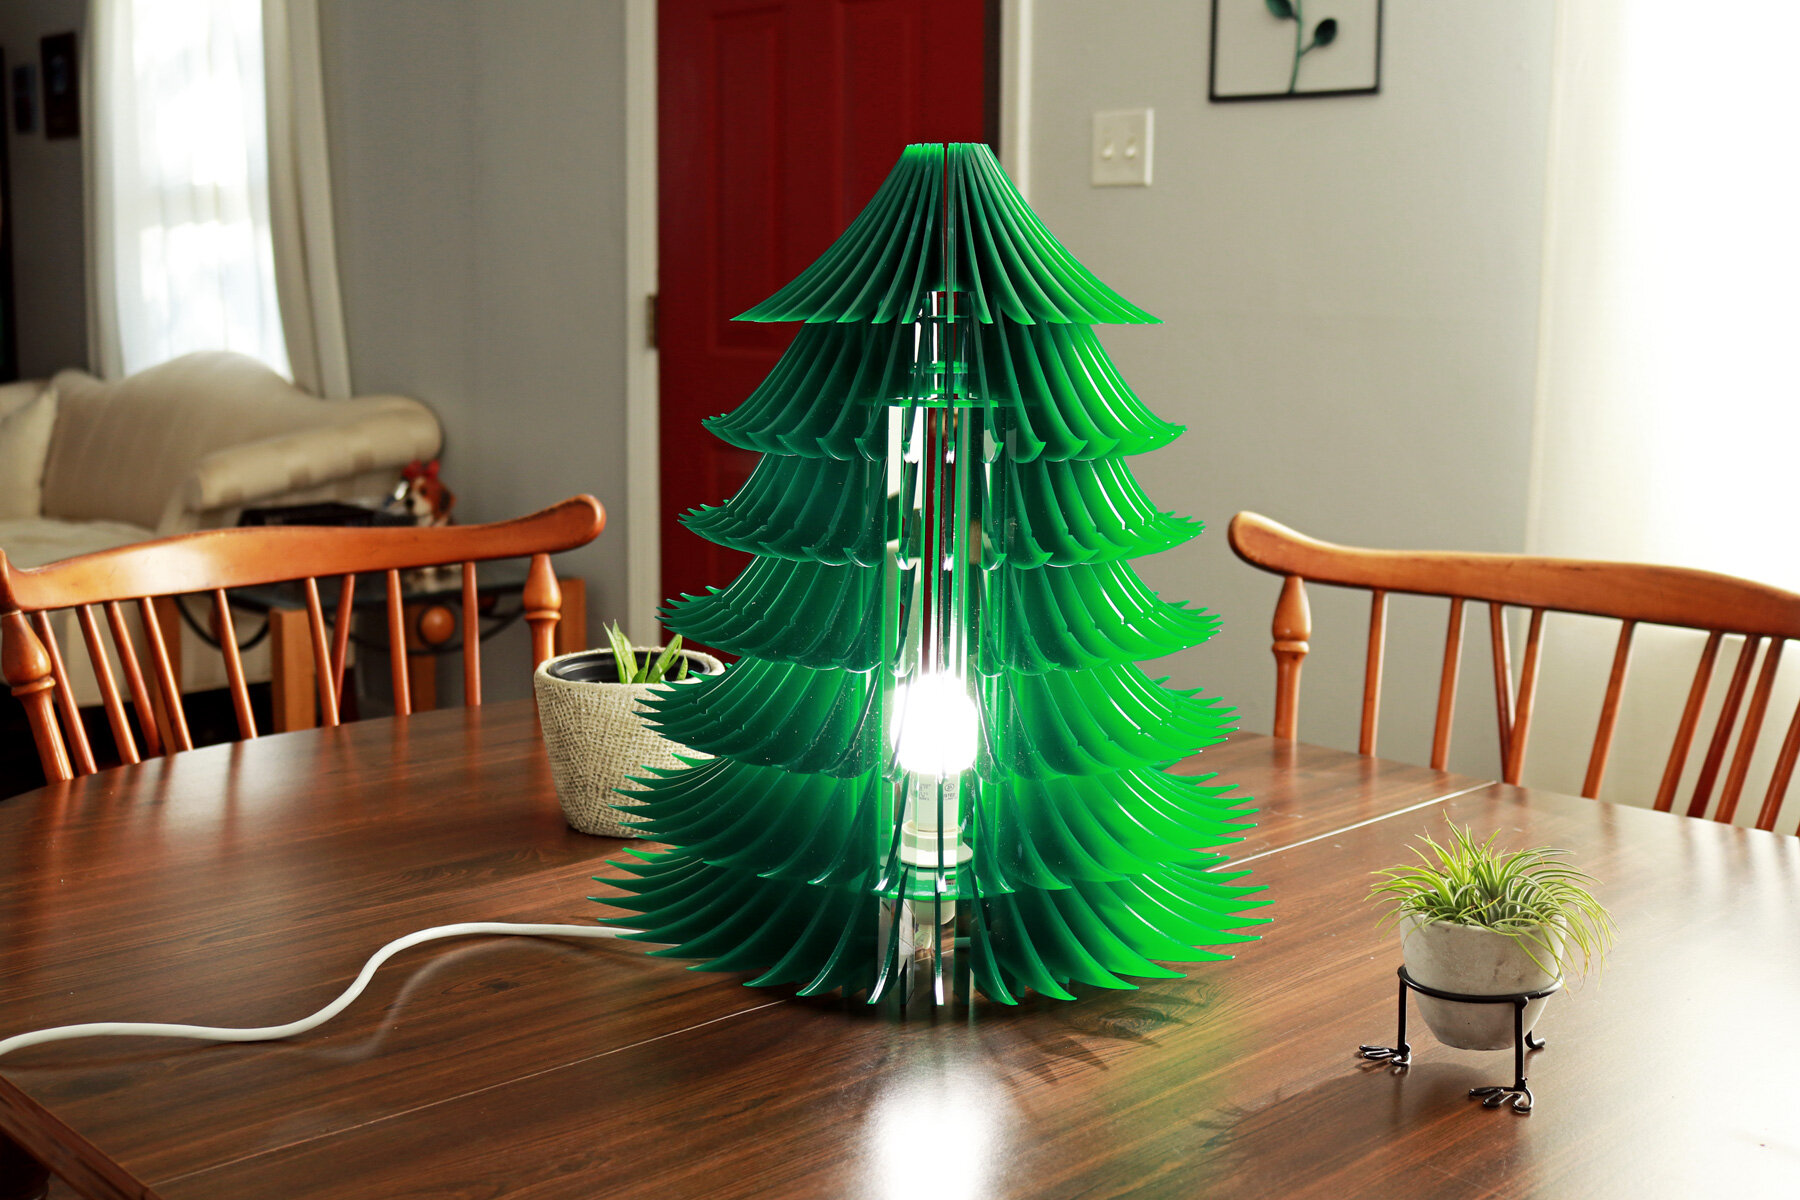
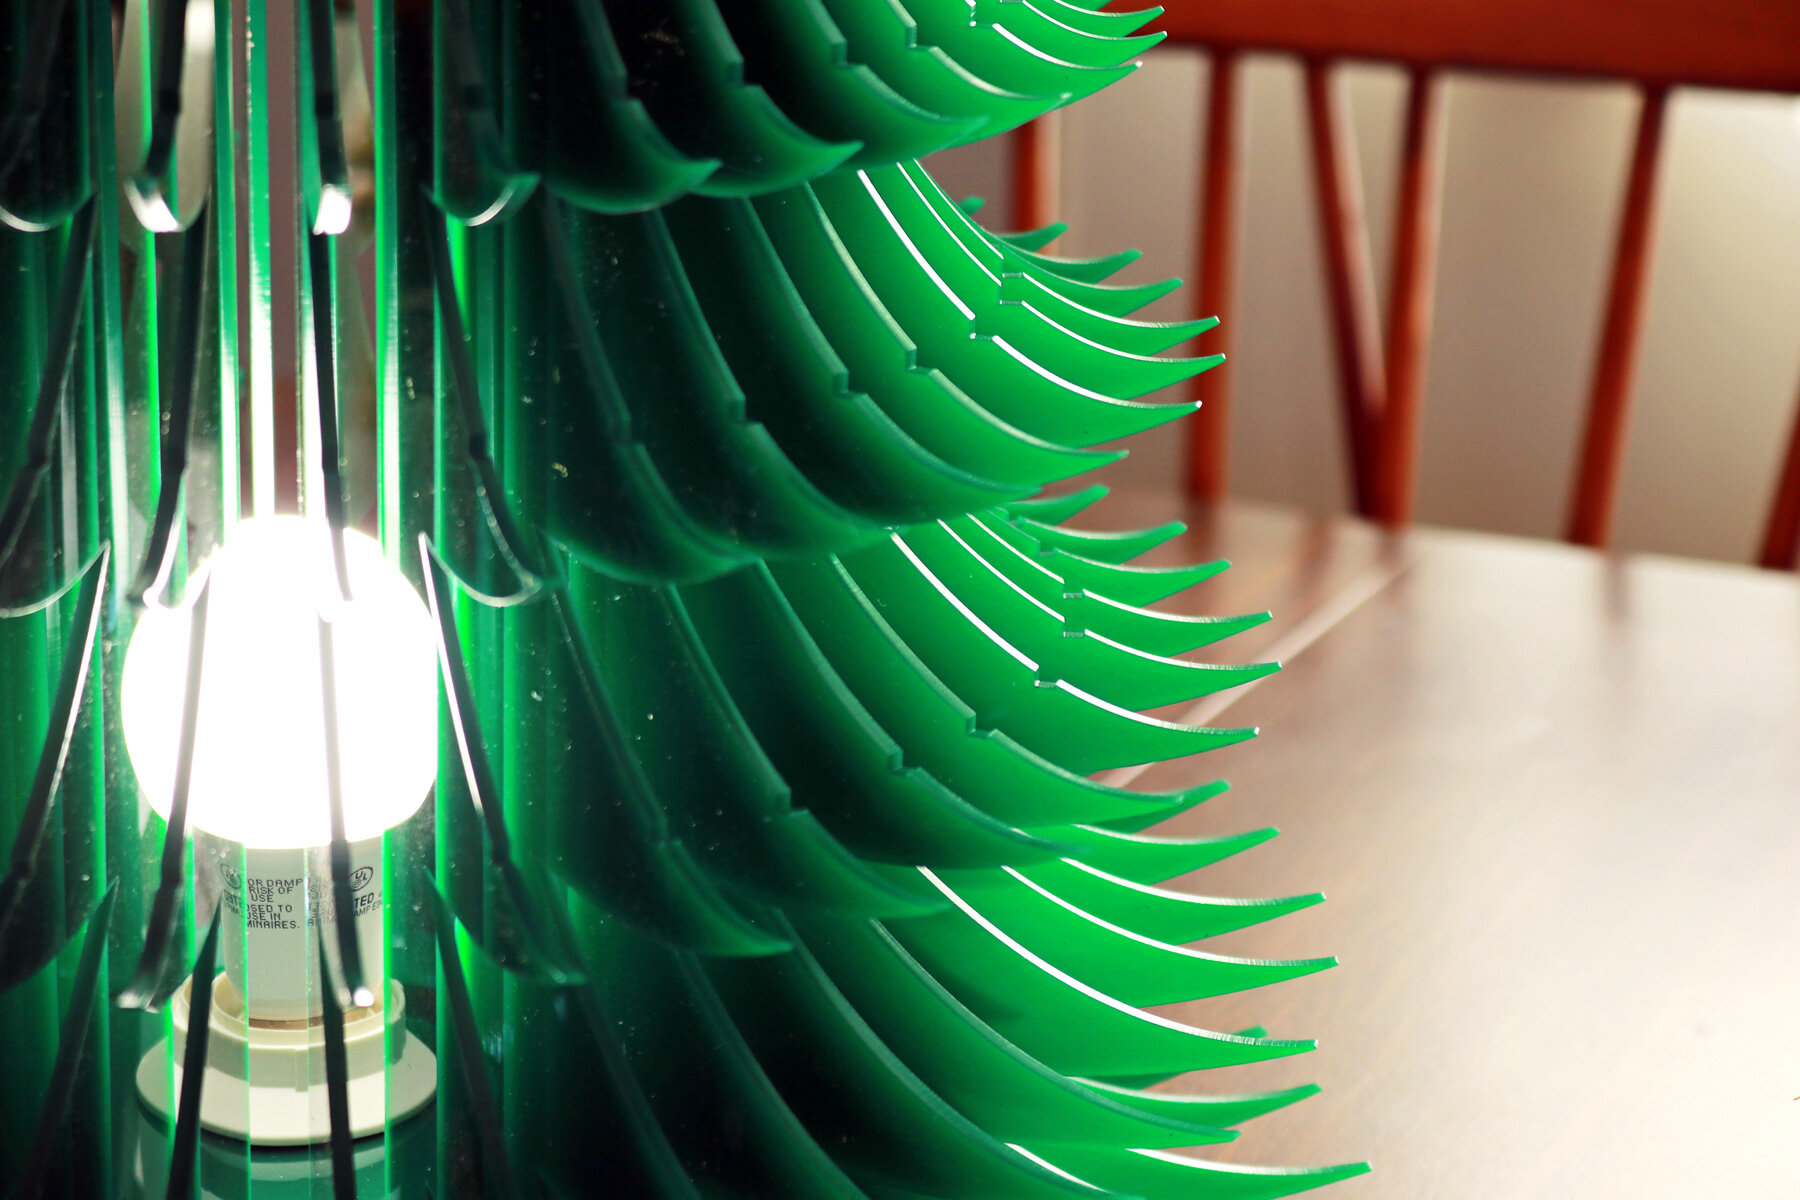
The Acrylic Christmas Tree Light was designed in two separate components. Starting with the overall form of the Christmas tree, the first component is tall and wide and consists of over 36 large panels. Each panel was designed with the general shape of a Christmas tree. Imagine cutting a Christmas tree vertically in half, then cutting it vertically again down the center of the tree trunk. That’s the overall shape of each of the vertical acrylic panels that will be connected onto two circular frames.
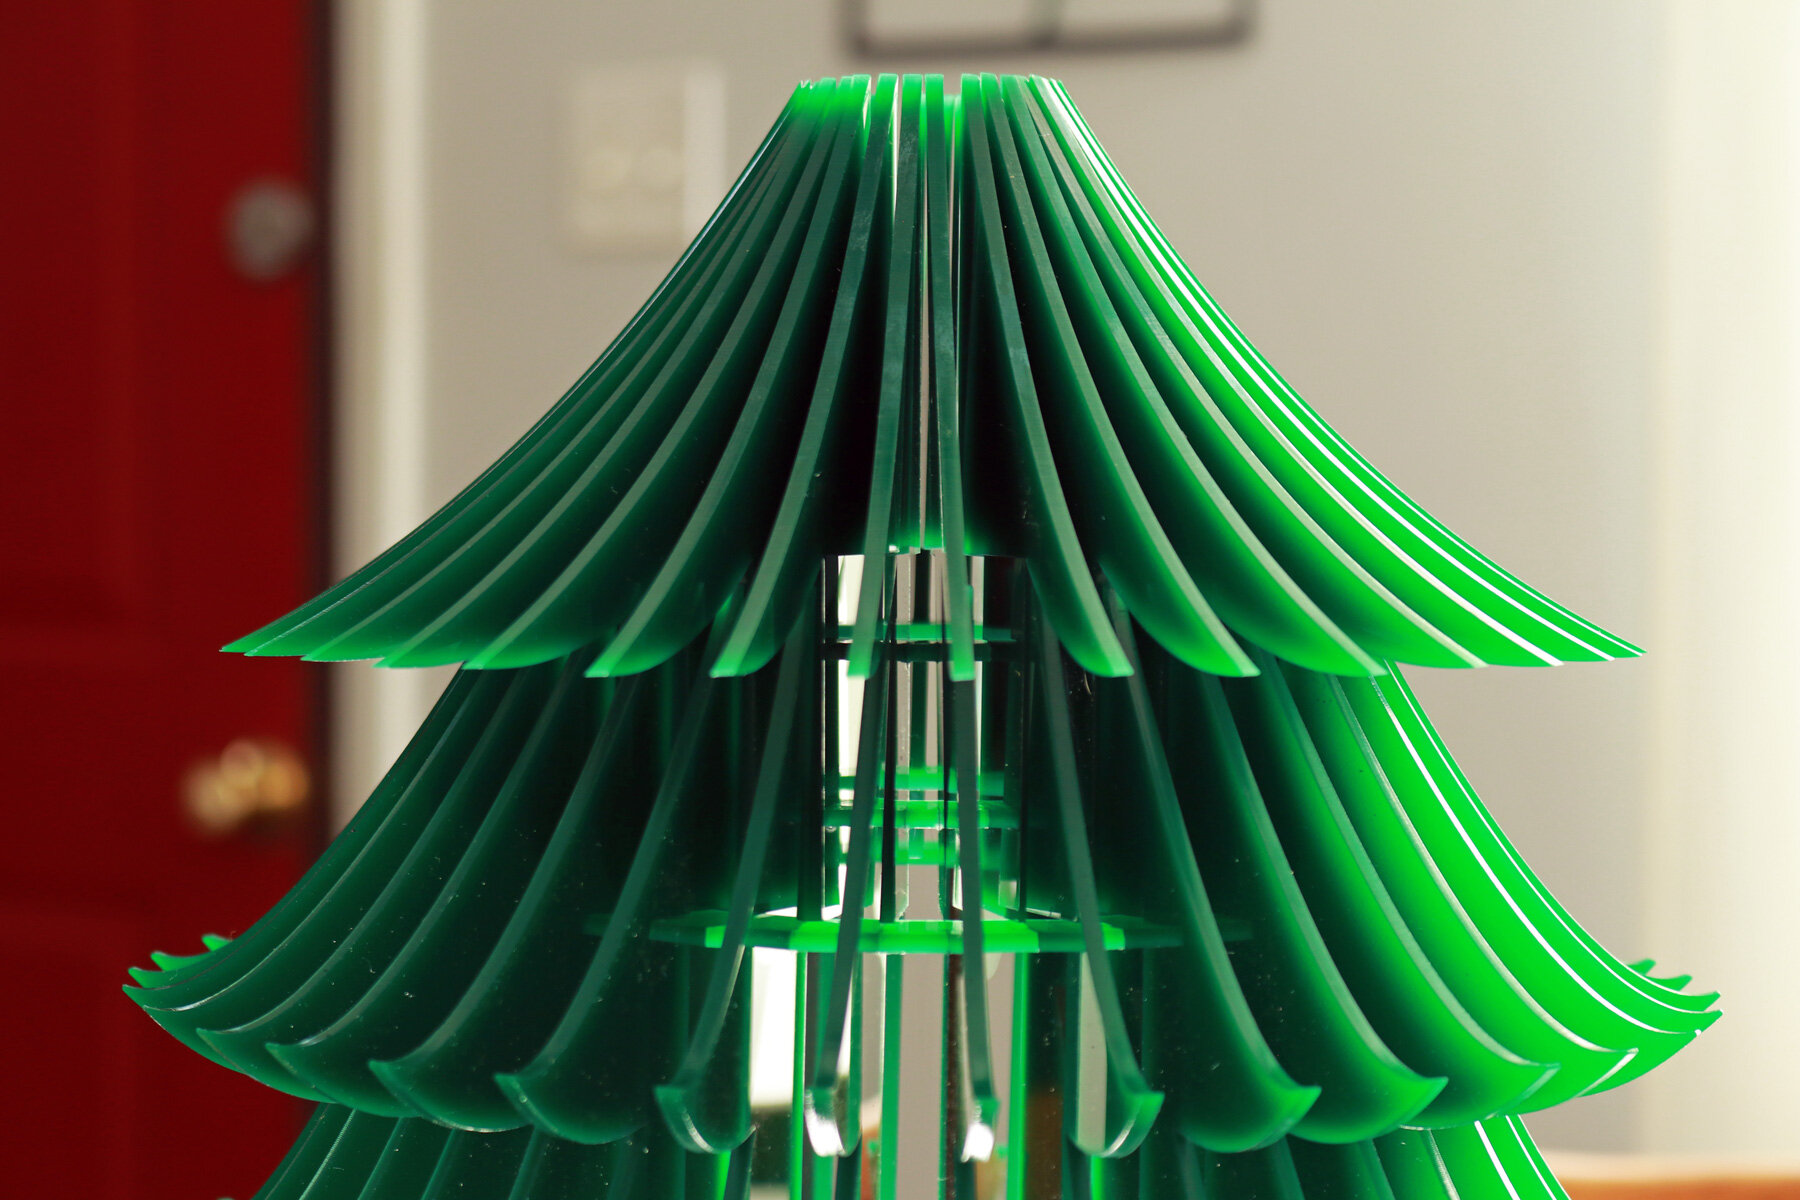
Both circular frames are the same diameter with finger joints cut out at regular intervals around the entire perimeter of the frame. The different between the frames is that the bottom one has a small center cutout where the light fixture will be installed. The top frame has a large circular cutout and is a supplementary support frame for all of the vertical panels to be finger joined and glued into place.
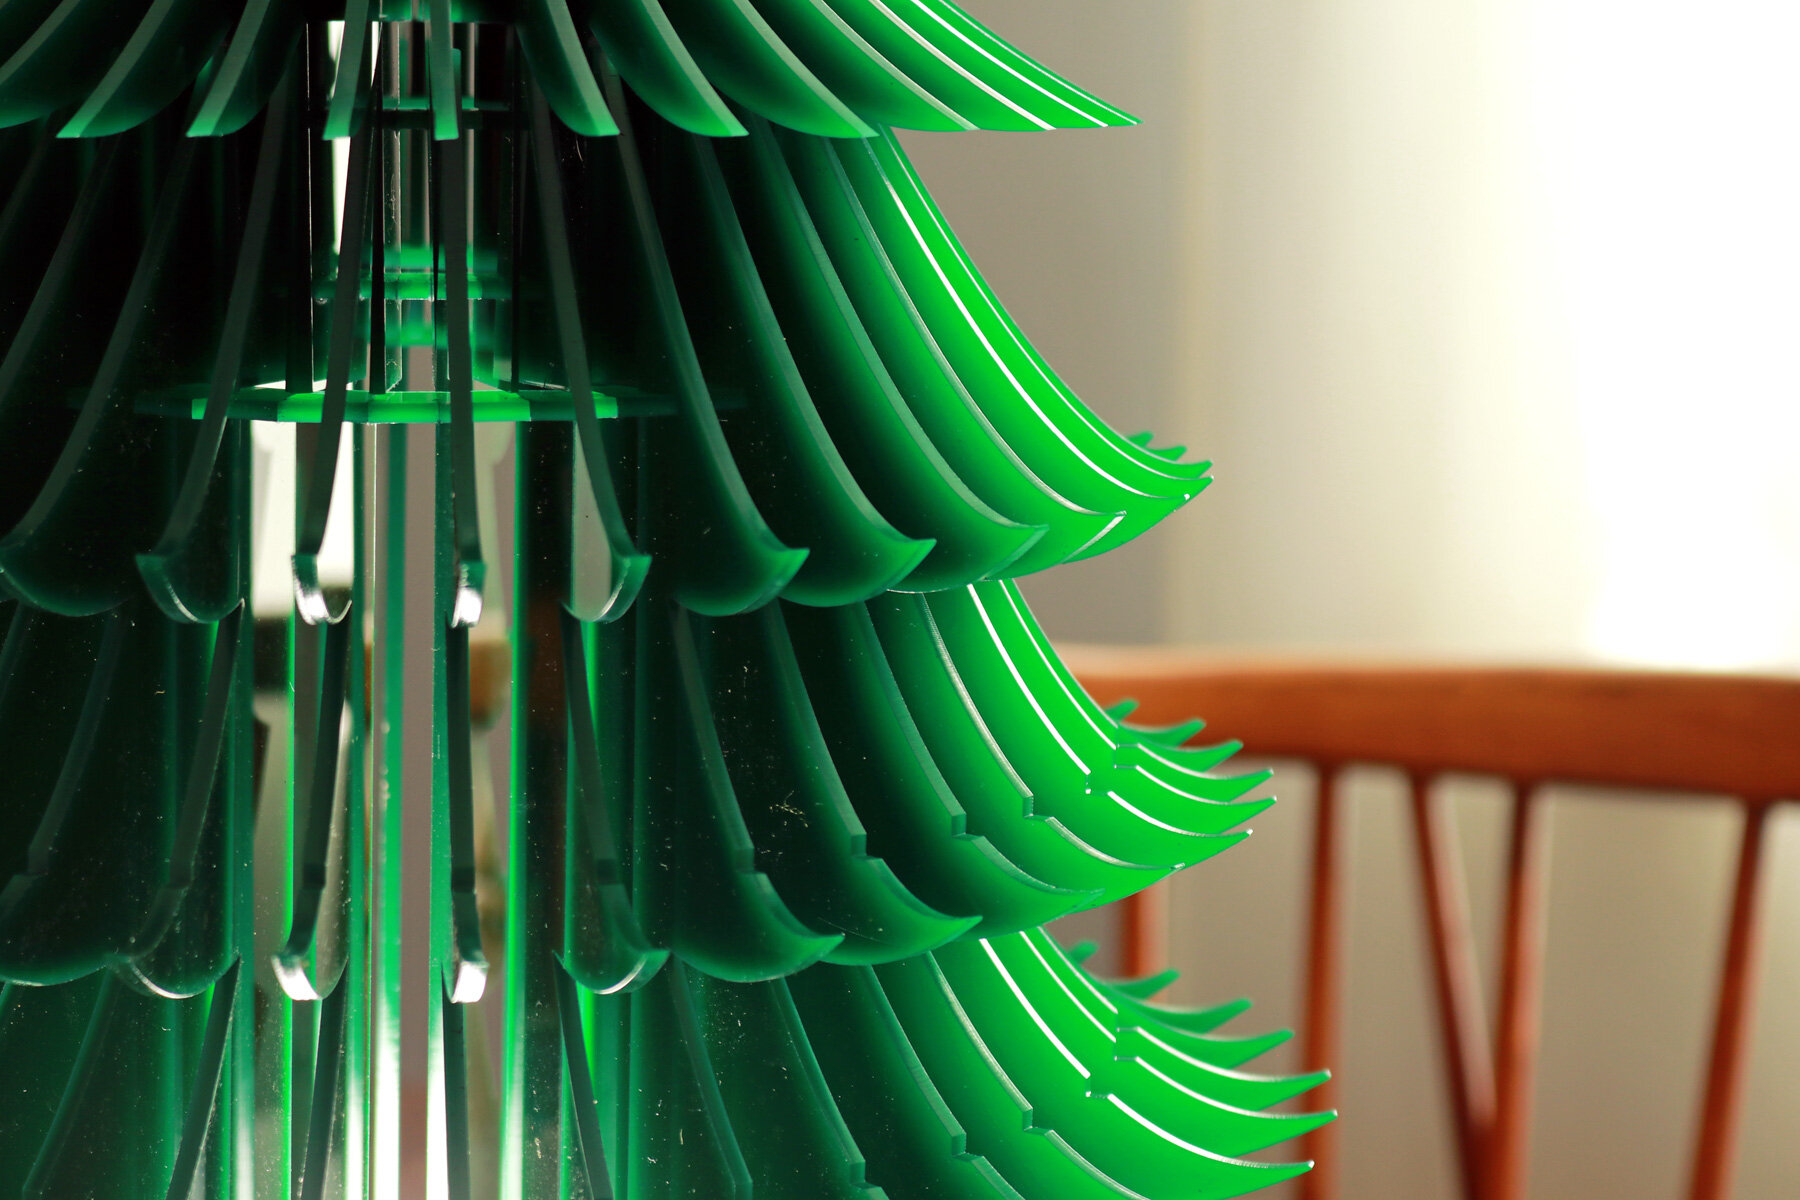
At the top of this large component is the second construction, which I’ll refer to as the crown. The crown is designed with vertical panels and two smaller circular frames that will pull the entire construction towards the center of the light fixture and finish the Christmas tree design. Each vertical panel has a sloping design that continues the curved form of the larger panels, but ends at a center point.
Once the pieces were designed and laid out digitally on sheets, I loaded my green translucent acrylic into my Glowforge laser cutter and started the process of cutting the panels and frames. It took roughly 10 sheets of acrylic to cut all of the pieces for this project, which equates to about 2 hours of laser cutting.
When the pieces were cut and organized, I started assembling the larger component first. For this project, I decided to make the finger joints slightly larger than the actual thickness of the acrylic. The thought was that the larger finger joints would allow for different tolerances for the project so that other makers who purchased and used this file would be able to adjust the pieces as necessary based on their acrylic thickness. In retrospect, I’ll always provide a perfect fit for the acrylic I use instead of oversizing any joints.
Getting back to the project, it took about 6 hours to assemble all of the panels onto the frames and wait for the glue to dry. If the finger joints were perfectly sized like my previous projects, this would’ve taken no longer than 1 hour to assemble. The issue with the oversized joints is that the panels weren’t being held tightly in place for the duration that the glue needed to cure. When the joints are perfectly sized, there’s some friction in each joint for the panels to be perfectly aligned and held in place while the glue is curing.