Making a Custom Wood Desk Organizer and Light

Tools & Materials
1/8 inch Clear Frosted Acrylic
Project Description
How can we design and make a desk organizer with an integrated dimmable LED light?
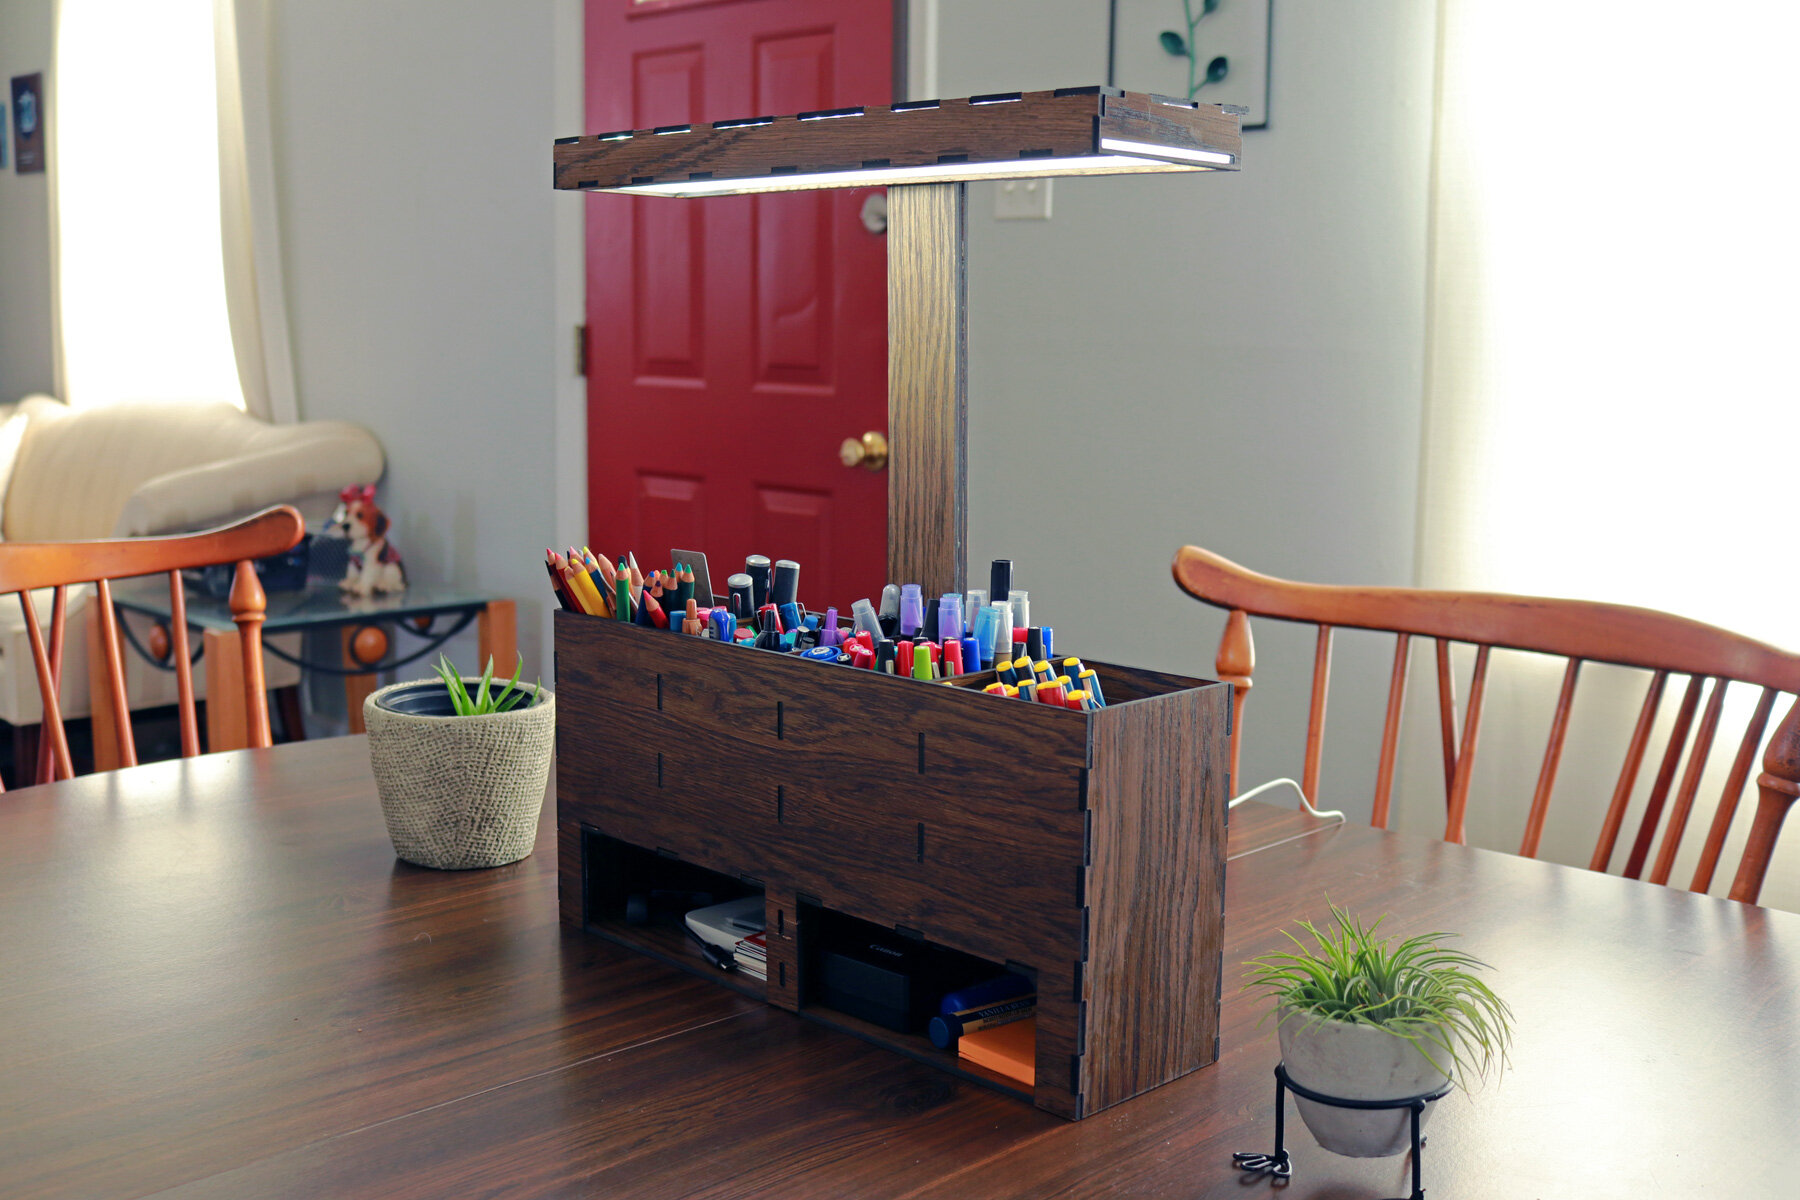
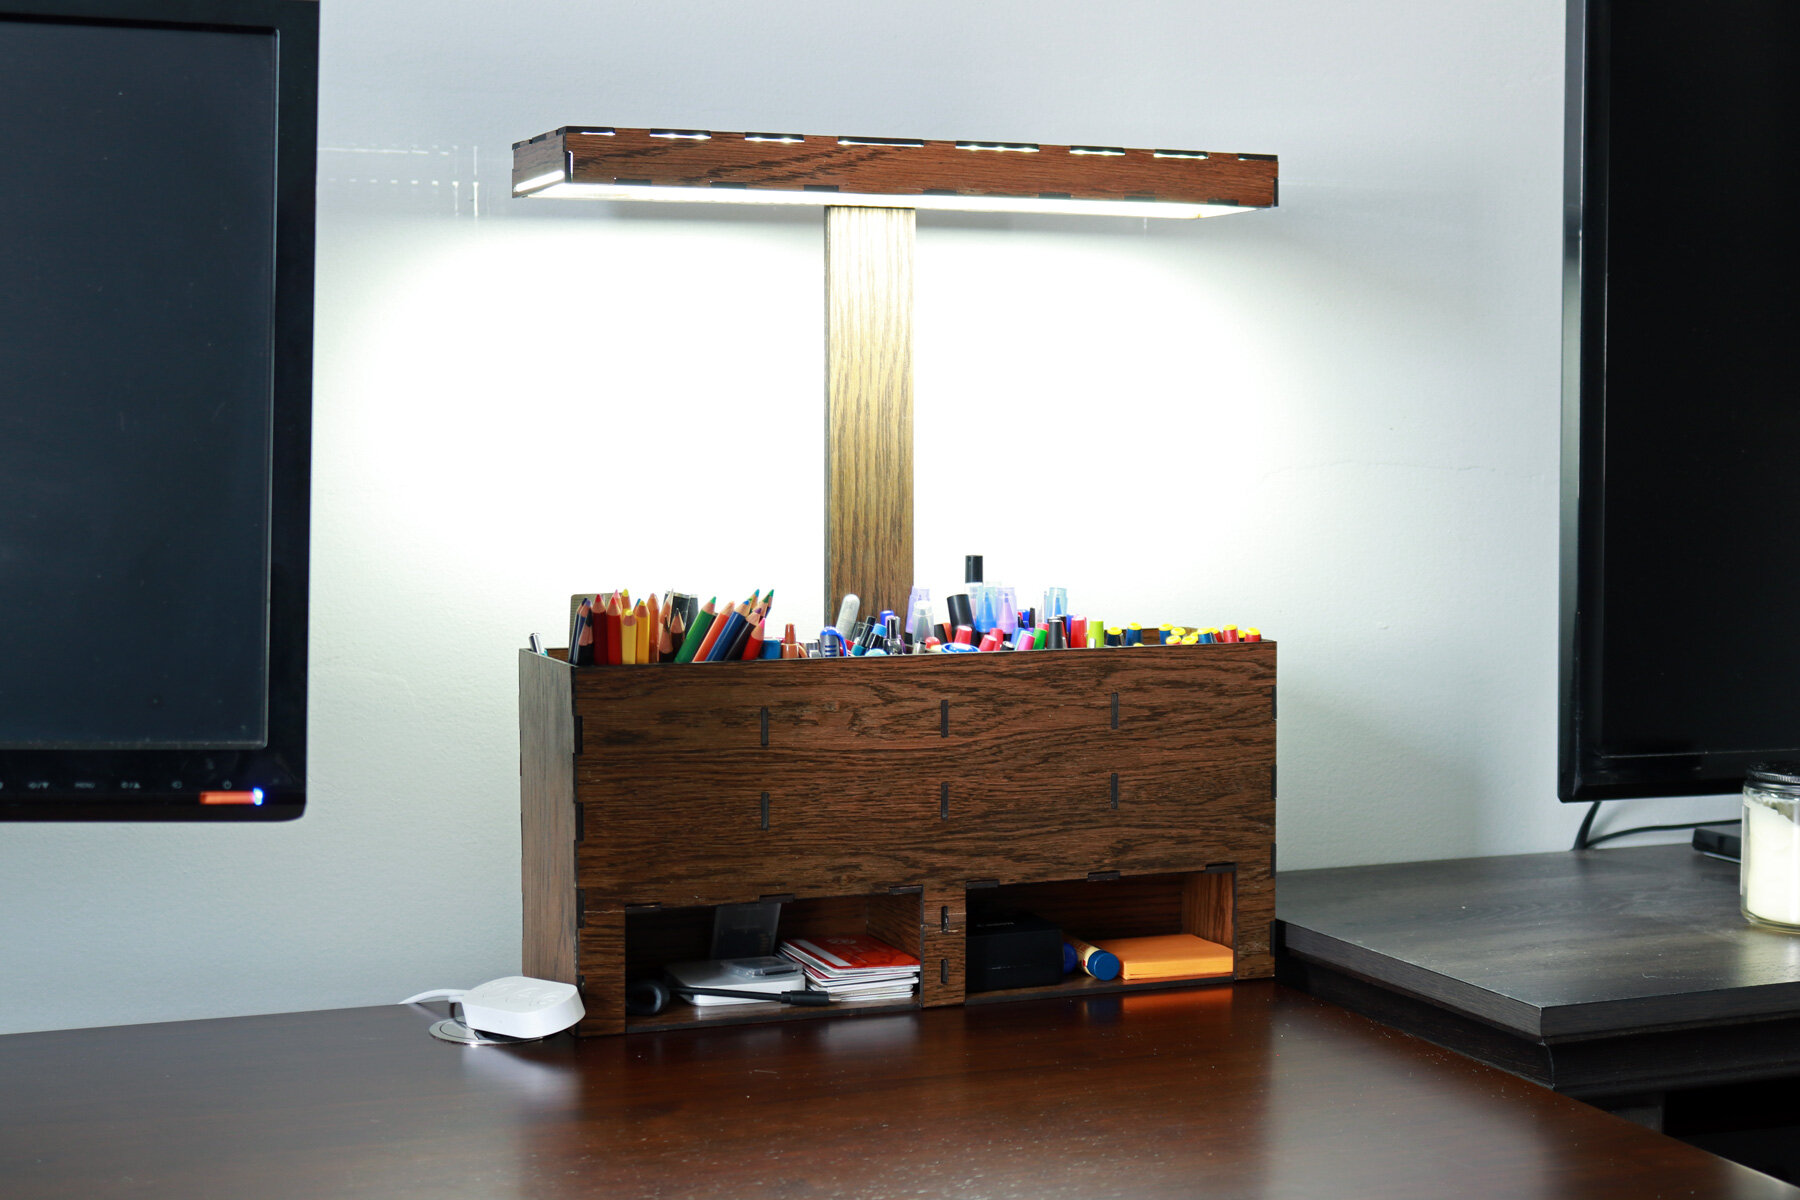
One thing that I’ve collected over the years are about a hundred different pens, pencils, markers, and some miscellaneous office supplies. As the collections continue to grow, I start to find these supplies all over my desk and around my house. To keep all of them organized and in one central location, I decided it was time to design and make a large pen organizer with shelves for office supplies and an integrated dimmable LED light.
The entire project would come together through simple finger joints where all of the wood pieces would have a specific area to slot into and provide rigidity for the overall construction. The wiring for the LED light will be hidden in a vertical trunk that will have the LED light around the entire interior of a rectangular head. To diffuse the light, I decided to use a clear frosted acrylic to soften it.
Process
To start the design of this custom wood desk organizer and integrated LED light, I developed the overall footprint of the project to ensure that all the pieces would fit in my Glowforge laser cutter. Then, I designed each piece individually in a software called Rhinoceros. The pieces would come together to assemble two large shelves at the base of the desk organizer followed by a cubby that’s divided into three separate compartments.
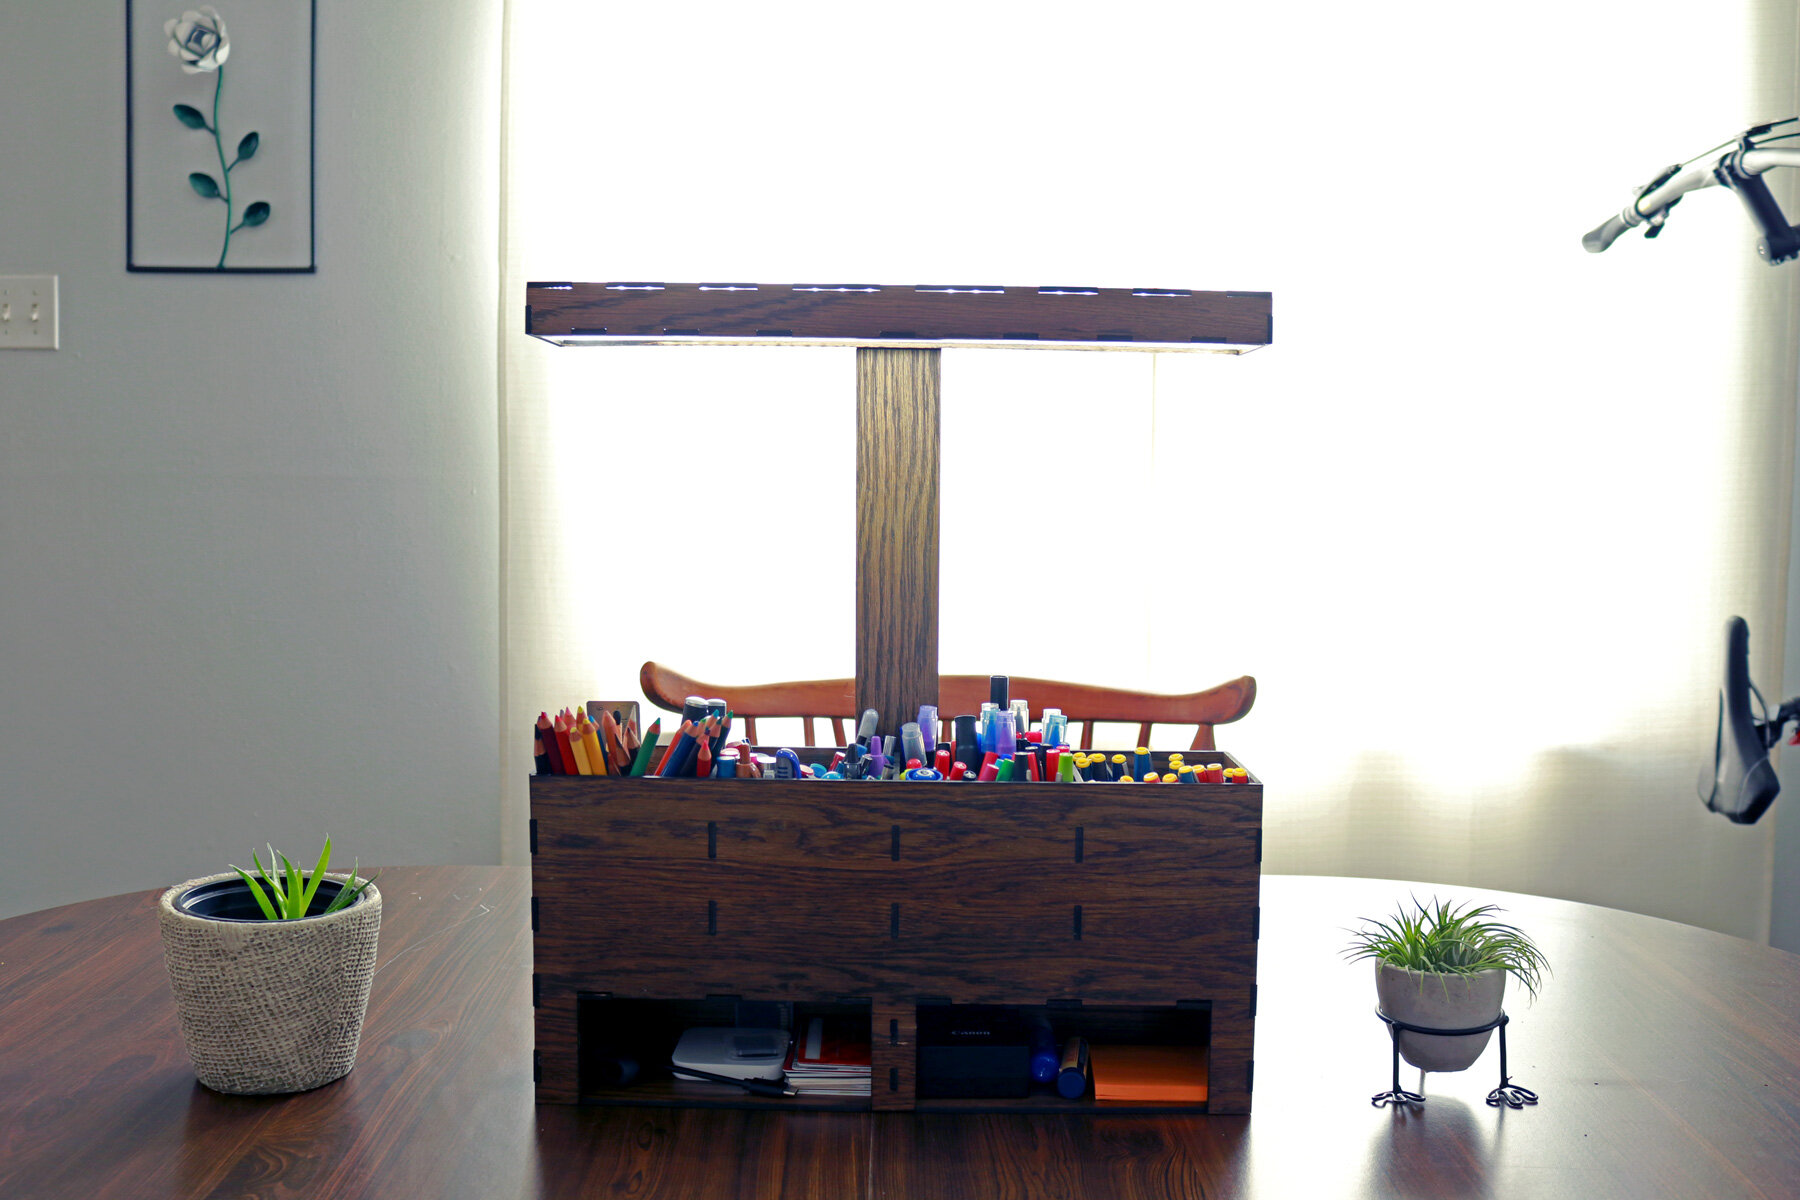
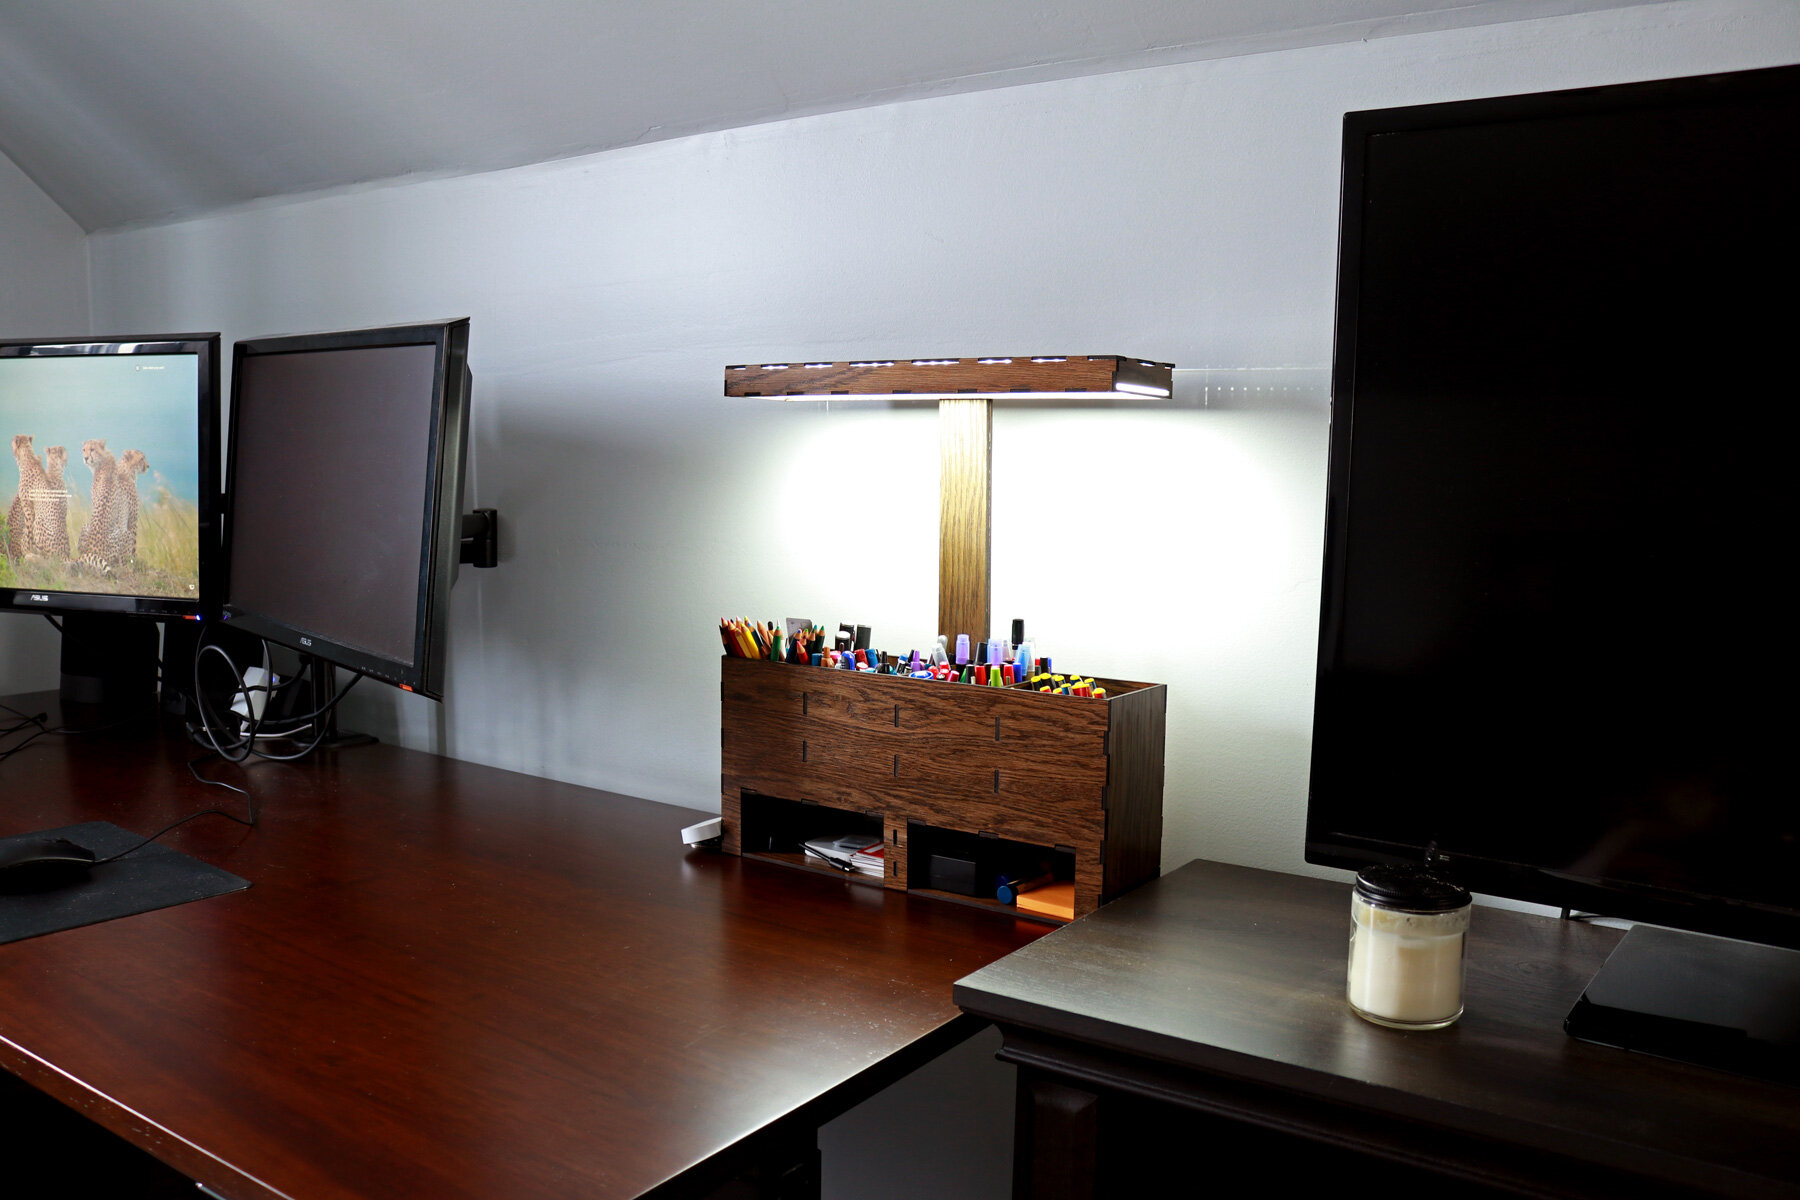
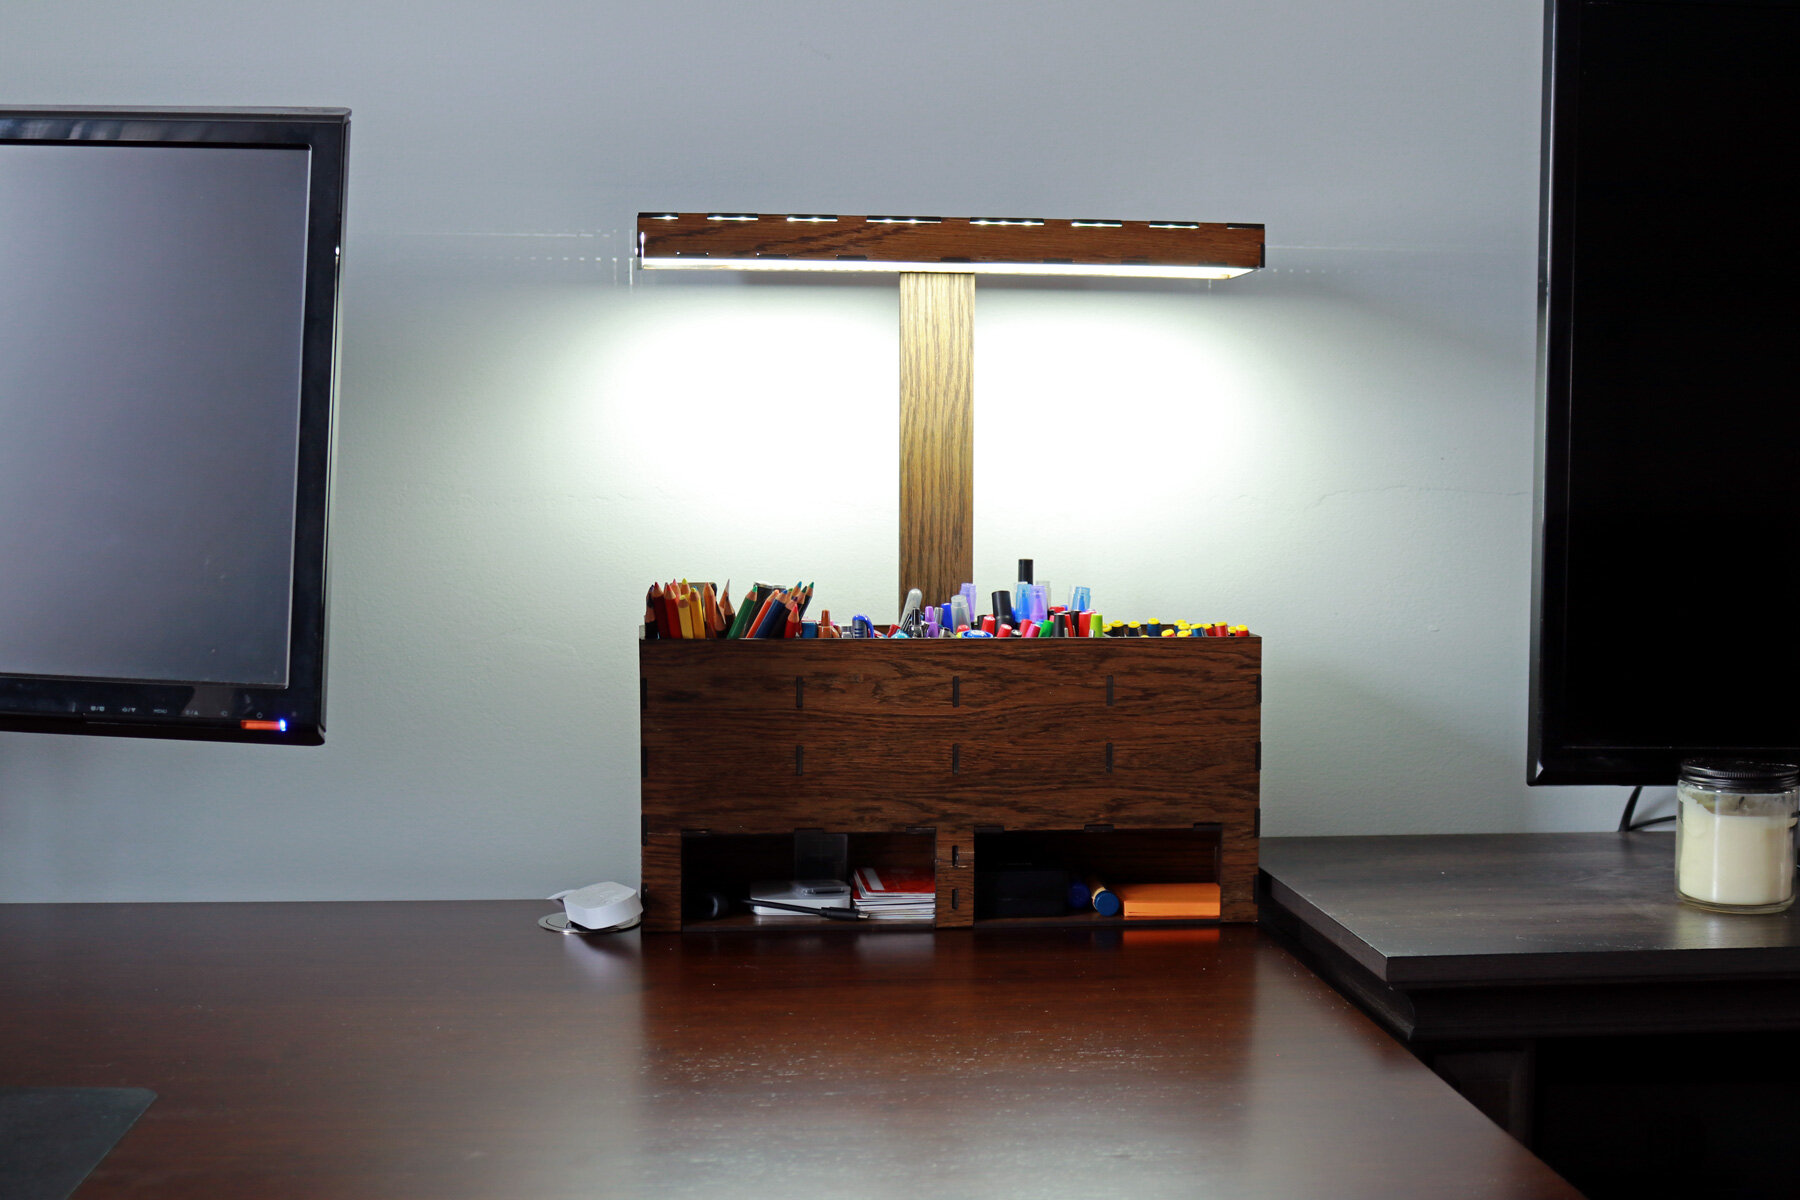
Centered at the back of the desk organizer is a vertical structure that raises the light fixture portion of the product off of the finished surface of my desk by about 18 inches. This will give the light enough vertical spacing off of my desk to provide an ample amount of light for tasks like writing and reading documents. This structural support will also have a void at the center where the electric lines for the LED light will be hidden from view.
The electrical lines will run up the vertical support and enter the rectangular head where the LED light strip will be adhered to the entire interior perimeter. Once the LED light strip is installed, a frosted acrylic panel is designed to be slotted through the entire rectilinear head from one end to the other to diffuse the light.
All of the pieces in this project are designed with finger joints that will be both friction fit and wood glued into place. These finger joints will help align all the pieces and hold them in place as the wood glue dries. Some pieces have finger joints that will go through several pieces to lock them in place.
Once the 3D model was complete and I was satisfied with the design, I started my process of making the physical product by staining my oak plywood sheets. The stain is a mixture of 2 different stains that I made a long time ago to stain the floors in my house. It has a beautiful bold espresso color. After staining all of the white oak plywood sheets, I sealed the plywood with a clear coat of polyurethane. I used a thick one coat product, which I’ve decided to never use in future projects due to the thickness of the coat and the way that it affects my typical laser cutting settings.
When the wood sheets were dry, I began the laser cutting process by inserting a sheet into my Glowforge laser cutter and cutting every piece. I organized every piece based on how the overall product would come together and I double checked the finger joints.
To assemble this custom wood desk organizer with an integrated LED light, I started by constructing the light fixture head. I assembled the vertical support piece, ran the electrical line up the center opening, sandwiched the outside pieces of plywood, and glued them into place. This also included one horizontal member at the head of the light fixture portion of the product. When the glue was dry, I installed the remaining wood pieces for the head of the light fixture and adhered the LED light strip around the entire interior perimeter. Then, I took the frosted acrylic sheet and pushed it through from one end all the way to the other to diffuse the LED light.
With everything above the desk organizer part of the product constructed, I started the final assemble by clamping the base of the vertical support onto the back panel of the desk organizer and installing the center divider. This center divider has longer finger joints, so I had to hammer it into place and ensure that the finger joint went through 3 pieces of plywood to lock them into place. The remainder of the product was assembled by aligning the finger joints and wood gluing the pieces into place.